TECH
How to Test Your Dell Laptop Microphone in a Few Easy Steps
Ensuring your Dell laptop’s microphone is working correctly is crucial for clear communication in video conferences, online classes, or recordings. This guide provides simple, step-by-step instructions to help you test your microphone, adjust its settings, and fix common problems. By following these easy checks, you can quickly verify your audio input and make sure your voice is heard loud and clear in any situation.
Accessing and Adjusting Your Microphone Settings
Before you can test your microphone, you need to know where to find its settings. Properly configured settings are the foundation of good audio quality.
Getting to the right menu is simple. Start by right-clicking the speaker icon on your taskbar and selecting ‘Sound settings’ or ‘Sounds’. This action opens the main control panel for all your audio devices, including your built-in microphone.
Once in the Sound window, click on the ‘Recording’ tab. Here, you will see a list of all available microphones connected to your Dell laptop. Select your primary microphone and click ‘Properties’. Inside the Properties window, navigate to the ‘Levels’ tab. This is where you can adjust the microphone’s sensitivity and volume.
Finding the right balance is key. If the level is too low, your voice will be faint. If it’s too high, you’ll get distorted audio and pick up a lot of background noise. Make small adjustments and test after each change until your voice is clear and natural.
Simple Ways to Test Your Microphone’s Functionality
After checking your settings, a practical test is the best way to confirm everything is working as it should. You don’t need any fancy software; your Dell laptop already has the tools you need.
The most direct method is using the Windows Sound settings panel itself. It provides instant visual feedback to show if your microphone is picking up sound.
- Navigate to the ‘Recording’ tab in the Sound settings, as described in the previous section.
- Select your microphone from the list of devices.
- Speak into your microphone at a normal volume and watch the green bars next to it. If these bars move up and down as you talk, your microphone is working.
For an audio playback test, the built-in Voice Recorder app is an excellent tool. Simply open the app, record a short sentence, and play it back. This allows you to hear exactly what others will hear, helping you judge the clarity and volume of your audio input.
Troubleshooting Common Dell Microphone Problems
If your microphone isn’t working after the initial test, don’t worry. Most issues are caused by simple software misconfigurations rather than hardware failure. Before diving into complex solutions, start with the basics.
First, ensure your microphone isn’t muted. In the ‘Levels’ tab of your microphone’s properties, check if the speaker icon has a red circle on it. If it does, click it to unmute the device. Also, confirm that the correct microphone is set as the ‘Default Device’ in the ‘Recording’ tab. Sometimes other connected devices can take priority. Another common culprit is privacy settings. Make sure you have given applications permission to access your microphone by going to Settings > Privacy > Microphone.
| Issue | Potential Cause | Solution |
|---|---|---|
| No sound detected | Microphone is muted or disabled | Unmute in Sound settings or enable the device |
| Mic not working in a specific app | App permissions are denied | Enable microphone access for the app in Privacy settings |
| Poor or distorted audio | Mic levels are too high | Lower the microphone volume in the ‘Levels’ tab |
| Device not listed | Outdated audio driver | Update the driver through Device Manager or Dell’s support site |
Software conflicts can also cause problems. If you have multiple communication apps open, one might be taking exclusive control of the microphone. Try closing unnecessary programs to see if that resolves the issue. If problems persist, updating your audio drivers is a reliable next step.
Tips for Improving Your Dell Microphone’s Audio Quality
Getting your microphone to work is one thing; making it sound great is another. A few small adjustments to your setup and environment can dramatically improve audio clarity.
The space you are in plays a huge role in sound quality. Background noise from fans, TVs, or nearby conversations can easily be picked up by your microphone, making it hard for others to hear you. Whenever possible, try to use your laptop in a quiet room to minimize these distractions.
Here are a few more tips to enhance your microphone performance:
- Adjust Gain Levels: In your microphone’s ‘Levels’ settings, avoid setting the Microphone Boost too high, as this amplifies all sounds, including unwanted noise.
- Clean the Microphone Port: The small holes for the built-in microphone, usually located near the webcam, can get clogged with dust. Gently clean them with a soft brush or compressed air.
- Position Yourself Correctly: Sit directly in front of your laptop and speak clearly towards the screen. Don’t lean too far away or cover the microphone with your hands or papers.
These simple habits can make a noticeable difference in how you sound during calls and recordings, leading to a more professional and pleasant audio experience for everyone.
Understanding Factors that Affect Microphone Quality
The quality of your audio isn’t just determined by your laptop’s hardware. Several external factors can influence how well your microphone performs. Understanding these can help you diagnose issues and optimize your setup.
Your environment is the most significant factor. Hard surfaces like walls and desks can cause echoes, while background noise can drown out your voice. Soft furnishings like carpets and curtains can help absorb sound and reduce reverb.
Additionally, the technical specifications of the microphone itself matter. Built-in laptop microphones are designed for convenience, not professional-grade recording. They are typically small and may have a limited frequency response. For tasks that require high-fidelity audio, such as podcasting or music recording, an external microphone will almost always provide superior results.
Frequently Asked Questions about Dell Laptop Microphones
Why is my Dell laptop microphone not working?
Your microphone may not be working due to several reasons. Check if it is muted, disabled in the sound settings, or if the correct device is set as default. Also, verify that apps have permission to access your microphone in your Windows privacy settings.
How can I make my Dell microphone louder?
To increase your microphone’s volume, right-click the speaker icon in the taskbar, go to ‘Sounds’ > ‘Recording’, select your microphone, and click ‘Properties’. In the ‘Levels’ tab, you can increase the ‘Microphone’ slider and, if needed, the ‘Microphone Boost’ slider.
What should I do if my voice sounds muffled or distorted?
Muffled audio is often caused by low microphone levels, while distorted audio usually means the levels are too high. Adjust the volume and boost in the microphone’s ‘Levels’ properties to find a clear balance. Also, ensure the microphone port is not blocked or dirty.
How do I update the audio drivers on my Dell laptop?
You can update drivers through the Device Manager. Open it, expand ‘Sound, video and game controllers’, right-click your audio device, and select ‘Update driver’. For the best results, visit the official Dell support website, enter your laptop’s model number, and download the latest audio drivers directly.
Are third-party apps good for testing my microphone?
Yes, third-party apps like Audacity or online tools like Online Mic Test are great for testing. They often provide more detailed feedback than built-in tools, allowing you to record and listen back to your audio to assess its quality accurately.
-
 TECH1 year ago
Where Garmin Watches are Made and How They are Assembled
-

 AUTO2 months ago
Tesla’s Roadster Is ‘a Few Weeks Away,’ Says Its Chief Designer
-
 NEWS10 years ago
Samsung Releases Galaxy Note7 TV Ad as Reddit AMA Leaks Specs
-
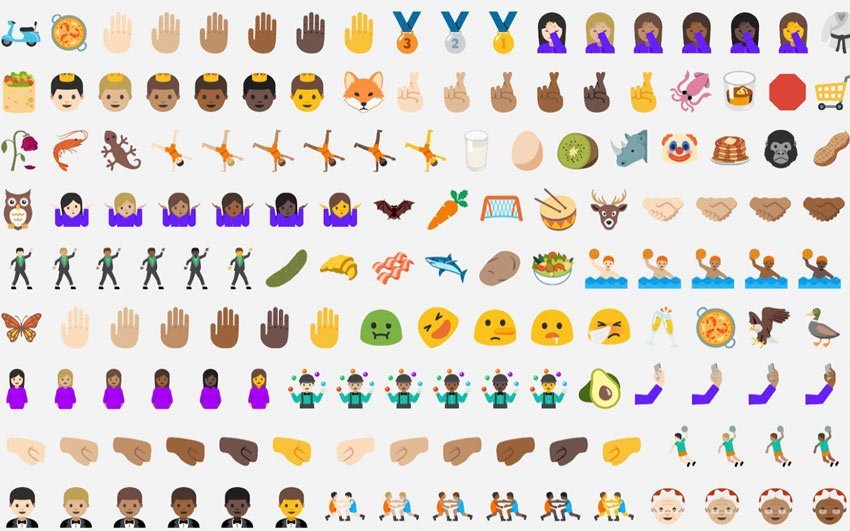 NEWS10 years ago
Android 7.0 Nougat Rolls Out To Nexus Devices With New Emoji, Features
-
 FINANCE9 years ago
Cardano Price Surges as ADA Enters the Crypto Top Ten List
-
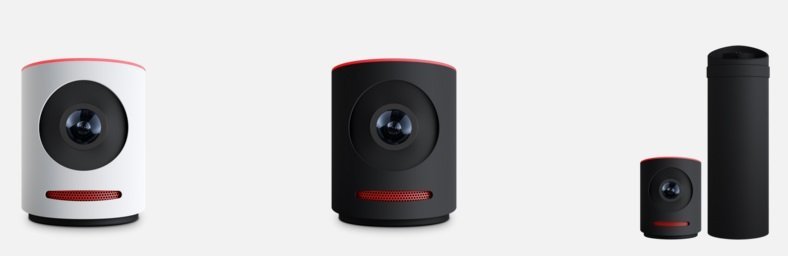 NEWS10 years ago
Pre-Order the First Camera Made for Facebook Live Streaming Video
-
 FINANCE1 year ago
Binance Suspends Trading and Withdrawals for a System Upgrade
-
 FINANCE9 years ago
RChain Price Jumps Nearly 150% to a New All-Time High of $2.03