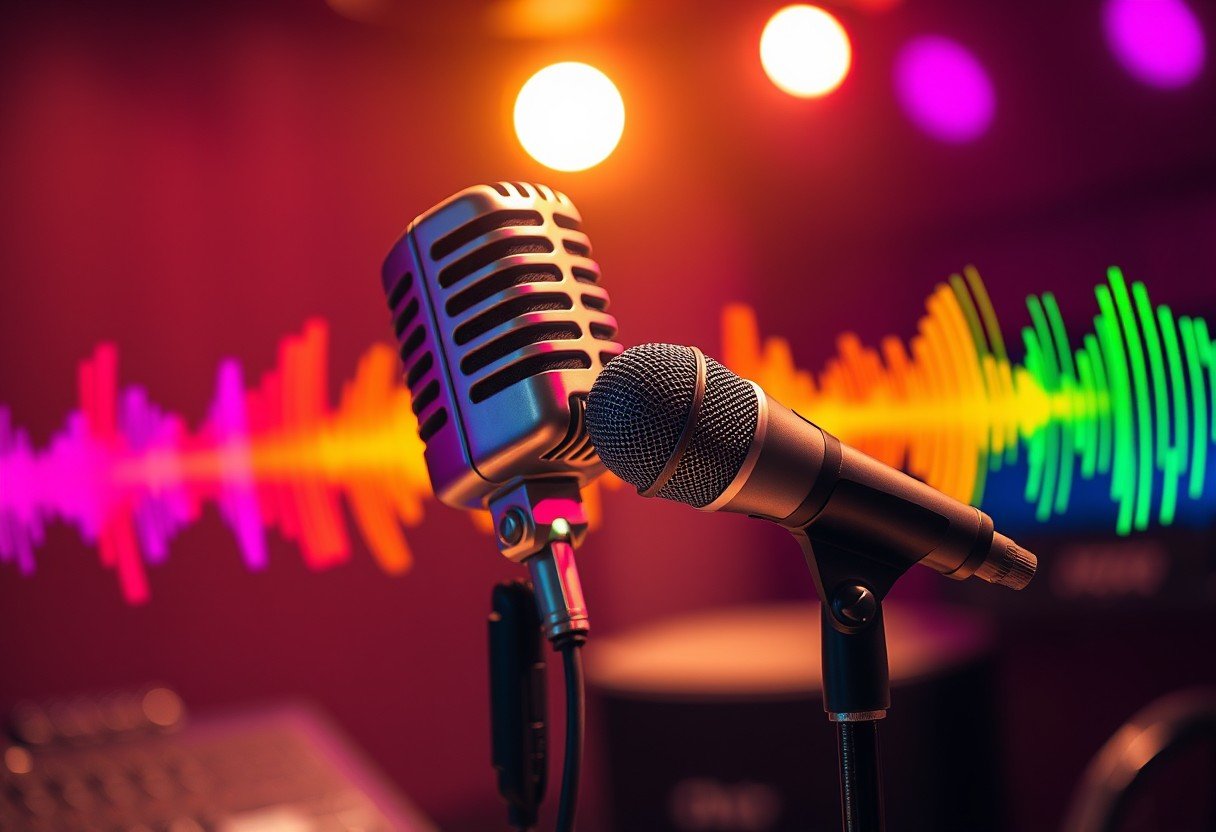
Loud noises can seriously harm your microphones, causing permanent damage and ruining your audio quality. For anyone working with audio, from musicians to podcasters, understanding how high sound pressure levels affect your gear is vital. Protecting your equipment ensures you can continue to capture crisp, clear recordings without risking costly replacements. This guide explains the risks, which mics are most vulnerable, and how to keep them safe.
How do Loud Sounds Actually Damage a Microphone?
The core issue comes down to something called Sound Pressure Level, or SPL. Every microphone has a maximum SPL rating, which is the loudest sound it can handle before the audio signal starts to distort. When a sound exceeds this threshold, it can physically overwhelm the microphone’s delicate internal components.
This can result in two types of harm: temporary and permanent damage. Temporary damage might cause a temporary loss of sensitivity or clarity, which can sometimes recover after the microphone rests. It’s a warning sign that the microphone was pushed beyond its limits.
However, prolonged or repeated exposure to extremely loud sounds can cause permanent damage. For instance, the diaphragm, which is a thin membrane that vibrates to capture sound, can be stretched or even torn. This kind of damage is often irreversible and can lead to a complete failure of the microphone.
Which Microphones are Most at Risk?
Not all microphones are created equal when it comes to handling loud noises. Their design and sensitivity play a huge role in their durability. Understanding the differences can help you choose the right tool for a loud recording environment, like a rock concert or a drum session.
Dynamic microphones are generally more resilient and are a top choice for loud sources. Their simple, rugged construction allows them to handle high SPL without distorting or breaking. In contrast, condenser and ribbon microphones are much more sensitive and, therefore, more susceptible to damage.
Here is a simple breakdown of common microphone types and their general sensitivity levels.
| Microphone Type | Sensitivity Level |
| Dynamic | Low to Medium |
| Condenser | High |
| Ribbon | High |
| Lavalier | Medium |
| USB | Varies |
Ribbon microphones are particularly fragile. Their extremely thin ribbon element can be easily stretched or torn by a sudden burst of air or a very loud sound, making them a poor choice for close-miking loud instruments.
What are the Warning Signs of a Damaged Microphone?
Knowing how to spot damage early can save you from a bad recording session and potentially allow for a repair before the problem gets worse. The most obvious sign is a sudden change in audio quality.
One of the first indicators is distortion or a loss of clarity. If your recordings suddenly sound crackly, fuzzy, or muddy even at normal volumes, it’s a clear red flag. This happens when the microphone’s components can no longer accurately convert sound waves into electrical signals.
You should also perform a physical inspection. Check for any visible signs of damage, such as dents in the grille, cracks in the body, or loose connectors. A dented grille might not seem like a big deal, but it could mean the internal capsule was also impacted. Gently shake the microphone to listen for any rattling parts inside, which could indicate a broken component.
Practical Ways to Protect Your Microphone from Loud Noises
Prevention is always better than repair. Taking a few simple steps can dramatically extend the life of your microphones and ensure they always perform at their best. These protective measures are easy to implement and are essential for any recording setup.
Using the right accessories is a great first step. These tools are designed to manage sound before it even reaches the microphone’s diaphragm, reducing the risk of overload.
- Windshields and Pop Filters: These are crucial for more than just wind or vocal plosives. They act as a first line of defense, slightly diffusing sound pressure before it hits the microphone capsule.
- Shock Mounts: While primarily for vibrations, a good shock mount can help absorb some physical impact if a stand is knocked, which can be just as damaging.
- Acoustic Treatment: Using soundproofing foam or bass traps in your recording space helps control the overall sound environment. This reduces reflections and standing waves, which can create unexpected loud spots that might overload a mic.
By controlling the recording environment, you not only protect your gear but also improve the quality of your audio. A well-treated room allows you to capture a cleaner, more direct sound without unwanted interference.
Best Practices for Recording in Loud Environments
When you know you’ll be recording a loud sound source, like a guitar amplifier or a drum kit, a few best practices will help you get a great recording without damaging your equipment. It starts with choosing the right microphone for the job.
Always adjust your gain and volume levels carefully. Before you start recording, do a sound check at the loudest possible volume the source will produce. Aim for your audio levels to peak around -12 dB to -6 dB on your meter. This leaves plenty of “headroom” to absorb any unexpected volume spikes without clipping or damaging the mic.
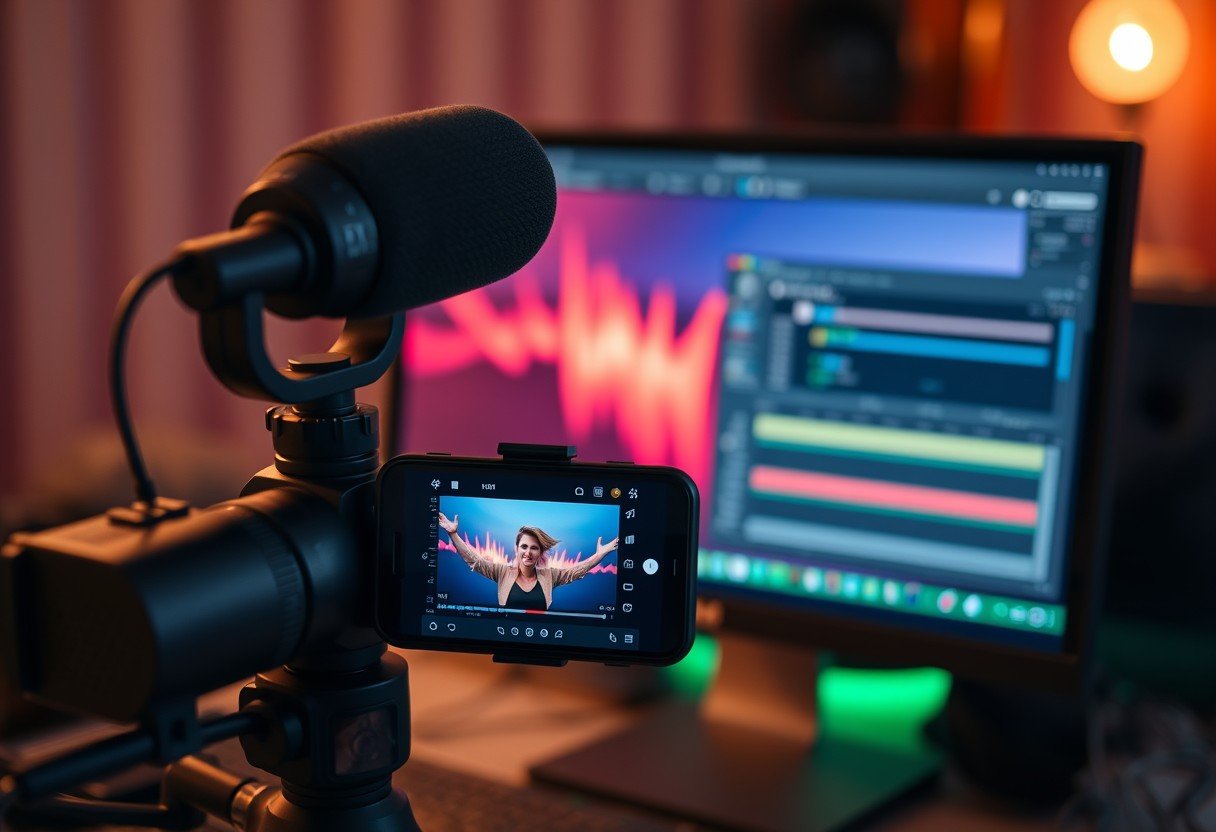
Monitoring your audio in real-time is also critical. Use headphones while recording to listen for any signs of distortion. This immediate feedback allows you to make quick adjustments to the microphone’s position or the gain level before any potential harm is done. Using a digital audio workstation (DAW) to visually monitor audio peaks provides another layer of protection.
When Should You Repair or Replace Your Microphone?
Even with the best care, accidents can happen. Knowing whether to repair a damaged microphone or simply replace it depends on the type of microphone, the extent of the damage, and the cost.
For minor issues or with high-end, expensive microphones, seeking a professional repair service is often the best choice. Skilled technicians have the tools and expertise to diagnose and fix complex problems, from replacing a torn ribbon to reconditioning internal components. This can be a cost-effective way to restore a valuable piece of equipment to its original performance level.
However, for many budget-friendly microphones, the cost of a professional repair can sometimes exceed the price of a new one. If you have an entry-level dynamic or USB microphone that is heavily distorted or physically broken, replacement is often the more practical and economical solution.
Frequently Asked Questions
Can a microphone be fixed after loud sound damage?
Yes, in many cases, a microphone can be repaired. The feasibility depends on the mic type and the severity of the damage. Delicate condenser or ribbon microphones often require professional service, while some dynamic mics can be easier to fix.
What SPL level is dangerous for microphones?
This varies greatly by microphone. Most professional microphones list a “Maximum SPL” in their specifications. As a general rule, sounds over 130 dB can be risky for many sensitive microphones, while some dynamic mics can handle 150 dB or more.
Do pop filters help protect microphones from loud sounds?
Yes, pop filters and windshields can help. They disperse bursts of air and slightly reduce the direct impact of sound pressure on the microphone’s diaphragm, offering a small but useful layer of protection against sudden loud noises.
Which type of microphone is best for recording loud music?
Dynamic microphones, such as the Shure SM57 or Sennheiser MD 421-II, are industry standards for recording loud sources like guitar amps and drums. They are built to withstand high sound pressure levels without damage or distortion.

Leave a Comment