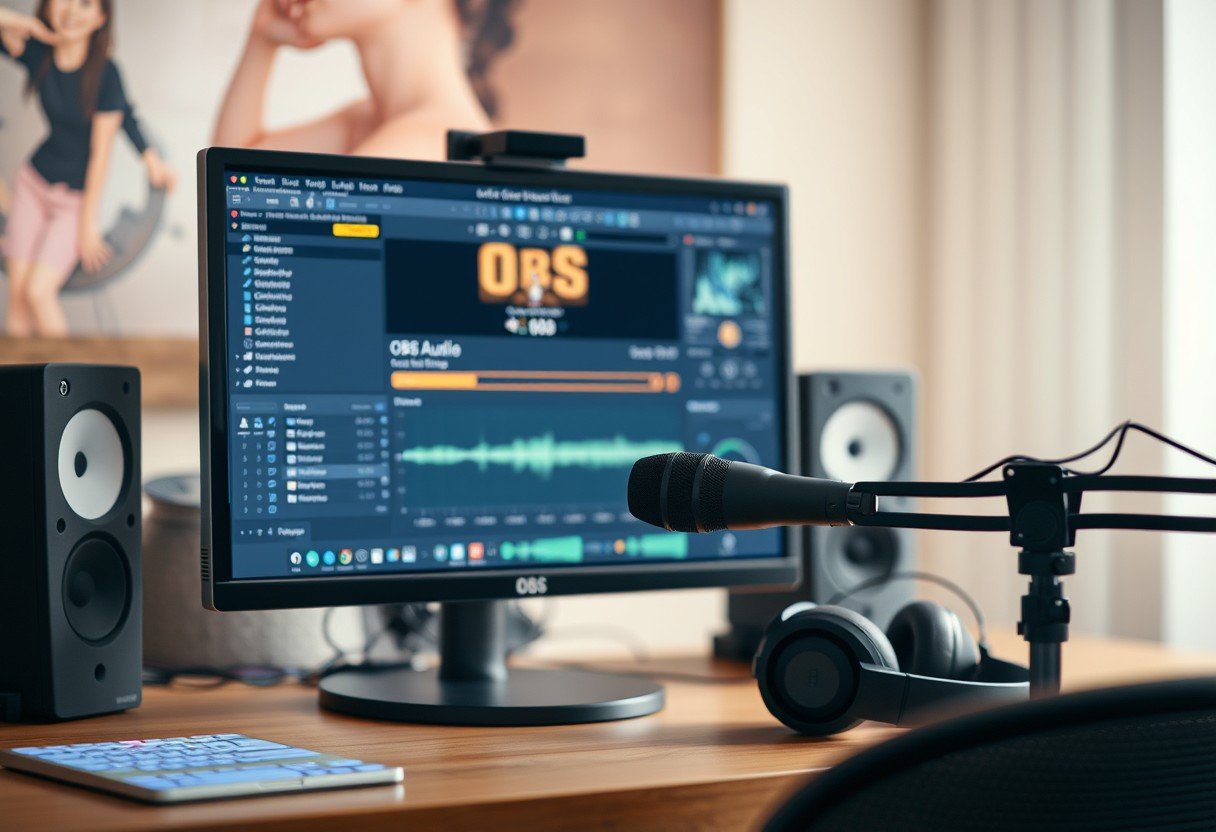
OBS Studio is a powerful, free tool primarily known for video streaming, but it’s also excellent for high-quality, audio-only recordings. Whether you’re creating a podcast, voiceover, or music track, OBS provides all the features you need. This guide will walk you through setting up OBS to capture crisp, clean audio, helping you transform your projects with professional-grade sound. Let’s dive into how you can configure the software to focus solely on audio.
First Steps: Setting Up OBS for Audio Recording
Before you can record, it’s essential to have a solid foundation. This starts with ensuring you have the latest version of OBS Studio installed. An up-to-date version guarantees you have access to all the latest features, bug fixes, and compatibility improvements for audio devices.
OBS, or Open Broadcaster Software, is a versatile open-source program that gives creators incredible control over their recordings. While many use it for live streaming games or events, its robust audio features make it a top choice for podcasters and musicians.
Mastering OBS allows you to harness its various functionalities for more efficient and effective audio recording. Once installed, take a moment to familiarize yourself with the main interface. You’ll primarily be working with the ‘Sources’, ‘Audio Mixer’, and ‘Controls’ panels.
Configuring Your Scene and Selecting Audio Sources
In OBS, everything happens within a ‘Scene’. Think of a scene as a blank canvas for your recording. For an audio-only project, you’ll create a dedicated scene that contains only your audio inputs. This keeps your workspace clean and focused.
To begin, create a new scene by clicking the ‘+’ button in the ‘Scenes’ panel and giving it a name like “Podcast Recording” or “Audio Only”.
With your new scene selected, you need to add your audio sources. In the ‘Sources’ panel next to it, click the ‘+’ button again. You will see several options:
- Audio Input Capture: This is used to add your microphone. You can select a specific USB microphone or an input from an audio interface.
- Audio Output Capture: This captures the sounds your computer makes, often called desktop audio. It’s perfect for recording system sounds, music, or audio from a guest on a video call.
You can add both sources if you need to record your voice and system audio simultaneously. After adding a source, it will appear in the ‘Audio Mixer’ panel, where you can control its volume.
How to Set OBS to Record Audio Only
Now that your sources are ready, you need to tell OBS to ignore video and save your recording in an audio file format. This is done in the output settings. This process ensures you get a clean audio file without any unnecessary video data.
Follow these steps carefully to configure your settings for an audio-only output. Changing the Output Mode to ‘Advanced’ gives you more control over the recording format and quality.
| Step | Action | Description |
|---|---|---|
| 1 | Open Settings | Navigate to the ‘Controls’ panel and click ‘Settings’. |
| 2 | Go to Output | Select the ‘Output’ tab from the left-hand menu. |
| 3 | Select Advanced Mode | Change the ‘Output Mode’ dropdown from ‘Simple’ to ‘Advanced’. |
| 4 | Go to Recording Tab | Click on the ‘Recording’ tab that now appears. |
| 5 | Choose an Audio Format | In ‘Recording Format’, select an audio-only format like MP3, WAV, or FLAC. |
After setting the format, you can also adjust the ‘Audio Bitrate’ on the ‘Audio’ tab within the Output settings. A bitrate of 192 kbps is good for most purposes, but for the highest quality, you might choose 320 kbps.
Using the Audio Mixer for a Professional Sound
The Audio Mixer is your command center for sound levels. It displays all your active audio sources with individual volume sliders. Proper use of the mixer is crucial for preventing common audio problems like distortion, where the audio is too loud and sounds crackly.
Each source has a decibel (dB) meter. As you speak or play audio, watch these meters. A good target is to have the levels peak in the yellow area, around -15 to -10 dB. If the meter hits the red zone, your audio is clipping and will be distorted. Simply use the slider to lower the volume until it stays out of the red.
The mixer also allows you to mute sources by clicking the speaker icon next to the slider. This is useful for quickly silencing desktop notifications or a cough during a voiceover recording.
Tips for Improving Your Audio Quality in OBS
Your recording setup and environment play a huge role in the final sound quality. Even with perfect OBS settings, a poor environment can lead to a noisy recording. A few small adjustments can make a massive difference.
Consider your physical space first. Recording in a room with soft furnishings like carpets, curtains, and sofas can help absorb sound reflections and reduce echo. Hard surfaces like bare walls and wooden floors tend to bounce sound around, which the microphone can pick up.
Here are some more tips for achieving crystal-clear audio:
- Use a Pop Filter: This is a small screen placed in front of your microphone to reduce harsh “p” and “b” sounds, known as plosives.
- Apply Audio Filters: OBS has built-in filters. Right-click your audio source in the mixer and select ‘Filters’. You can add a ‘Noise Suppression’ filter to reduce background hiss or a ‘Compressor’ to even out your volume levels.
- Choose the Right Microphone: Dynamic microphones are great at rejecting background noise, making them ideal for untreated rooms. Condenser microphones are more sensitive and capture more detail, which is perfect for quiet, studio-like environments.
Solving Common Audio Recording Problems
Even with the best preparation, you might run into some issues. Understanding how to troubleshoot them will save you time and frustration. Many common problems are related to incorrect settings either in OBS or on your computer.
If you record and find there’s no sound, the first thing to check is if the correct device is selected in your ‘Audio Input Capture’ source properties. Also, ensure the source is not muted in the Audio Mixer.
For issues like low volume or distortion, check both the gain on your physical microphone or audio interface and the volume slider in the OBS Audio Mixer. Finding the right balance between physical gain and software volume is key to a clean signal. If you continue to have trouble, try a short test recording after each adjustment to pinpoint what works best for your setup.
Frequently Asked Questions about Recording Audio in OBS
What is the best audio format to use in OBS?
For the highest quality, WAV is an excellent choice because it is uncompressed, but the files are very large. For a good balance of quality and file size, MP3 with a bitrate of 192 kbps or higher is a popular and widely compatible option.
Can I record multiple audio tracks separately in OBS?
Yes, you can. In the ‘Advanced Audio Properties’ (accessed by right-clicking in the Audio Mixer), you can assign different audio sources to different tracks. This allows you to edit your microphone and system audio independently in post-production.
How do I remove background noise from my OBS recording?
The easiest way is to add a ‘Noise Suppression’ filter. Right-click your microphone source in the Audio Mixer, select ‘Filters’, and add the Noise Suppression filter. You can choose between different methods; ‘RNNoise’ is generally a good starting point for quality.
Is OBS completely free for recording audio?
Yes, OBS Studio is open-source software and is 100% free to use for both personal and commercial projects. There are no fees, subscriptions, or watermarks associated with using it for audio recording or video streaming.
Why does my audio sound robotic or choppy?
This issue is often caused by high CPU usage. When your computer is struggling to keep up, it can cause audio glitches. Try closing other applications while recording or, in OBS, go to ‘Settings’ > ‘Output’ and try using a different encoder preset that uses less CPU.


Leave a Comment