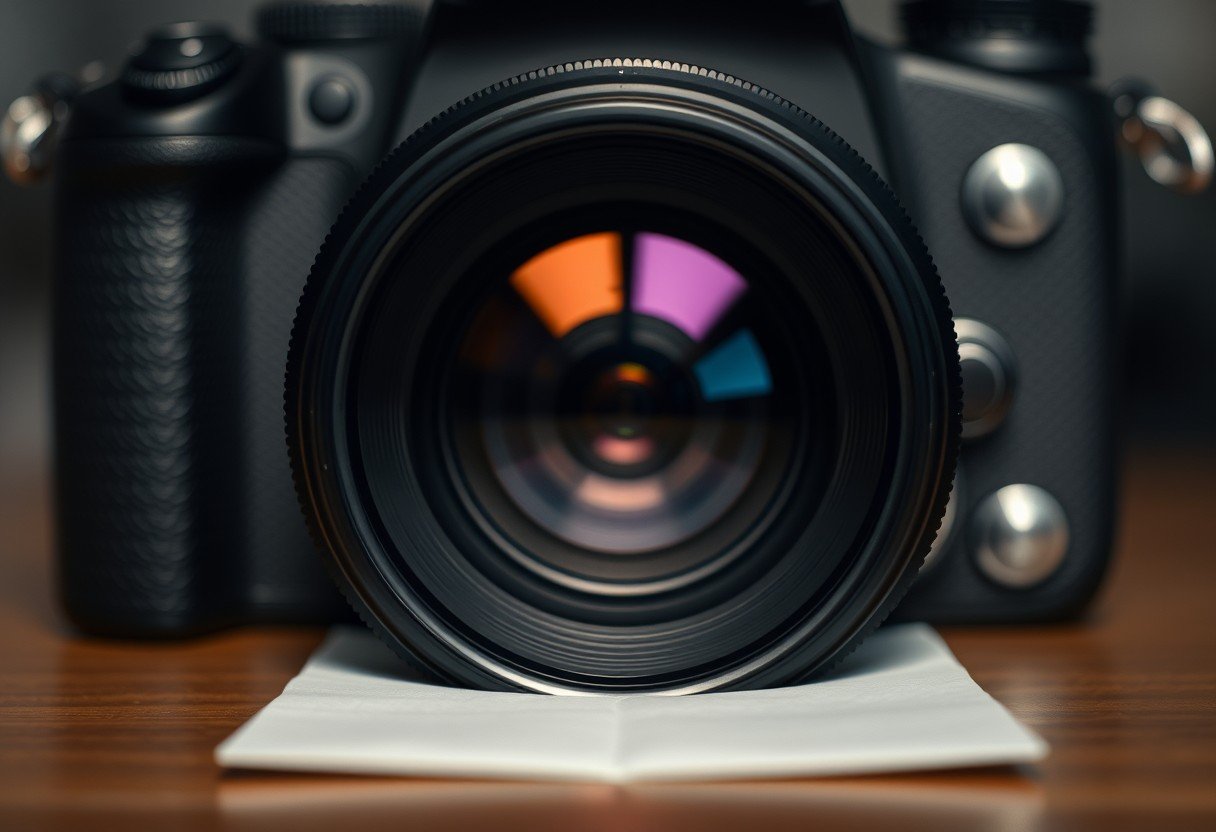
To get a sharp and clear image, you need to place the paper at the right distance from a lens. This spot is called the focal point, where all the light rays meet perfectly. Whether you are doing a science experiment or taking photos, understanding this simple principle is key. It ensures your final image is crisp and detailed instead of a blurry mess.
What is the Focal Point and Why Does it Matter?
Think of a lens as a tool that gathers light. When parallel light rays pass through a convex lens, they bend and come together at a single, special point. This meeting point is known as the focal point. The distance from the center of the lens to this point is its focal length.
To get a perfectly sharp image, your paper must be placed exactly at this focal point. If the paper is too close to the lens or too far away, the light rays will not have converged properly, resulting in a blurry or fuzzy image. This is the single most important rule for forming a clear image.
This process creates what is called a “real image,” which means it can be projected onto a surface like paper or a screen. Lenses can also create “virtual images,” like the one you see in a magnifying glass, which cannot be projected onto a surface.
Understanding Different Types of Lenses
Not all lenses work the same way. The type of lens you use directly impacts how light is bent and where the image will form. For projecting a sharp image onto paper, you will almost always use a lens that converges light.
The most common type for this task is a convex lens, which is thicker in the middle and thinner at the edges. It is designed to focus light rays to a single point. In contrast, a concave lens is thinner in the middle and causes light rays to spread out, or diverge, making it unsuitable for projecting a sharp image onto a screen.
Here is a quick breakdown of common lens types and what they do:
| Type of Lens | How it Affects Light |
|---|---|
| Convex | Focuses light rays to a point |
| Concave | Spreads light rays apart |
| Biconvex | Has two convex surfaces for a wider view |
| Aspheric | Reduces image distortion and blurriness |
How to Find the Correct Distance for Your Paper
Finding the focal length of your lens is a simple and practical process. You do not always need complex formulas to find the right spot for your paper. You can find it with a quick experiment.
Here are the steps to determine the best placement:
- Use a distant light source, like a window or a bright lamp across the room. An object that is far away produces light rays that are nearly parallel.
- Hold the lens between the light source and a blank piece of paper.
- Slowly move the paper back and forth, away from and toward the lens.
- Watch the image on the paper until it becomes as small, bright, and clear as possible. This is your focal point.
- Measure the distance from the center of the lens to the paper. This measurement is the focal length of your lens for distant objects.
For objects that are closer to the lens, the image distance will be slightly longer than the focal length. You will need to move the paper a little farther away from the lens to get the image back into sharp focus.
Key Factors that Affect Image Sharpness
Achieving a sharp image involves more than just finding the focal distance. Several other factors can influence the final quality of your projection. Paying attention to these details can turn a good image into a great one.
The quality of the lens itself is a major factor. High-quality lenses are made with better materials and coatings that reduce distortions and imperfections known as aberrations. These aberrations can cause blurriness or color fringing, especially near the edges of the image.
Here are some other elements to consider:
- Lighting Conditions: Bright, even lighting on your subject will produce a clearer and sharper image. Dim or uneven light can make the image appear grainy or soft.
- Lens Cleanliness: Dust, fingerprints, or smudges on the lens surface will scatter light and significantly reduce image sharpness. Always ensure your lens is clean.
- Stability: Any movement of the lens, object, or paper during projection will cause motion blur. Using stands or a stable setup is crucial for experiments and photography.
Common Mistakes to Avoid
Many people struggle with getting a sharp image because of a few common and easily fixable mistakes. Being aware of these errors will help you troubleshoot your setup effectively.
The most frequent error is simply guessing the distance instead of testing it. Moving the paper back and forth to find the sharpest point is a necessary step. Another mistake is not considering the distance of the object you are trying to project. The distance from the lens to the paper changes as the object gets closer.
Ignoring the type of lens is another pitfall. As mentioned, a concave lens will never produce a real image on paper because it spreads light out. You must use a converging lens, like a convex one, for this purpose. Also, be mindful of the aperture, or opening of the lens. A very wide aperture can create a very shallow depth of field, making the exact placement of the paper even more critical.
Practical Uses in Photography and Science
This fundamental principle is not just for simple classroom experiments. It is the basis for how many optical instruments work, including cameras, projectors, and telescopes.
In photography, the camera sensor or film acts as the “paper.” When you focus your camera, you are adjusting the distance between the lens and the sensor to make sure it aligns perfectly with the focal plane for your subject. This ensures your photos are crisp and clear.
For scientific experiments in optics, precise placement is essential for gathering accurate data. Whether studying lens properties or observing phenomena like diffraction, the image must be sharply focused to make correct measurements and observations. This skill is foundational for anyone working with optical instruments.
Frequently Asked Questions
What happens if the paper is not at the focal point?
If the paper is placed before or after the focal point, the light rays will not have converged perfectly, resulting in an image that appears blurry and out of focus.
Does the distance of the object from the lens change where I place the paper?
Yes, it does. For very distant objects, the paper should be at the focal length. As the object moves closer to the lens, the paper needs to be moved farther away from the lens to maintain a sharp image.
How does a convex lens create a sharp image?
A convex lens is curved outwards, which causes it to bend parallel light rays inward so they meet, or converge, at a single point. Placing paper at this point captures the light in perfect focus.
Can I get a sharp image with any type of lens?
No, you need a converging lens like a convex lens to form a real image that can be projected onto paper. A diverging lens, like a concave lens, spreads light out and cannot form a real image.
Why is my image sharp in the center but blurry at the edges?
This issue is often caused by lens aberrations, such as spherical aberration or field curvature. Higher-quality lenses, especially aspheric ones, are designed to correct these distortions and produce a sharper image across the entire frame.


Leave a Comment