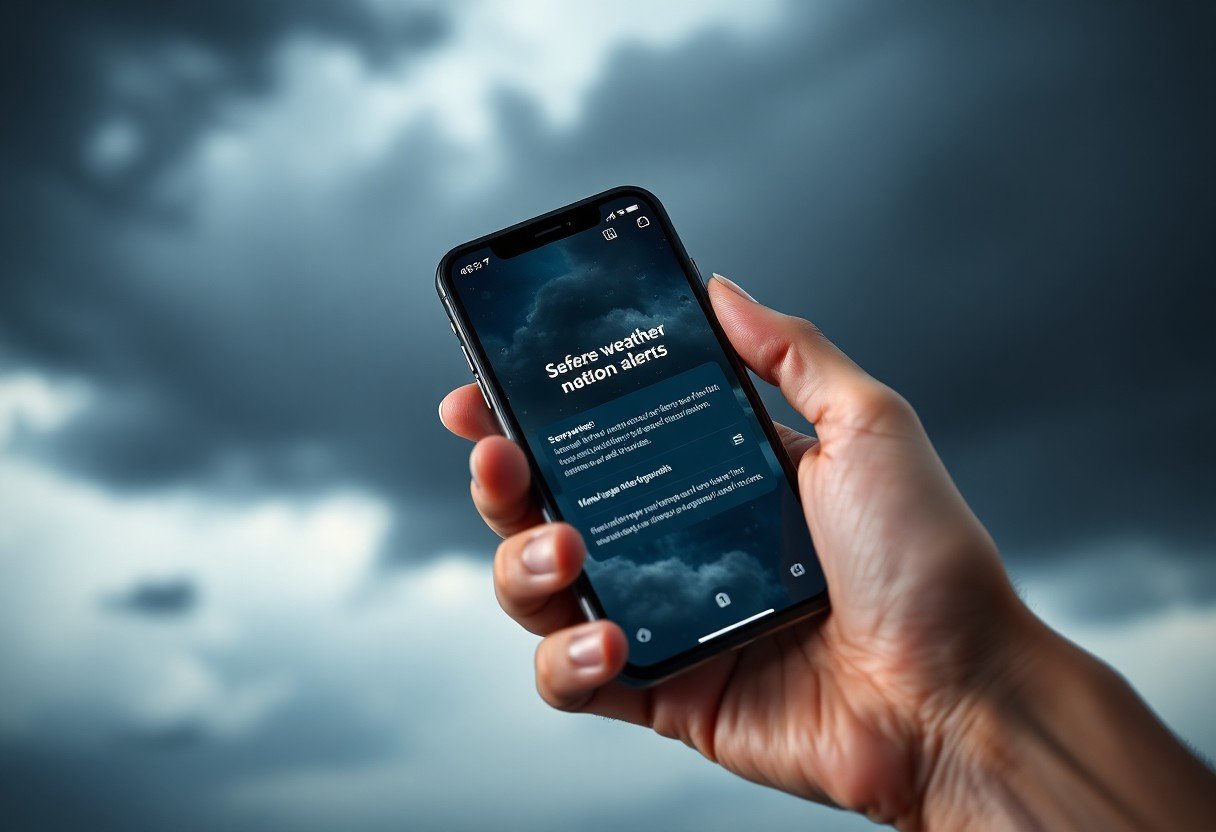
Relying on your iPhone for severe weather alerts is crucial for safety, so it can be frustrating and dangerous when they suddenly stop working. This issue often stems from simple misconfigurations in your device’s settings, such as incorrect notification permissions or location services being turned off. By following a few straightforward troubleshooting steps, you can quickly diagnose the problem and restore these vital notifications, ensuring you stay informed about hazardous weather conditions in your area.
Check Your iPhone’s Notification Settings First
Before diving into more complex solutions, the first place to look is your device’s notification settings. It’s common for these settings to be accidentally changed or disabled after a software update or when installing new apps. Verifying that the Weather app has the proper permissions to send you alerts is a critical first step.
Start by opening the Settings app on your iPhone or iPad. Scroll down and tap on “Notifications,” then find and select the Weather app from the list. Here, you’ll see a variety of options that control how and when you receive alerts.
Make sure the “Allow Notifications” toggle at the top is switched on. If this is off, you won’t receive any alerts from the app, regardless of your other settings. You should also check the following options to ensure alerts are visible and audible:
- Alerts Display: Ensure that “Lock Screen,” “Notification Center,” and “Banners” are all checked. This guarantees you will see the alert no matter what you are doing on your device.
- Sounds: Toggle this on if you want an audible sound to accompany the weather alert.
Customizing these settings ensures that severe weather notifications are delivered in a way that grabs your attention immediately.
The Importance of Location Services for Accurate Alerts
Severe weather alerts are only useful if they are relevant to your exact location. The Weather app relies on your device’s GPS to provide timely and accurate warnings for your specific area. If Location Services are disabled or not configured correctly for the app, you may miss alerts that apply directly to you.
For the best results, the Weather app needs permission to access your location at all times, not just when you have the app open. This allows it to send you push notifications about developing weather events even when the app is running in the background.
To check this, navigate to Settings > Privacy & Security > Location Services. First, ensure the main “Location Services” toggle is on. Then, scroll down to the Weather app in the list and tap on it. Set the location access to “Always” to allow for background updates and alerts.
Additionally, make sure the “Precise Location” toggle is enabled. This setting allows the app to use your specific coordinates, which is essential for receiving hyper-local warnings like tornado or flash flood alerts that might only affect a small area.
Keep Your Software and Apps Up-to-Date
Outdated software is a common source of bugs and performance issues, including problems with notifications. Apple frequently releases iOS updates that include bug fixes and security patches. An older version of iOS might have a known issue that prevents weather alerts from functioning correctly.
Staying current with software updates is one of the easiest ways to ensure your device runs smoothly. These updates often resolve underlying conflicts that can interfere with app performance without you even realizing it.
You can check for an update by going to Settings > General > Software Update. If an update is available, follow the on-screen prompts to download and install it. It’s best to be connected to Wi-Fi and have your device charging during this process. After updating iOS, it’s also a good idea to visit the App Store and check for any updates to the Weather app itself to ensure full compatibility.
Advanced Troubleshooting Steps
If you’ve checked all your settings and your device is up-to-date, but the alerts still aren’t working, it’s time for more advanced troubleshooting. Two effective methods are resetting your network settings and reinstalling the Weather app. These steps can clear out corrupted data or faulty connections that may be causing the problem.
Resetting your network settings can resolve connectivity issues that prevent your device from receiving push notifications. This action will not erase your personal data, but it will remove saved Wi-Fi networks and passwords, cellular settings, and VPN configurations.
- Open the Settings app and go to “General.”
- Scroll down and tap on “Transfer or Reset iPhone/iPad.”
- Tap “Reset,” then select “Reset Network Settings.”
- You will need to enter your passcode to confirm the action.
If that doesn’t work, deleting and reinstalling the Weather app is your next best option. This process provides a completely fresh start and can eliminate any deep-rooted glitches within the app’s data. Simply press and hold the Weather app icon, tap “Remove App,” and then “Delete App.” Afterward, go to the App Store, search for the Weather app, and reinstall it. Remember to re-enable notifications and location services for the app once it’s installed.
When to Contact Apple Support for Help
There are times when a problem is too complex to solve on your own. If you have exhausted all the troubleshooting steps outlined above and your severe weather notifications are still not working, it may be time to contact Apple Support. There could be a more significant software issue or a problem specific to your device that requires expert assistance.
You should reach out for help if you notice other apps are also failing to send notifications, as this could indicate a system-wide problem. Similarly, if you encounter specific error messages that you can’t resolve, an Apple Support specialist can help diagnose the issue.
Apple offers several resources to help you. You can visit the official Apple Support website for articles, chat with a representative online, or schedule a phone call. The Apple Support app is another great tool for managing your devices and getting direct help. Don’t hesitate to use these resources to get your device working correctly and keep yourself safe.
Frequently Asked Questions
Why did my iPhone weather alerts suddenly stop working?
This can happen for several reasons, including a recent iOS update that changed your settings, disabled location services or notification permissions for the app, or a temporary software bug. It’s always best to start by checking your Notification and Location Services settings for the Weather app.
Do I need an internet connection for severe weather alerts?
Yes, your iPhone or iPad must be connected to the internet via Wi-Fi or a cellular network to receive push notifications for severe weather. The app needs this connection to get real-time data from weather services and send it to your device.
Will resetting network settings delete my personal data?
No, resetting your network settings will not delete any of your personal data like photos, contacts, or apps. It will only erase your saved Wi-Fi passwords, cellular settings, and any configured VPNs, so you will need to re-enter them afterward.
Can I get weather alerts for a different city?
Yes, you can receive alerts for multiple locations. Open the Weather app, tap the list icon in the bottom-right corner, and add any city you want to monitor. You can then manage notification settings for each location within the Weather app’s settings.
What is the difference between Emergency Alerts and Weather app alerts?
Emergency Alerts are a government-run system for national or regional emergencies like AMBER Alerts or presidential alerts, and they use a different technology that doesn’t require an app. Weather app alerts are sent directly from the app for specific conditions like thunderstorms, snow, or rain, and they are more customizable.


Leave a Comment