TECH
The Essential Checklist Before Selling or Giving Away Your iPhone
Getting ready to sell or give away your iPhone? It’s more than just handing it over. Properly preparing your device is crucial to protect your personal information and ensure the new owner has a smooth start. This guide will walk you through the essential steps, from backing up your precious memories to completely wiping your data. Following this checklist ensures your privacy is secure and the phone is ready for its new home, making the transition safe and simple for everyone involved.
First Things First: Securely Back Up Your iPhone Data
Before you do anything else, you must save your data. Imagine losing years of photos, contacts, and messages forever. Creating a backup ensures all your important information is safe and ready to be transferred to your new device. It’s the most critical step in this entire process.
The easiest way to protect your data is by creating a complete backup. Apple gives you two reliable methods to do this: using iCloud for wireless convenience or connecting to a computer with Finder or iTunes for a local copy. Both options are secure and effective, so the choice often comes down to personal preference and storage availability.
An iCloud backup happens automatically over Wi-Fi when your phone is charging, making it a “set it and forget it” solution. A computer backup can be faster and doesn’t rely on cloud storage space, which is a bonus if your iCloud is full.
Here is a quick comparison to help you decide which backup method is best for you:
| Feature | iCloud Backup | Computer Backup (Finder/iTunes) |
|---|---|---|
| Storage Location | Apple’s cloud servers | Your Mac or PC |
| Convenience | Automatic and wireless | Requires physical connection via cable |
| Security | Always encrypted | Encryption is optional but recommended |
| What’s Included | Most data and settings | A more complete copy of your device |
No matter which method you choose, double-check that the backup has been completed successfully before moving on to the next steps. A few minutes of verification now can save you from major headaches later.
Disconnect Your Digital Life: Signing Out of Apple Services
After your data is safely backed up, the next step is to disconnect your iPhone from your personal accounts. This is vital for protecting your privacy and preventing the new owner from accessing your Apple ID, messages, or other sensitive information. It also disables security features like Activation Lock, which would otherwise render the phone useless to anyone else.
The most important account to sign out of is your Apple ID. This is the key to your entire Apple ecosystem. To do this, go into your Settings, tap on your name at the very top, and scroll all the way down to find the “Sign Out” button. You will be asked for your Apple ID password to turn off Find My, which is exactly what you want to do.
This single action effectively severs the primary link between the iPhone and your personal data. Forgetting to sign out of your Apple ID is one of the biggest mistakes people make. It can cause major issues for both you and the new owner, as the device will remain locked to your account.
Beyond your Apple ID, it’s a good practice to manually sign out of other apps, especially those containing personal or financial information like banking apps, social media, and email clients. While a factory reset will erase these apps, signing out beforehand adds an extra layer of security.
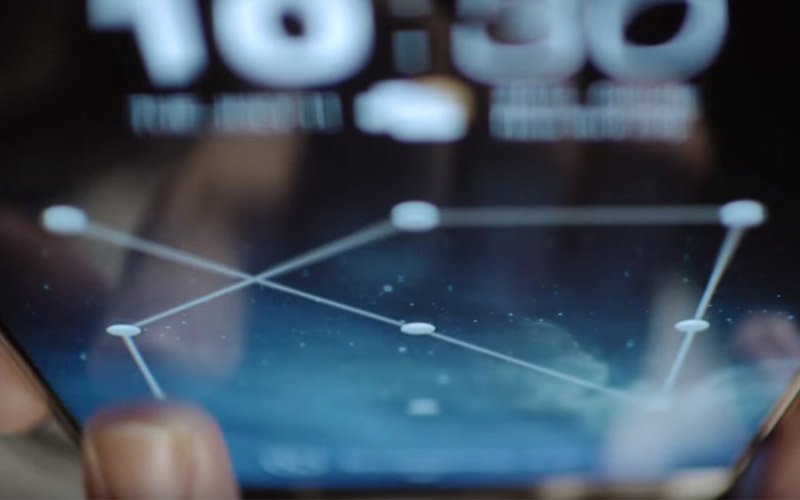
Wipe the Slate Clean: How to Erase All Your Personal Data
With your data backed up and your accounts disconnected, it’s time to perform the final wipe. A factory reset will erase everything on your iPhone—photos, messages, apps, and settings—and restore it to the state it was in when it first came out of the box. This step is non-negotiable for protecting your privacy.
Performing a factory reset is the only way to guarantee all your personal information is permanently removed from the device. This process is irreversible, which is why creating a backup first is so important.
Follow these simple steps to completely erase your iPhone:
- Open the Settings app.
- Tap on General.
- Scroll down and select Transfer or Reset iPhone.
- Choose Erase All Content and Settings.
- Enter your passcode and Apple ID password if prompted to confirm the action.
The process may take a few minutes. Once it’s finished, the iPhone will restart to the “Hello” screen, just like a brand-new device. At this point, you can power it off, knowing it’s completely clean and ready for its next user.
The Final Physical Steps: SIM Cards and Device Inspection
Now that the digital side is handled, a few physical tasks remain. These steps ensure the device is fully ready for handover and that no personal hardware is left behind.
First and most importantly, remove your SIM card. Your SIM card is tied to your phone number and cellular plan. Leaving it in the phone could potentially give the new owner access to your carrier account, allowing them to make calls or use data on your plan. Use a SIM ejector tool (or a small paperclip) to open the SIM tray on the side of the iPhone and take your card out.
After removing the SIM, give the phone a good cleaning.
- Use a soft, lint-free microfiber cloth to wipe down the screen and body.
- For stubborn smudges, you can slightly dampen the cloth with water. Avoid using harsh chemicals or abrasive cleaners.
- Gently clean out the charging port and speaker grilles with a soft brush to remove any dust or debris.
A clean, well-presented iPhone is much more appealing to a buyer and shows that the device has been cared for. It’s a small effort that can make a big difference in the perceived value of your phone.
Maximize Your iPhone’s Value: Gather Accessories and Packaging
If you’re selling your iPhone, including the original accessories and packaging can significantly increase its value and appeal. Buyers are often willing to pay more for a complete package, as it suggests the phone was well-maintained. It also provides them with everything they need to get started right away.
Gather any original items that came with your iPhone. This includes the box, charging cable, and power adapter. If you still have the original, unused EarPods, including those is a huge bonus. Even if the accessories are used, as long as they are in good working condition, they add value.
Take a moment to collect any extras you might be including, such as cases or screen protectors. Presenting the iPhone inside its original box with all its accessories neatly organized makes a great impression and can help you secure a better price or simply make the gift feel more special.
Frequently Asked Questions
What happens if I forget to sign out of iCloud before resetting my iPhone?
If you don’t sign out, Activation Lock will remain active. This means the new owner won’t be able to set up the device with their own Apple ID, making it unusable for them. You would need to provide your Apple ID password remotely to unlock it.
Is it safe to just delete my data manually instead of doing a factory reset?
No, manually deleting files is not enough. A factory reset uses secure methods to overwrite all data, making it unrecoverable. Simply deleting items leaves traces of data behind that could potentially be retrieved by someone with the right tools.
Do I need to remove my SIM card if it’s no longer active?
Yes, it is always best to remove your SIM card. Even if inactive, it can contain personal information and contacts. Removing it is a simple step that ensures none of your personal hardware is passed on to the new owner.
How can I check if Activation Lock is turned off?
After you sign out of your Apple ID and turn off “Find My,” Activation Lock is disabled. The new owner will know it’s off when they can proceed through the setup screen without being asked for the previous owner’s Apple ID and password.
Does including the original box really increase the resale value?
Yes, it often does. Including the original box and accessories makes your listing look more professional and complete. It gives buyers more confidence and can help your phone sell faster and for a slightly higher price compared to a device-only sale.
-
 TECH1 year ago
Where Garmin Watches are Made and How They are Assembled
-

 AUTO2 months ago
Tesla’s Roadster Is ‘a Few Weeks Away,’ Says Its Chief Designer
-
 NEWS10 years ago
Samsung Releases Galaxy Note7 TV Ad as Reddit AMA Leaks Specs
-
 NEWS10 years ago
Android 7.0 Nougat Rolls Out To Nexus Devices With New Emoji, Features
-
 FINANCE9 years ago
Cardano Price Surges as ADA Enters the Crypto Top Ten List
-
 NEWS10 years ago
Pre-Order the First Camera Made for Facebook Live Streaming Video
-
 FINANCE1 year ago
Binance Suspends Trading and Withdrawals for a System Upgrade
-
 FINANCE9 years ago
RChain Price Jumps Nearly 150% to a New All-Time High of $2.03