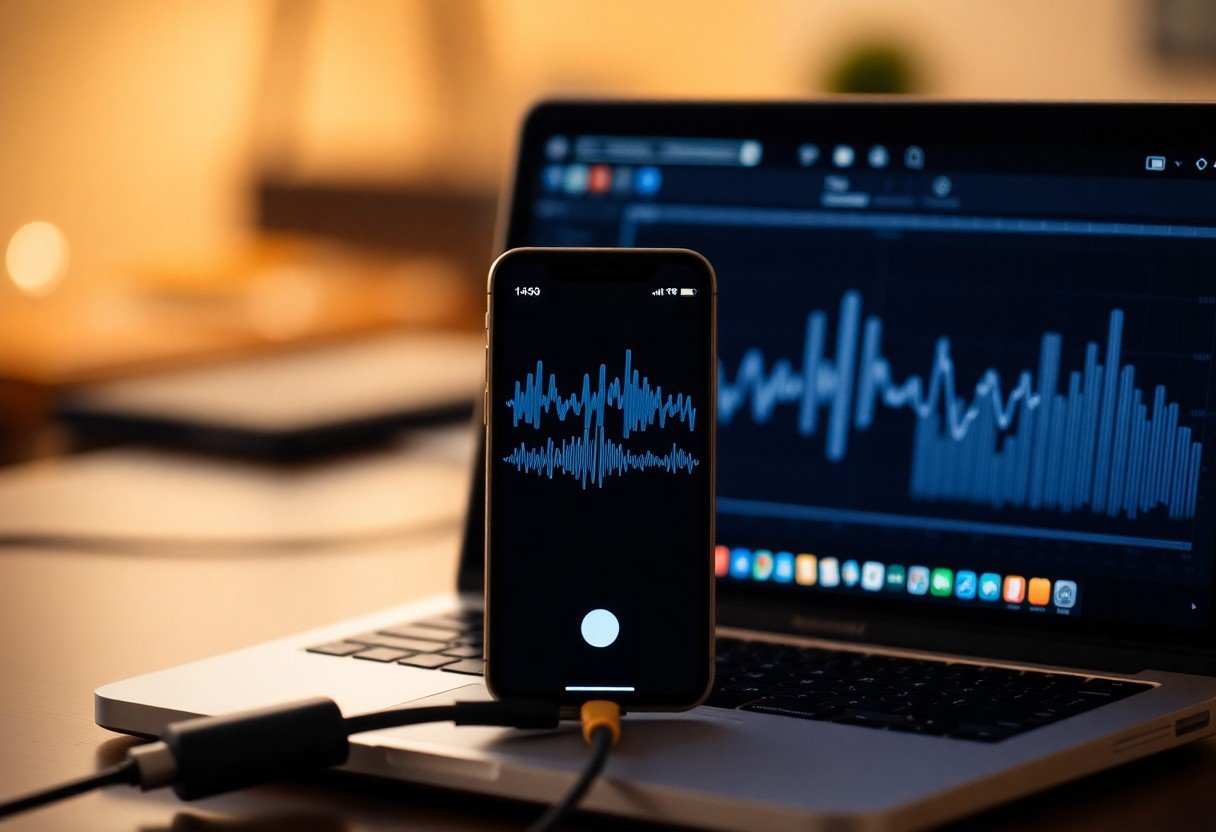
Want to improve your audio for podcasts, video calls, or recordings without buying expensive gear? You can easily transform your iPhone into a high-quality microphone for your Mac. This guide shows you how to connect your devices using simple apps, whether through a USB cable or Wi-Fi. By following a few steps, you can leverage your iPhone’s excellent built-in microphone to achieve crystal-clear sound for any project, making your audio sound more professional instantly.
Why Use Your iPhone as a Mac Microphone?
One of the biggest advantages of using your iPhone as a microphone is the incredible sound quality. Modern iPhones have sophisticated built-in microphones designed to capture clear, crisp audio, which is often superior to the standard internal mic on many Mac models. This simple setup can significantly enhance the professionalism of your podcasts, voiceovers, and virtual meetings.
Convenience and cost-effectiveness are also major benefits. You already own the iPhone, so there’s no need to purchase a separate, bulky external microphone. This solution is highly portable, allowing you to set up a high-quality recording environment anywhere you have your phone and laptop.
Using your iPhone as a microphone is a cost-effective way to achieve professional-sounding audio. Furthermore, many dedicated iOS apps offer advanced features like sound filters and equalizers, giving you more control over your audio output than a basic microphone would.
What You’ll Need to Get Started
Before you begin, gather a few essential items to ensure a smooth setup process. You likely have most of these already, making this an accessible option for almost any Mac user.
The core components are your devices and a way to connect them. You will also need specific software on both your iPhone and Mac to bridge the connection and transmit the audio signal.
Here is what you need:
- An iPhone: Any modern iPhone with a decent microphone will work.
- A Mac: The computer that will receive the audio input.
- Connection Method: A Lightning to USB cable for a wired connection or a stable Wi-Fi network for a wireless one.
- A Microphone App: You’ll need to download an app on your iPhone and its companion software on your Mac. Popular choices include EpocCam and Microphone Live.
Make sure to grant microphone permissions to the app on your iPhone when prompted. This is a critical step that allows the app to access the microphone and send audio to your Mac.
Step-by-Step Guide to Connecting Your iPhone
Setting up your iPhone as a microphone is a straightforward process. By following these steps in order, you can establish a reliable connection and start recording high-quality audio in minutes. This guide assumes you have already chosen and downloaded a microphone app on both devices.
The general process involves installing the software, connecting the devices, and configuring your Mac’s sound settings to recognize the iPhone as the primary audio source.
- Install the Apps: Download your chosen microphone app from the App Store onto your iPhone. Then, install the corresponding driver or companion software on your Mac from the app developer’s website.
- Connect Your Devices: Link your iPhone to your Mac using a Lightning to USB cable. Alternatively, ensure both devices are connected to the same Wi-Fi network if you prefer a wireless setup.
- Launch the App: Open the microphone app on your iPhone. It should automatically detect the connection to your Mac.
- Configure Mac Audio Settings: On your Mac, go to System Preferences (or System Settings on newer macOS versions), then click on “Sound.” Navigate to the “Input” tab.
- Select Your iPhone: Choose your iPhone (it will likely be named after the app you are using, like “EpocCam”) from the list of available input devices.
- Test Your Setup: Speak into your iPhone’s microphone. You should see the input level meter in the Sound settings move, confirming that your Mac is receiving audio. You can also do a test recording in an app like QuickTime or GarageBand.
Choosing the Right Connection Method: USB vs. Wi-Fi
When using your iPhone as a microphone, you can connect it to your Mac either with a USB cable or wirelessly over Wi-Fi. Each method has distinct advantages and is suited for different situations. Understanding the differences will help you choose the best option for your needs and avoid potential issues like audio lag.
A wired USB connection is generally the most reliable choice for professional or time-sensitive recordings. It provides a stable link that is not susceptible to network interference. On the other hand, a Wi-Fi connection offers unmatched freedom and flexibility, allowing you to position your microphone without being tethered by a cable.
Here is a breakdown of how the two methods compare:
| Feature | USB Connection | Wi-Fi Connection |
|---|---|---|
| Latency | Extremely low to none | Can have noticeable delay |
| Reliability | Very high and stable | Depends on network strength |
| Convenience | Less convenient, requires a cable | Very convenient, no wires |
| Battery | Charges iPhone while in use | Drains iPhone battery faster |
For live streaming or recording podcasts where audio sync is critical, a USB connection is highly recommended to eliminate latency. For casual video calls or meetings, the convenience of a Wi-Fi connection might be more appealing.
How to Troubleshoot Common Connection Problems
Even with a simple setup, you might occasionally run into issues like your Mac not recognizing the iPhone or experiencing poor audio quality. Most of these problems can be fixed with some basic troubleshooting steps.
The most frequent issues are related to software glitches, incorrect settings, or network instability. Start with the simplest solutions first, like restarting your devices, before moving on to more complex fixes. This can often resolve the problem quickly.
If you experience audio latency or dropouts, especially over Wi-Fi, try moving closer to your router or switching to a less congested network channel. A wired USB connection is the most effective way to solve problems related to wireless interference.
If your Mac doesn’t detect the iPhone, ensure the companion software is running on your Mac and that you have granted all necessary permissions on both devices. Sometimes, simply quitting and relaunching the app on your iPhone and Mac can re-establish the connection. Also, check for any available updates for the app and your operating systems, as outdated software can cause compatibility issues.
Frequently Asked Questions
What apps can I use my iPhone microphone with on my Mac?
You can use your iPhone as a microphone with almost any application on your Mac that accepts audio input. This includes video conferencing software like Zoom and Google Meet, recording tools like GarageBand and Audacity, and streaming programs like OBS.
Does using my iPhone as a mic drain the battery quickly?
Yes, using your iPhone as a microphone, especially over Wi-Fi, can consume battery life faster than usual. To avoid interruptions, it is best to connect your iPhone to a power source using a USB cable while it is in use.
How can I reduce audio delay or latency?
The best way to eliminate latency is to use a wired Lightning to USB connection instead of Wi-Fi. If you must use a wireless connection, ensure both your iPhone and Mac are on a strong, high-speed Wi-Fi network and close other applications that might be consuming bandwidth.
What should I do if the sound is muffled or distorted?
First, check that your iPhone’s microphone is not obstructed by a case or your hand. Position the phone closer to your mouth for better clarity. You can also adjust the input volume in your Mac’s Sound settings to prevent clipping or distortion.
Why is my Mac not recognizing my iPhone as an input device?
Ensure you have installed the necessary driver or companion software for your microphone app on your Mac. Also, confirm that both devices are on the same Wi-Fi network or properly connected via USB. Restarting both the app and your devices can often resolve recognition issues.


Leave a Comment