There’s a simple way to enhance your Microsoft Teams video calls by using your iPhone as a high-quality webcam on your Mac. This guide will walk you through the necessary steps and required apps to transform your device into a powerful webcam, ensuring crisp video and better engagement. By using your iPhone’s superior camera, you can effortlessly elevate your virtual communication and appear more professional during important meetings.
What You’ll Need to Get Started
Before diving into the setup, it’s important to gather a few key items to ensure a smooth process. Having the right hardware and software ready will prevent compatibility issues and help you connect your devices without any trouble. Most of these items are things you likely already have on hand.
You will need both your Apple devices and a way to connect them. The connection can be either wired or wireless, but both your iPhone and Mac must be prepared for the setup.
Here is a quick checklist of the essential components:
- An iPhone with a functioning camera (newer models will provide better quality).
- A Mac computer that supports the latest version of Microsoft Teams.
- A stable Wi-Fi network that both devices can connect to.
- An optional Lightning or USB-C cable for a wired connection.
Ensuring your macOS and iOS are updated to the latest versions is crucial for performance and compatibility. Outdated software is a common cause of connection problems between devices.
Choosing and Installing the Right App
The magic of this setup happens through a third-party application that bridges your iPhone and your Mac. These apps are designed to capture the video feed from your iPhone’s camera and transmit it to your computer, which then recognizes it as a standard webcam.
There are several popular and reliable applications available on the App Store, such as EpocCam and iVCam. Many of these offer a free version with basic functionality, which is often sufficient for most users. For advanced features like higher resolution or manual camera controls, you might consider a paid upgrade.
Once you choose an app, you’ll need to install it on both of your devices. First, download the application from the App Store onto your iPhone. Next, you will need to visit the app developer’s website to download and install the corresponding driver software on your Mac. Following the on-screen installation instructions carefully is essential for the software to work correctly with Microsoft Teams. This usually includes granting the app permission to access your camera and microphone.
Connecting Your iPhone to Your Mac
With the software installed, the next step is to physically or wirelessly connect your devices. You have two primary options for this: a direct USB cable connection or a wireless connection over your Wi-Fi network. Each method has its own set of advantages and is suited for different needs and work styles.
A wired connection is often recommended for important meetings where stability is key. A wireless connection, on the other hand, offers unmatched flexibility, allowing you to position your camera anywhere within your Wi-Fi range.
| Connection Method | Pros | Cons |
|---|---|---|
| USB Cable | Highly stable, no lag, charges your iPhone simultaneously. | Limited mobility, requires a physical cable. |
| Wi-Fi | Extremely flexible, no cables needed, easy to position. | Can be less stable, dependent on Wi-Fi strength. |
To establish the connection, open the webcam app on your iPhone and the corresponding driver software on your Mac. The two should automatically detect each other if they are on the same Wi-Fi network or connected via USB.
How to Configure Microsoft Teams
After your Mac recognizes your iPhone as a camera, the final step is to tell Microsoft Teams to use it. This process is straightforward and only takes a few clicks within the Teams settings menu. You should do this before joining a meeting to make sure everything is working correctly.
Testing your setup before an important call can save you from last-minute technical glitches. Here is how to select your iPhone as the main camera source in Microsoft Teams:
- Open the Microsoft Teams application on your Mac.
- Click on your profile picture in the top-right corner and select ‘Settings’.
- Navigate to the ‘Devices’ tab on the left-hand menu.
- Under the ‘Camera’ dropdown menu, you should see your iPhone listed as an option (e.g., ‘EpocCam Camera’). Select it.
- You should see a preview of your video feed. You can now close the settings menu.
Once selected, Teams will remember this choice for future meetings. You can also adjust other video settings within the webcam app on your iPhone to fine-tune the brightness, focus, and zoom for the perfect shot.
Tips for the Best Video Quality
Simply connecting your iPhone will already be a big upgrade, but a few extra tweaks can make your video quality truly exceptional. How you present yourself on camera can significantly impact your professional appearance during virtual meetings.
Good lighting is the most critical factor for high-quality video. Natural light is always best, so try to position yourself facing a window. If you don’t have access to natural light, use a soft lamp or a ring light placed in front of you to illuminate your face evenly and avoid harsh shadows.
Additionally, consider these simple tips for a better experience:
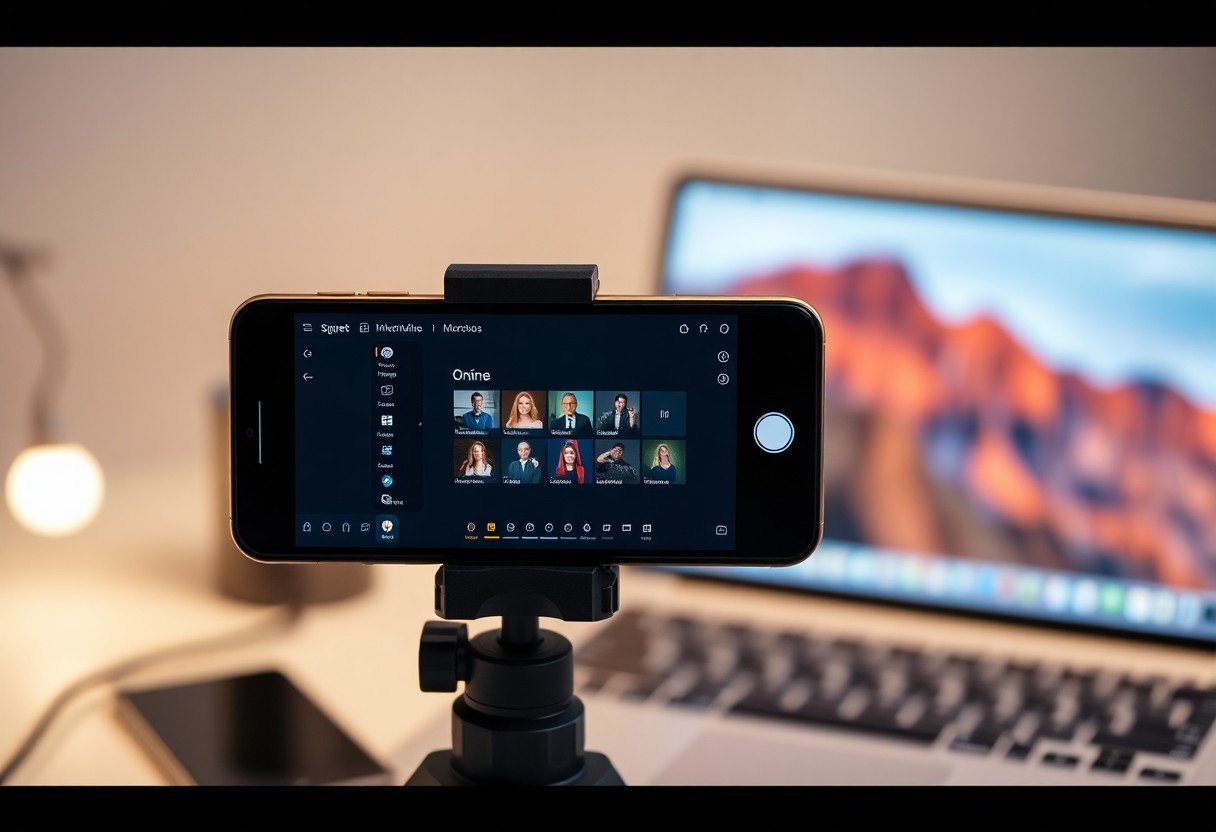
- Use a Tripod: Mount your iPhone on a small tripod or stand to keep the video feed stable and position it at eye level.
- Clean Your Background: A tidy, non-distracting background looks more professional. Use a virtual background in Teams if your physical space is cluttered.
- Stay Charged: Video streaming can drain your iPhone’s battery quickly. Keep it plugged in, especially during long meetings.
Troubleshooting Common Issues
Sometimes, you might run into issues where Microsoft Teams doesn’t recognize your iPhone or the connection is unstable. Most of these problems can be solved with a few simple troubleshooting steps.
If you can’t see your iPhone as a camera option, first ensure the webcam app is running on your iPhone and the driver is installed correctly on your Mac. A common fix is to simply restart both devices and the application.
If the video is choppy or lagging, your Wi-Fi connection is the likely culprit. Try moving closer to your router or switching to a wired USB connection for a more stable data transfer. Also, check your Mac’s ‘Security & Privacy’ settings to ensure the webcam app has the necessary permissions to function. If problems persist, reinstalling the driver on your Mac can often resolve the issue.
Frequently Asked Questions
Can I use my iPhone as a webcam without installing an app?
No, you need a third-party application to bridge the connection. macOS has a feature called Continuity Camera, but it doesn’t work directly with Microsoft Teams as a live webcam, so an app like EpocCam or iVCam is required.
Will using my iPhone as a webcam drain its battery?
Yes, streaming video is battery-intensive. It is highly recommended to keep your iPhone connected to a power source via a Lightning or USB-C cable during your meetings to avoid it shutting down.
Is a wired or wireless connection better for video quality?
A wired USB connection generally provides the most stable and highest-quality video feed with zero latency. A wireless connection is more convenient but can be affected by the strength and speed of your Wi-Fi network.
Can I use both the front and back cameras of my iPhone?
Most webcam apps allow you to switch between the front and rear cameras of your iPhone. The rear camera typically offers much higher quality, so it is the recommended choice for professional calls.
Do I need to pay for an app to make this work?
Many webcam apps offer free versions that are perfectly suitable for most users, though they may have limitations like watermarks or lower resolution. Paid versions unlock higher resolutions, manual controls, and other advanced features.


Leave a Comment