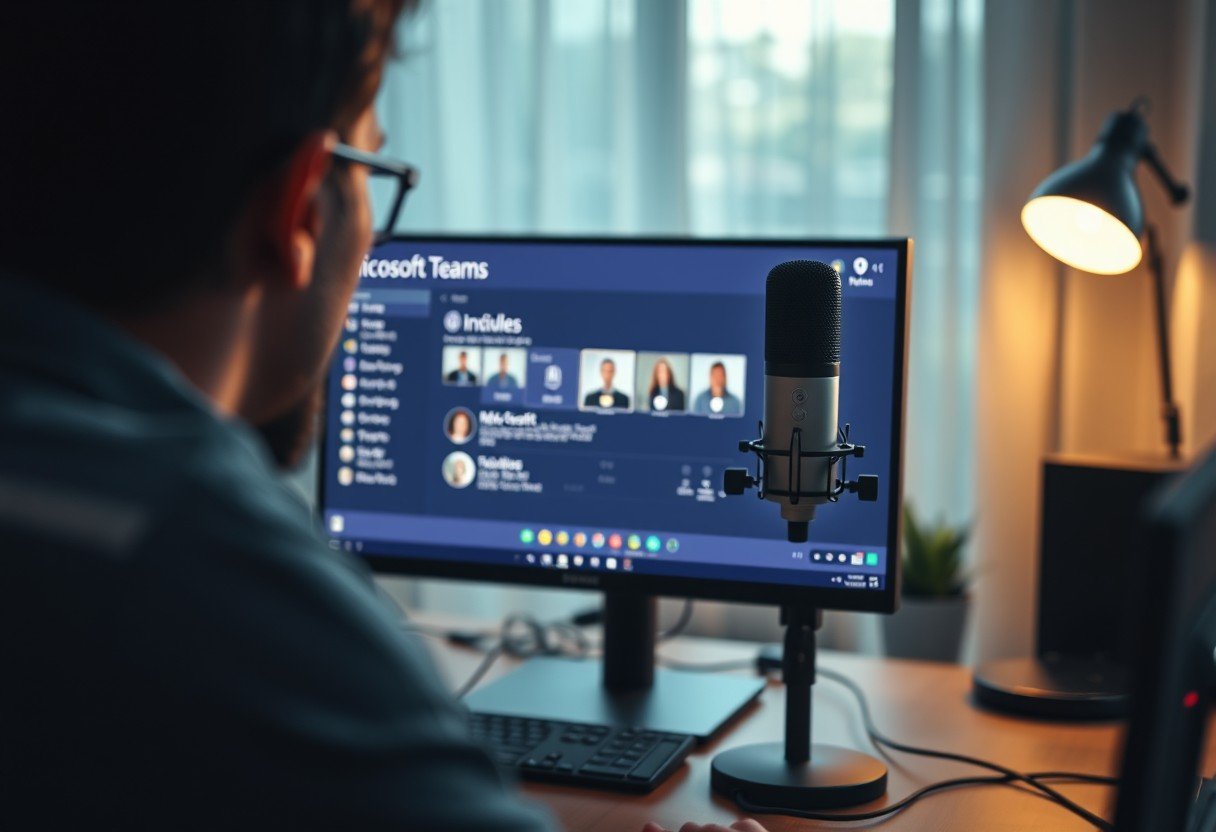
Nothing is more frustrating than joining an important Microsoft Teams meeting only to find out nobody can hear you. Testing your microphone beforehand is a simple step that prevents communication issues and ensures your voice is heard clearly. This guide will walk you through exactly how to check your microphone settings, run a test call, and troubleshoot common problems, so you can join your next meeting with complete confidence.
How to Access Your Microphone Settings in Teams
Before you can test your microphone, you need to know where to find the right settings. Microsoft Teams keeps all your audio and video options in one convenient place. Getting these settings right is the foundation for clear communication.
To get started, open the Microsoft Teams application on your desktop. In the top right corner of the window, you will see your profile picture or initials. Click on it to open a drop-down menu.
From this menu, you need to locate and select the “Settings” option. This will open a new window where you can customize your Teams experience. On the left-hand side of the settings window, click on the “Devices” tab.
This “Devices” section is where you control all your hardware, including your microphone, speakers, and camera. Make sure you are in this section before moving on to the next step.
Running a Test to Check Your Microphone
Microsoft Teams includes a fantastic built-in feature to check your audio quality. This allows you to hear exactly what others will hear during a call, which is the best way to identify issues like low volume, background noise, or distortion. Running this test only takes a minute.
In the “Devices” settings menu, look for the “Audio devices” section. Here, you will see an option to “Make a test call.”
When you click this, Teams will call a special test service. Follow the voice prompts: you will be asked to record a short message after a beep. Speak into your microphone for a few seconds, then wait. The service will play your recorded message back to you.
This echo test is the most effective way to gauge the clarity and volume of your audio input. If you sound clear, you are ready for your meeting. If you hear static, your volume is too low, or there is a lot of background noise, you will need to make some adjustments.
Troubleshooting Common Microphone Issues
Sometimes, even after selecting the right device, your microphone might not work as expected. Common issues include the microphone not being detected at all or the audio being choppy. Fortunately, most of these problems can be solved with a few quick troubleshooting steps.
Start by checking the basics. A surprising number of issues are caused by simple physical connection problems.
- Check Your Connection: Make sure your microphone is securely plugged into the correct port. If it is a USB microphone, try a different USB port.
- Look for a Mute Button: Some microphones and headsets have a physical mute button. Ensure it is not accidentally turned on.
- Restart the Application: Completely close Microsoft Teams and reopen it. This can often resolve temporary software glitches.
If the hardware seems fine, the problem might be with your computer’s software settings. Your operating system needs to grant Teams permission to use your microphone. If Teams does not have the necessary permissions, your microphone will not work in the app, even if it works elsewhere.
On Windows, go to Settings > Privacy > Microphone and make sure “Allow apps to access your microphone” is turned on. On a Mac, go to System Preferences > Security & Privacy > Privacy > Microphone and ensure the checkbox next to Microsoft Teams is selected.
Tips for Improving Your Microphone Quality
Once your microphone is working, you can take a few extra steps to make sure your audio quality is as professional as possible. How you sound can have a big impact on how your message is received during a virtual collaboration.
The distance between you and your microphone is critical. Ideally, you should position your microphone about 6 to 12 inches away from your mouth. If it is too close, your voice may sound distorted or “clipped.” If it is too far, you will sound faint and the microphone will pick up more room noise.
Background noise is another major distraction. Try to take calls from a quiet space. Closing doors and windows can make a big difference. For an even better experience, consider using a headset with a built-in microphone, as this design naturally reduces echo and isolates your voice from ambient sounds.
Understanding Factors That Affect Performance
Several elements can impact how well your microphone performs during a Teams call. Being aware of these factors helps you control your audio environment for the best possible sound.
The quality of your hardware is the most significant factor. While your laptop’s built-in microphone is convenient, an external USB microphone or a quality headset will almost always provide superior audio. Below is a quick comparison of common microphone types.
| Microphone Type | Best For | Potential Downsides |
| Built-in Laptop Mic | Casual calls and convenience | Picks up keyboard sounds and room echo |
| USB Microphone | High-quality voice clarity | Can be sensitive to background noise |
| Headset with Mic | Noisy environments and preventing echo | Audio quality can vary by model |
Your environment also plays a huge role. A room with many hard surfaces like bare walls and floors will create more echo. Rooms with carpets, curtains, and other soft furnishings help absorb sound, leading to a clearer and more professional audio experience for everyone on the call.
Frequently Asked Questions about Testing Your Teams Microphone
How do I check if my microphone is working in Microsoft Teams?
Go to Settings > Devices. Under the “Microphone” dropdown, select your device. Speak into the mic and watch the volume level indicator below it; if the bar moves as you talk, it is working.
What should I do if my microphone is not picking up sound?
First, check that your microphone is properly connected and not muted. Then, verify that Microsoft Teams has permission to access your microphone in your computer’s privacy settings. Finally, try restarting the Teams application.
Can I test my microphone before joining a Teams meeting?
Yes. When you click to join a meeting, a pre-join screen appears. On this screen, you can select your audio device and see a live preview of the microphone level indicator to confirm it is working before you enter the call.
Why is my microphone not working in Teams but works in other apps?
This issue is almost always caused by app-specific permissions. Go to your operating system’s privacy settings and ensure you have explicitly granted Microsoft Teams access to use your microphone.
How can I reduce background noise in my Teams calls?
Choose a quiet location for your call. You can also use the built-in noise suppression feature in Teams by going to Settings > Devices and selecting a level of suppression under the “Noise suppression” dropdown.


Leave a Comment