TECH
A Simple Guide for Testing the Microphone on Your Chromebook
Needing to test your microphone on a Chromebook is common for online classes, video calls, or recording audio. This guide explains how to quickly check if your mic is working, troubleshoot common problems, and improve your sound quality. Following these simple steps will ensure your voice is heard clearly, preventing any frustrating audio interruptions during important conversations.
Why You Should Test Your Chromebook Microphone
Testing your microphone before a crucial meeting or class can save you from technical glitches and embarrassment. A quick check ensures that your audio is clear and that others can hear you without any issues. It helps confirm that your hardware is connected properly and that your software settings are correctly configured.
Many people assume their microphone is working until someone on a call points out they cannot be heard. This can disrupt the flow of a conversation and appear unprofessional.
By proactively testing, you can identify and fix problems like low volume, background noise, or a completely non-functional mic. This simple habit improves your overall communication experience and helps you use your Chromebook more effectively for any task requiring audio input.
A Step-by-Step Guide to Test Your Microphone
Chromebooks have a built-in feature that makes testing your microphone incredibly simple. You can find out if your mic is picking up sound in less than a minute by navigating through the device settings. This process doesn’t require any special software or technical skills.
Follow these three easy steps to conduct a mic test directly on your Chromebook:
- Open Your Settings Menu: Start by clicking on the time in the bottom-right corner of your screen to open the Quick Settings panel. From there, click the gear icon to go to the main “Settings” page.
- Navigate to Audio Settings: In the Settings menu on the left, select the “Device” option. Afterward, click on “Audio” to see all your sound input and output options.
- Check the Input Level: Under the “Input” section, you will see your microphone listed. Speak into your microphone and watch the volume indicator next to it. If the bar moves as you talk, your microphone is working correctly.
If the bar does not move, it means your Chromebook is not detecting any sound. In that case, you may need to check your connections or move on to troubleshooting steps.
Choosing the Right Microphone for Your Chromebook
While most Chromebooks come with a built-in microphone, an external one can significantly improve your audio quality. Different types of microphones offer various benefits depending on your needs, from casual video calls to professional-level recording.
Understanding the options helps you make an informed decision. For example, a USB microphone is often plug-and-play, making it very easy to set up, while a Bluetooth mic offers wireless convenience.
Here is a quick comparison of common microphone types compatible with Chromebooks:
| Microphone Type | Primary Advantage | Best Use Case |
|---|---|---|
| Built-in Microphone | Convenient and always available | Quick video calls and simple tasks |
| USB Microphone | High sound quality and easy setup | Podcasting, streaming, and recording |
| 3.5mm Jack Microphone | Widely compatible with many devices | Using headsets with an attached mic |
| Bluetooth Microphone | Wireless freedom and portability | On-the-go calls and presentations |
How to Troubleshoot Common Microphone Problems
If your microphone isn’t working after the initial test, don’t worry. Most issues can be resolved with a few simple troubleshooting steps. The problem often lies with software settings, app permissions, or a bad connection rather than broken hardware.
Start with the most basic solutions first. A simple restart of your Chromebook can often fix temporary glitches that affect audio performance. If that doesn’t work, try checking the physical connection of your external microphone to ensure it’s plugged in securely.
If you’re still facing issues, here are some other common solutions to try:
- Check App Permissions: Make sure the specific application you are using, like Google Meet or Zoom, has permission to access your microphone. You can manage this in your Chromebook’s “Privacy and security” settings.
- Select the Correct Input Device: In your “Audio” settings, verify that the microphone you want to use is selected as the input device. Sometimes a Chromebook might default to the wrong one.
- Update Your Chrome OS: An outdated operating system can cause compatibility issues. Ensure your Chromebook is updated to the latest version of Chrome OS for optimal performance.
If an external microphone works but the built-in one does not, it could signal a hardware failure with the internal mic, which may require professional repair.
Tips for Getting Clearer Audio from Your Microphone
Even if your microphone is working, you can take steps to make your audio sound better. Poor sound quality is often caused by your environment or how you are using the microphone, not the device itself.
One of the most effective ways to improve audio clarity is to reduce background noise. Try to use your Chromebook in a quiet room away from fans, televisions, or other loud sounds. Soft furnishings like carpets and curtains can also help absorb echo, making your voice sound clearer.
Positioning is also key. Speak directly into the microphone from an optimal distance. If you are too close, your audio might sound distorted, and if you are too far, your voice will be faint. Using a headset with a built-in microphone can help maintain a consistent distance and often provides better quality than the laptop’s internal mic.
Managing Microphone Permissions and Your Privacy
Whenever an app or website wants to use your microphone, your Chromebook will ask for your permission. This is a critical privacy feature that gives you control over which services can listen to you. It’s important to be mindful of these permissions to protect your personal information.
You can review and manage which apps and sites have access to your microphone at any time. To do this, go to “Settings,” then “Privacy and security,” and finally “Site Settings.” Here, you can click on “Microphone” to see a list of allowed and blocked sites.
Regularly reviewing these permissions is a good habit for maintaining your digital privacy. If you no longer use a particular service, you can revoke its access to your microphone. This ensures that no app or website can access your audio without your explicit consent.
Frequently Asked Questions about Chromebook Microphones
What should I do if my Chromebook microphone is not picking up sound?
First, check your audio settings to ensure the mic isn’t muted and is selected as the input device. Then, verify that the app you’re using has permission to access the microphone. If problems continue, try restarting your Chromebook.
How can I adjust the microphone volume on my Chromebook?
You can adjust the input volume slider in the “Audio” section of your device settings. Simply click the time in the bottom-right corner, go to “Settings,” then “Device,” and “Audio” to find the slider under the “Input” heading.
Are there apps that can help test my microphone?
Yes, many websites and apps can help. You can use online tools like Online Mic Test or the built-in testing features in communication apps like Google Meet and Zoom to confirm your microphone is working before you join a call.
Why does my audio sound muffled or distant?
This often happens with built-in microphones due to their placement on the laptop. To improve clarity, try to sit closer to your device, speak clearly, and reduce background noise. Using an external microphone is the best way to solve this issue permanently.
Can I use an external microphone with any Chromebook?
Most external microphones that connect via USB, Bluetooth, or a 3.5mm audio jack are compatible with Chromebooks. They are typically plug-and-play, meaning they work as soon as you connect them without needing to install special drivers.
-
 NEWS10 years ago
Samsung Releases Galaxy Note7 TV Ad as Reddit AMA Leaks Specs
-
 NEWS10 years ago
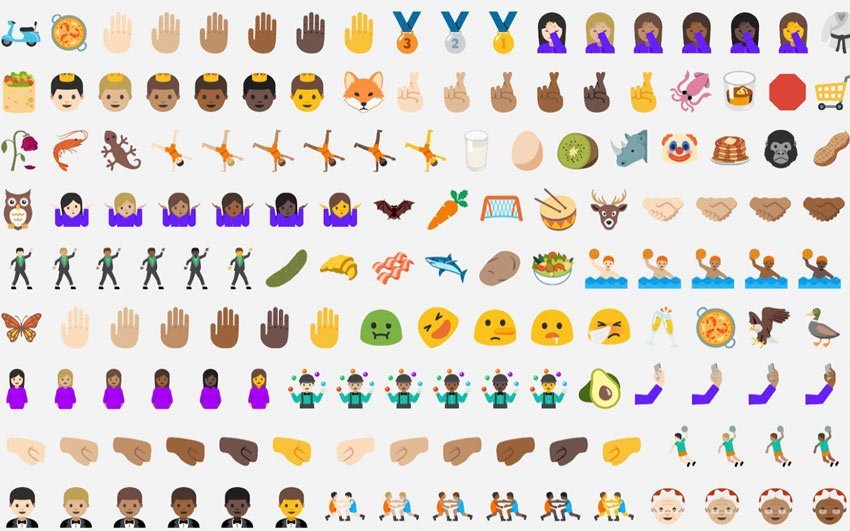
Android 7.0 Nougat Rolls Out To Nexus Devices With New Emoji, Features
-
 FINANCE8 years ago
Cardano Price Surges as ADA Enters the Crypto Top Ten List
-
 NEWS10 years ago
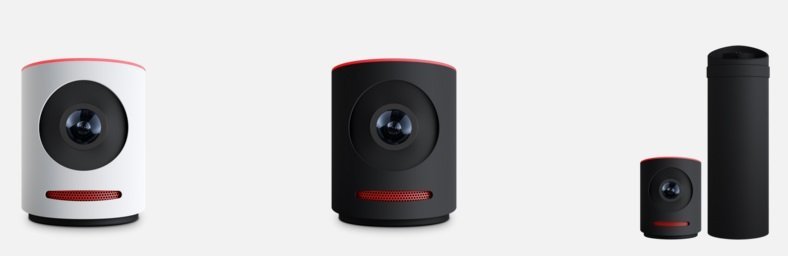
Pre-Order the First Camera Made for Facebook Live Streaming Video
-
 FINANCE11 months ago
Binance Suspends Trading and Withdrawals for a System Upgrade
-
 FINANCE8 years ago
RChain Price Jumps Nearly 150% to a New All-Time High of $2.03
-
 NEWS10 years ago
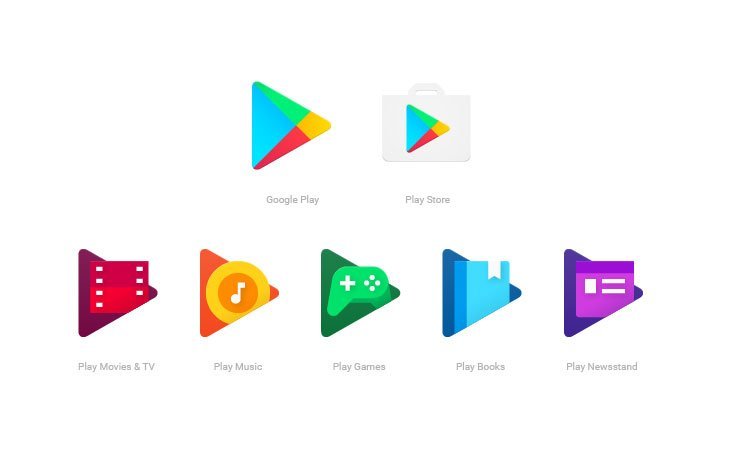
Google Play App Icons Get Fresh New Look: See the Latest Design Update
-
 NEWS10 years ago
Google Doodle Go Bananas Fruit Games Live On Mobile For Two Weeks