If you’re having trouble with calls, voice commands, or recordings, your Android phone’s microphone might be the culprit. Knowing how to quickly test it can save you a lot of frustration. This guide will walk you through several easy methods, from using built-in apps to checking your settings, helping you diagnose and fix any microphone issues you might encounter on your device.
Simple Ways to Perform a Basic Microphone Test
Before diving into complex settings, you can perform a few quick checks to see if your microphone is working at all. These methods use apps and features that are already on your phone, making them incredibly convenient.
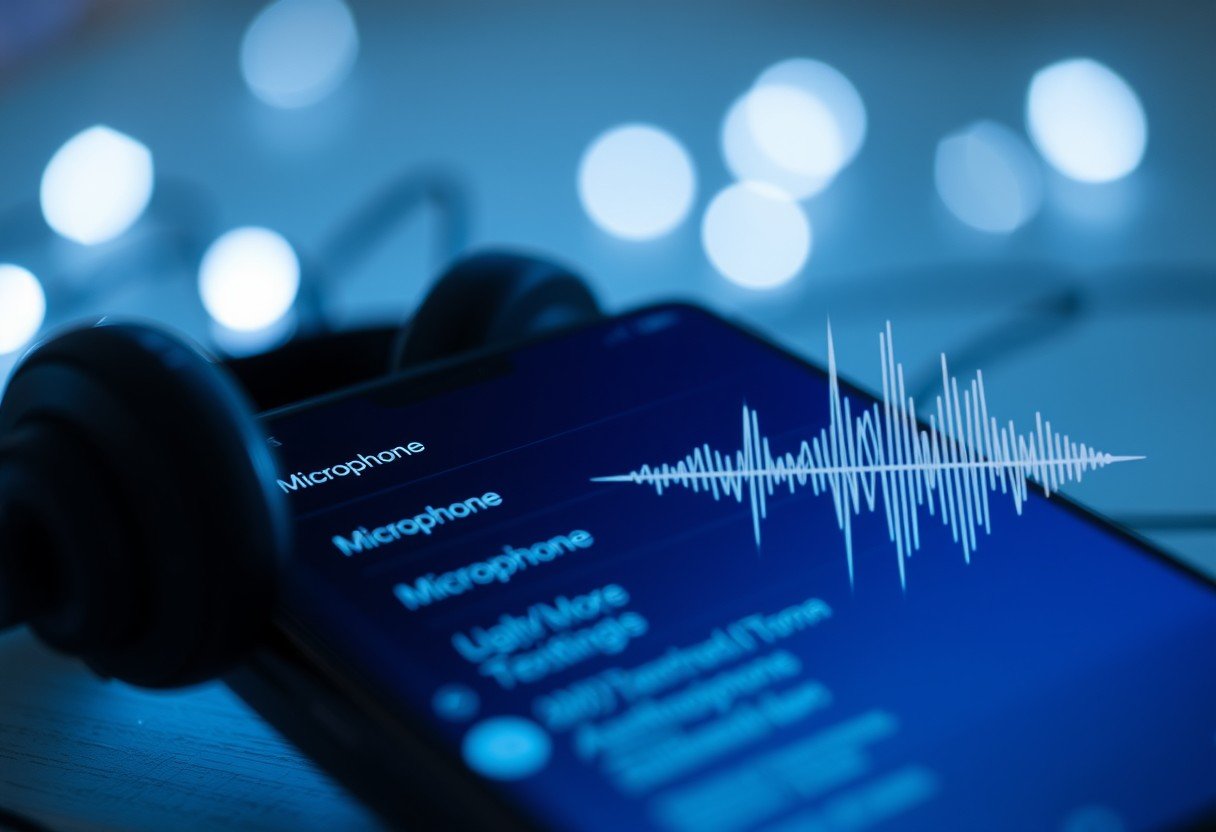
The easiest way to start is with a voice recording app. Nearly every Android device comes with one pre-installed. Simply open the app, hit record, and speak for a few seconds. Play the recording back. If you can hear your voice clearly, your primary microphone is likely working fine.
Another effective method is to use a voice assistant like Google Assistant. Activate it by saying “Hey Google” or by pressing the designated button. If the assistant responds to your voice command, it means your microphone is actively listening and functioning correctly. This also helps test the microphone’s sensitivity.
- Make a Phone Call: Call a friend or your own voicemail. If the other person can hear you clearly, your microphone is working for calls.
- Record a Video: Shoot a short video while speaking. When you play it back, listen to the audio quality to check the microphone used for video recording.
- Use a Messaging App: Send a voice note using an app like WhatsApp or Telegram. Listen to the note before sending it to check the sound quality.
Checking Your Android’s Microphone Settings and Permissions
Sometimes, a microphone issue isn’t a hardware problem but a software one. An app might not have the necessary permission to access your microphone, causing it to fail. Checking your app permissions is a crucial troubleshooting step.
You can manage these permissions directly from your device’s settings menu. Each app that requires microphone access must be granted permission individually. If you’ve denied it by mistake in the past, the app won’t be able to hear you.
Follow these steps to check and adjust app permissions:
- Open the Settings app on your Android device.
- Tap on Apps or Applications, then find the app you’re having trouble with.
- Select Permissions from the app’s info page.
- Find Microphone in the list and ensure it is set to Allow.
Restarting your phone after adjusting permissions can often resolve any lingering software glitches. This simple action forces the system to reapply the new settings and can fix many common problems.
Don’t Forget the Physical Hardware Checks
It’s easy to assume the problem is complex, but often the solution is surprisingly simple. Physical obstructions are a leading cause of poor microphone performance. Dust, lint, and other debris can easily get lodged in the small microphone openings on your phone.
Take a moment to inspect your device. Most phones have multiple microphones; one at the bottom for calls, and often another near the camera for video recording and noise cancellation. Gently clean these openings with a soft brush, a toothpick, or a can of compressed air. Be careful not to poke too deep or use anything sharp that could damage the hardware.
Your phone case can also be the culprit. A poorly designed case might cover up one of the microphone holes, muffling your voice. Try removing the case and testing the microphone again to see if the audio quality improves.
Using Third-Party Apps for a Deeper Analysis
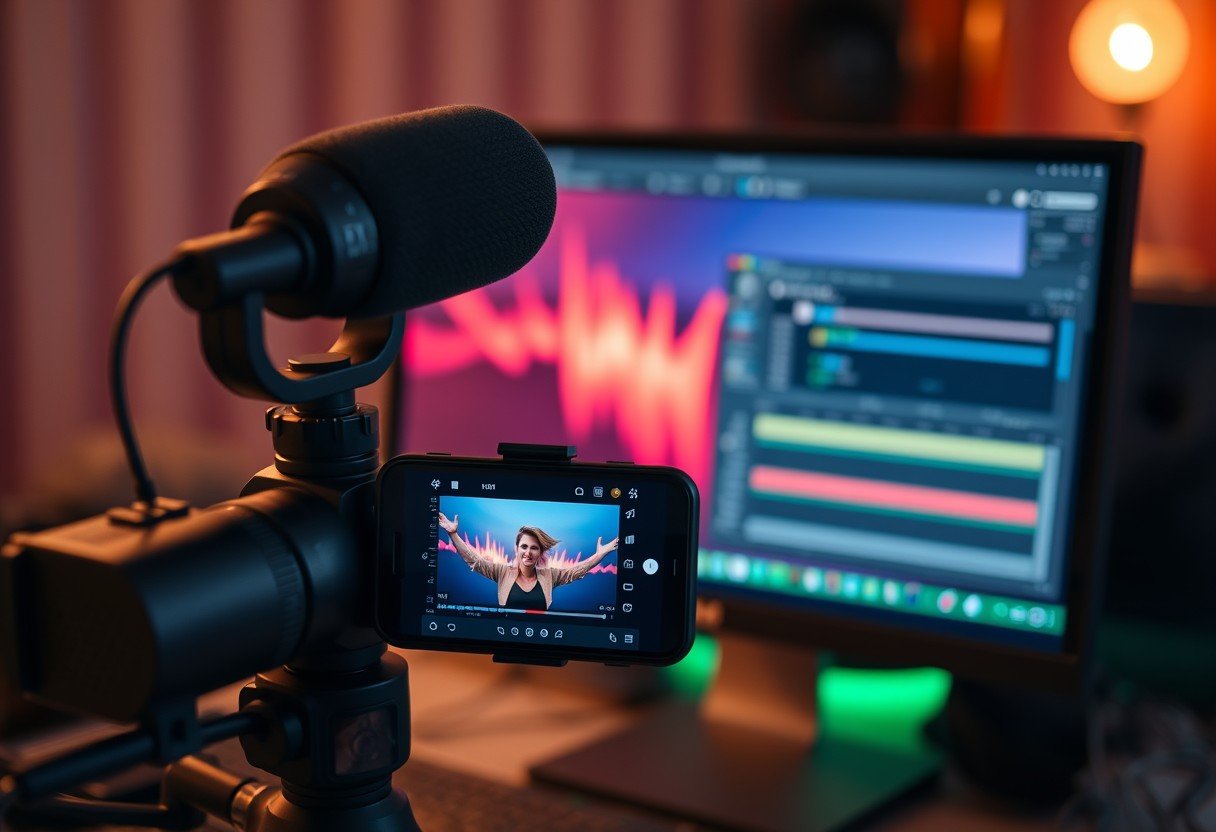
If basic tests are inconclusive, you can turn to specialized apps from the Google Play Store for a more detailed analysis. These apps are designed specifically to test hardware components like your microphone and can provide more insight than a simple voice recording.
Apps like ‘Microphone Tester’ or ‘Audio Analyzer’ can give you a visual representation of the sound your microphone is picking up. This can help you identify issues like low sensitivity or distortion that might not be obvious in a simple recording. They can also measure things like frequency response and background noise levels.
How to Troubleshoot Common Microphone Problems
When your microphone isn’t working, the issue usually falls into one of two categories: software or hardware. By systematically checking both, you can often find the root cause of the problem without needing to visit a repair shop.
Software issues are more common and easier to fix. This includes incorrect permissions, app glitches, or problems with a recent software update. Hardware issues, on the other hand, relate to physical damage to the microphone itself.
| Problem | Potential Solution |
|---|---|
| Low or Muffled Volume | Clean the microphone port for debris or remove the phone case. |
| Microphone Not Working in One App | Check and grant microphone permissions for that specific app. |
| No Sound at All | Restart the device; if that fails, test with an external microphone. |
| Static or Distortion | Check for software updates or test the phone in Safe Mode to rule out app conflicts. |
Testing with an external microphone, like the one on a pair of headphones, is a great diagnostic step. If the external mic works perfectly, it strongly suggests that the problem lies with your phone’s internal microphone hardware.
Tips for Improving Your Microphone’s Performance
Maintaining good microphone performance is about more than just fixing problems when they arise. With a few good habits, you can ensure your audio quality remains clear and reliable for the long term.
Regular maintenance is key. You don’t have to wait for a problem to clean your microphone ports. Wiping them down occasionally with a soft cloth can prevent buildup. Also, always be mindful of your surroundings when recording or on a call.
- Keep Your Software Updated: Manufacturers often release updates that include fixes for known bugs, which can sometimes include microphone-related issues.
- Avoid Covering the Mics: Be aware of how you hold your phone. It’s easy to accidentally cover one of the microphone holes with your finger during a call or while recording.
- Find a Quiet Environment: Background noise can significantly degrade audio quality. Move to a quieter area whenever possible for important calls or recordings.
Frequently Asked Questions
How do I know if my Android microphone is working?
The quickest way to check is by using your phone’s built-in voice recorder app. Record a short clip of your voice and play it back. If the audio is clear, your microphone is working correctly.
What’s the best app to test my phone’s microphone?
For a basic test, the pre-installed voice recorder is sufficient. For more detailed diagnostics, apps like ‘Microphone Tester’ or ‘Sound Meter’ from the Google Play Store can provide visual feedback on audio input levels.
Why is my microphone not working in one app but fine in others?
This is almost always a permissions issue. Go to your phone’s Settings, find the specific app, and ensure you have granted it permission to access the microphone. Clearing the app’s cache can also help.
My microphone isn’t picking up any sound, what should I do?
First, restart your device to fix any temporary software glitches. Next, carefully clean the microphone port for any debris. If it still doesn’t work, it may be a hardware failure that requires professional repair.
How can I give an app permission to use my microphone?
Navigate to Settings > Apps > [Select the App] > Permissions. From this screen, you can find the Microphone option and toggle the permission to “Allow” to grant access.


Leave a Comment