After you reassemble a laptop, the safest next step is a careful pre power check. Know what to look for, where errors hide, how to test, when to connect power, who needs ESD safety, and why these checks prevent shorts and failure. This guide shows the exact steps to follow before installing the battery or the AC adapter.
Why Pre Power Checks Matter After Laptop Reassembly
Small mistakes like a loose cable or a trapped screw can short a board the moment power is applied. A quick inspection takes minutes and can save a costly repair. Many no boot cases after repair come from simple connector issues.
Electrostatic discharge from your body can reach thousands of volts even if you do not feel a shock. Sensitive chips can fail in an instant. Good safety habits reduce that risk to near zero.
The goal is simple and vital, do not let a preventable error meet power.
You will also protect performance. A misseated RAM stick, a dry thermal paste layer, or a blocked fan can cause crashes, heat, and throttling. Fix it now before the first boot.
Workspace Setup And ESD Safety
Set up a clean, bright table with room for parts. Remove drinks and anything that sheds dust. Keep a small parts tray for screws by size and length.
- Wear an anti static wrist strap and clip it to a grounded point on your work surface.
- Unplug the charger and remove the battery before you touch any internal parts.
- Use plastic pry tools and a non magnetic screwdriver to avoid damage.
Touch a grounded metal object often to discharge static from your body.
Work in low humidity if possible or add a small humidifier. Static risk rises in very dry rooms. Keep pets and fabric blankets away from your bench.
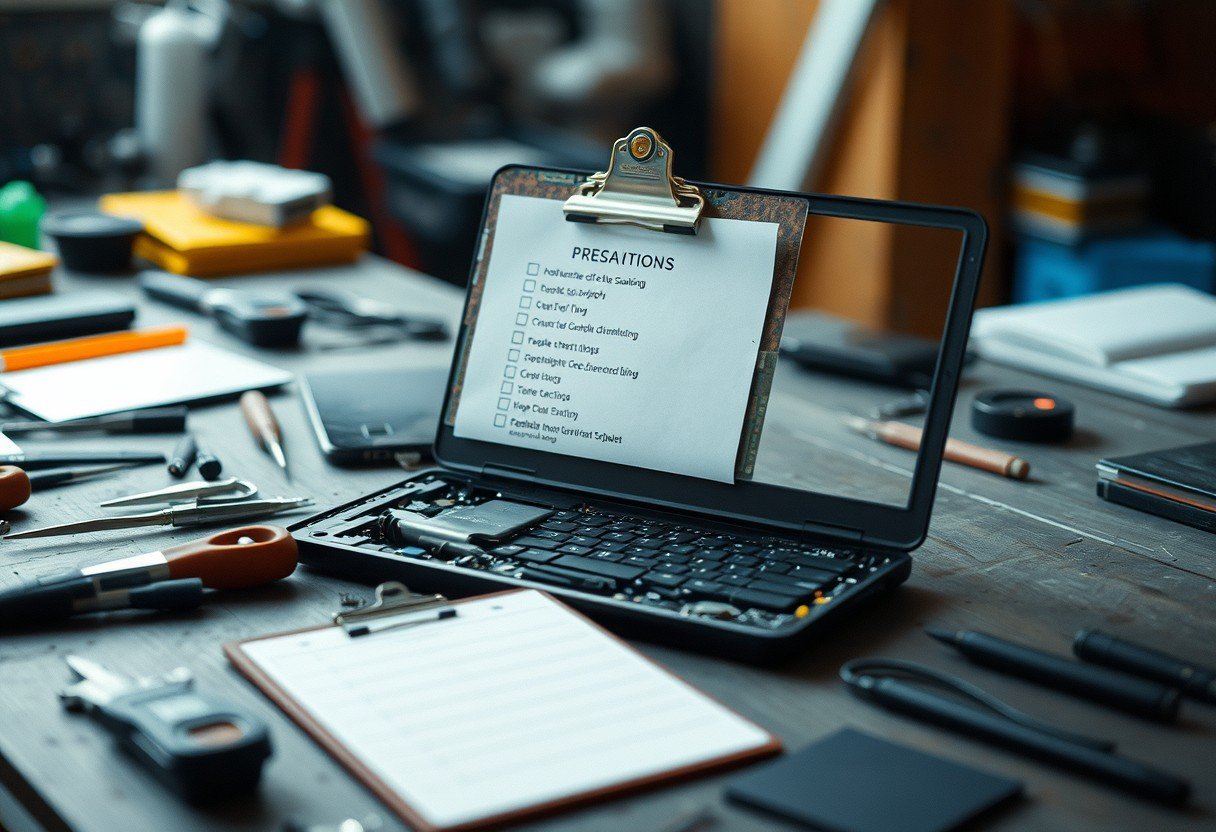
Pre Power Visual Checklist
Before any power is connected, use this step by step checklist. A slow look now is faster than opening the laptop again later.
- Confirm the internal battery is disconnected or removed and the AC adapter is unplugged.
- Check that every ribbon cable is fully inserted and its latch is closed, including keyboard, touchpad, and fingerprint cables.
- Verify the display cable is centered and seated, with no pinched sections along the hinge path.
- Reseat RAM sticks until the side clips click and the module sits level.
- Ensure the SSD or hard drive is flat, fully inserted, and secured with the right screws.
- Inspect Wi Fi antenna leads for firm snaps on Main and Aux and tidy routing.
- Confirm the fan cable is connected and blades spin freely when turned by hand.
- Look for trapped screws, loose metal bits, and stray tools inside the chassis.
- Verify shields, foam pads, and insulators are back in place to prevent shorts.
If anything looks off, fix it now while the system is still open.
Use a flashlight and magnifier for tight spaces. Pay special attention around the CPU area, M.2 slots, and hinge zones where cables often get pinched.
Verify Cables, Connectors And Component Seating
Not all connectors are alike. Some need a firm push, others lock with a tiny bar. Do not force a part that does not sit flush. Recheck alignment and try again.
Use this quick reference to confirm common points of failure after a laptop rebuild.
| Component | What To Check | Common Mistake |
|---|---|---|
| RAM | Sits at the same height, clips fully engaged | Angled module with one clip not locked |
| SSD or HDD | Connector fully inserted, bracket screws tight | Half seated M.2 drive or missing standoff |
| Keyboard Ribbon | Evenly inserted, latch pushed down all the way | Ribbon shifted to one side or latch left open |
| Display Cable | Centered, adhesive re applied, no hinge pinch | Bent pins or cable routed over a screw post |
| Wi Fi Antennas | Main and Aux snapped on with gentle click | Swapped leads or snapped on at an angle |
| Fan Connector | Fully seated, correct orientation | Fan plugged one pin off or left unplugged |
A connector that sits uneven is usually not fully home, remove and reseat.
If a port feels loose or cracked, stop and replace it before power is applied. A damaged port can short the board.
Clean Cooling System And Refresh Thermal Interface
Heat is the top enemy of laptop life. Clean airflow and a fresh thermal layer help the CPU and GPU run cool and stable under load.
Hold the fan blades still and use short bursts of compressed air to clear dust from fins and vents. Blow from both sides of the heatsink so debris exits the chassis.
Remove old thermal paste with isopropyl alcohol of at least 90 percent and a lint free pad. Apply a small pea sized dot of new paste at the center of the CPU. When the heatsink is tightened in a cross pattern, it spreads the paste into a thin even layer.
A clean path for air and a proper thermal bond can drop core temps by double digits under stress.
First Power On The Right Way
Power up in a controlled way to catch issues early. Start with the AC adapter only and keep the bottom cover installed to ensure normal airflow.
- Connect the AC adapter, leave the battery out, and press power once.
- Watch for a keyboard backlight flash, fan spin, and a vendor logo or BIOS screen.
- Enter BIOS setup and verify the system sees RAM, storage, and the internal battery if present.
- Let the system idle in BIOS for five minutes and watch temps and fan behavior.
If the system posts clean on AC, install the battery next and retest.
Update BIOS or firmware only when the laptop is stable, on AC power, and with the battery installed as a backup power source. Never interrupt a firmware update.
Troubleshoot Early Signs Before Installing The Battery
Listen and look closely during the first AC test. A click, a coil whine, or a blinking code can point you to the fault fast. Note any pattern of beeps or lights.
- No display but keyboard lights work often means a loose display cable or RAM issue.
- Fans ramp to high and shut down can point to a missing CPU fan connector or bad thermal contact.
- No signs of life at all usually trace to the power button cable or board power rail fuse.
Do not keep cycling power if you see or smell anything unusual, disconnect and inspect.
Work one change at a time, then retest. Reseat RAM, try one stick, move the SSD to a different slot if available, and check each cable again with a flashlight.
FAQs
What should I check first after reassembling a laptop before power?
Confirm the battery is disconnected, then verify every ribbon and connector is fully seated and latched. Inspect for stray screws or metal parts inside the chassis and make sure RAM and storage are secured.
Is it safe to power on with the AC adapter but without the battery?
Yes, most laptops will run on AC alone and this is a safe way to test the build. Add the battery after a clean post and basic checks in BIOS.
How do I know if thermal paste needs replacement after a rebuild?
If you lifted the heatsink, you must clean and replace the thermal paste. Old paste that looks dry or cracked will not transfer heat well and can cause throttling.
What is the best way to prevent static damage during laptop repair?
Use an anti static wrist strap, work on an anti static mat, and touch a grounded object often. Keep humidity moderate and avoid wool or fleece clothes while working.
When should I update BIOS or firmware in this process?
Update only after the system posts, shows stable temps, and runs on AC with the battery installed. Keep power steady and never interrupt the update.
Why will a laptop not boot after reassembly even if parts look fine?
Common causes are a slightly loose RAM module, an unlatched keyboard or power button ribbon, or a misaligned display cable. Reseat each one and check for pinched cables along the hinge.


Leave a Comment