Recording multiple video tracks in OBS gives you incredible flexibility in post-production, allowing you to edit each video source, like your webcam and gameplay, independently. This guide walks you through setting up separate scenes, configuring sources, and managing audio to capture distinct tracks. Following these steps ensures you have greater control over your final video, transforming your content from good to great.
Why You Should Record Multiple Video Tracks
The primary advantage of recording multiple video tracks is the immense control it gives you during the editing process. Instead of having a single, flattened video file, you get separate files for each of your video sources.
This means you can resize, reposition, or apply effects to your webcam feed without affecting your screen capture. If you make a mistake on one camera angle, you can simply cut to another without having to re-record the entire session. This method is a game-changer for creating professional-looking tutorials, gameplay videos, and streams.
Think of it as having a safety net. You can experiment with different layouts, fix framing issues, and ensure every element looks perfect in the final cut. It separates the recording phase from the presentation phase, streamlining your entire content creation workflow.
Essential Gear and Initial Software Setup
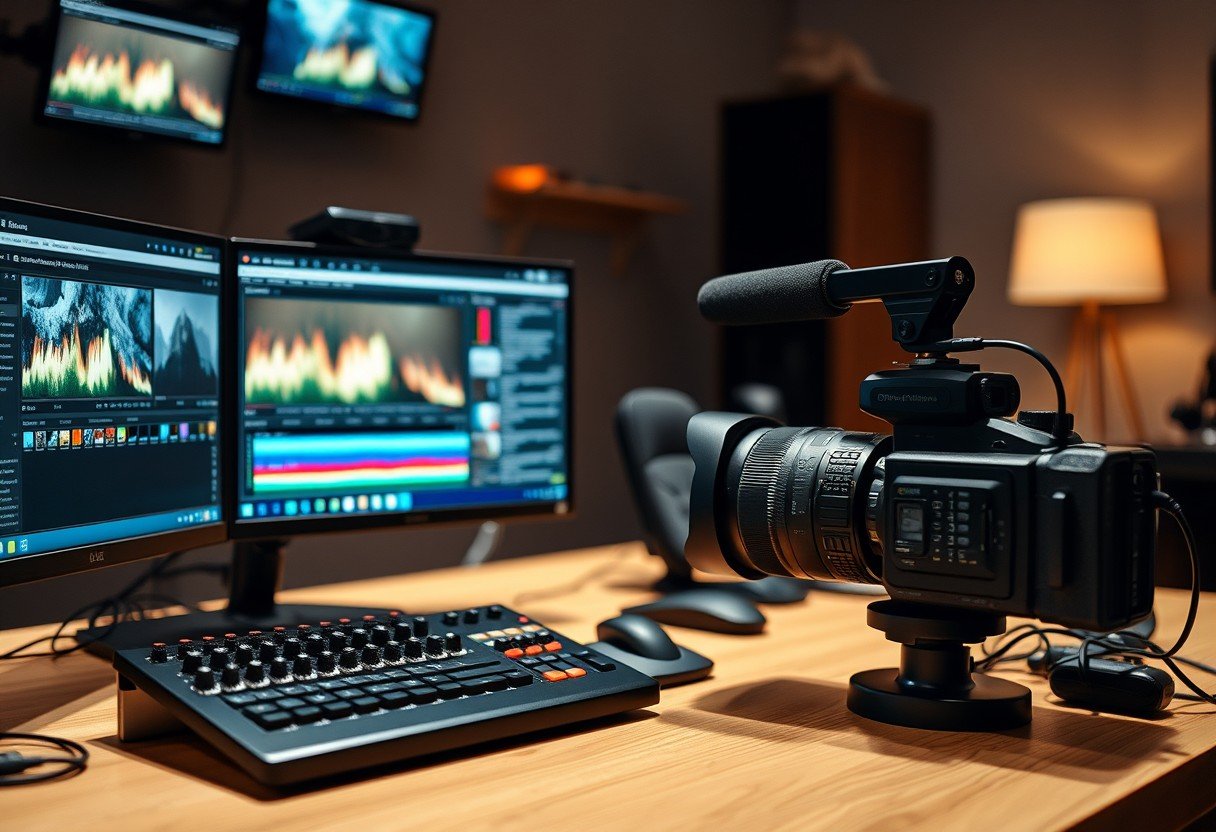
Before diving into OBS settings, it’s crucial to have the right environment and equipment. A good setup is the foundation for a high-quality, multi-track recording.
Make sure your workspace is well-lit and free from background noise. This not only improves video and audio quality but also helps you focus. A reliable computer with sufficient CPU and GPU power is essential to handle multiple video inputs without lag.
For the best results, you’ll need some specific equipment and software configurations. Here are the basics to get you started:
- Multiple Video Sources: This could be two webcams, a webcam and a screen capture, or a camera and a game capture source.
- A Quality Microphone: Clear audio is just as important as video. An external USB or XLR microphone is highly recommended over built-in mics.
- Updated OBS Studio: Always ensure you are running the latest version of OBS to benefit from bug fixes and new features.
Once your hardware is connected, open OBS and take a moment to familiarize yourself with the interface, particularly the ‘Scenes’ and ‘Sources’ panels at the bottom left.
How to Add and Configure Multiple Video Sources
Adding your video sources is the first hands-on step in the process. Each camera, screen, or window you want to record separately must be added as a distinct source within a scene in OBS.
Start by creating a new scene for your multi-track setup. You can name it something descriptive like “Recording Scene.” Organizing your sources and scenes with clear labels will save you a lot of time later on.
Follow these steps to add each video source:
- In the ‘Sources’ panel, click the ‘+’ button.
- Select the type of source you want to add. For a webcam or camera, choose ‘Video Capture Device.’ For your monitor, select ‘Display Capture.’
- Give the source a unique name (e.g., “Main Webcam,” “Gameplay Screen”).
- In the properties window that appears, select the correct device from the dropdown menu and configure its resolution and frame rate.
- Click ‘OK’ and repeat this process for all the video sources you plan to record.
After adding them, you can click and drag the sources in the preview window to arrange their layout. However, for multi-track recording, the layout doesn’t matter as much since you will edit them separately later.
Configuring Output Settings for Multi-Track Recording
This is the most critical step. By default, OBS mixes all your sources into a single track. To record them separately, you need to dive into the advanced output settings. This is where you tell OBS how to handle each audio and video stream.
Navigate to ‘File’ > ‘Settings’ > ‘Output.’ In the ‘Output Mode’ dropdown menu, select ‘Advanced.’ This will unlock the tabs and options needed for multi-track recording. Click on the ‘Recording’ tab to proceed.
Here, you’ll see options for recording path, format, and audio tracks. For video, OBS records all visible sources in a scene onto the final video file, but it can separate audio tracks. The true “multi-track” control for video comes from using different recording instances or specific plugins, but separating audio is the standard and most crucial step for editing flexibility.
Under the ‘Recording’ tab, choose your recording format. MKV is often recommended because it protects your file from corruption if OBS crashes. You can easily convert it to MP4 later.
| Format | Pros | Cons |
| MKV (Recommended) | Protects against data loss from crashes; supports multiple audio tracks. | Not all video editors support it natively (requires conversion). |
| MP4 | Widely compatible with editing software. | File will be corrupted and unusable if recording is interrupted. |
Best Practices for a Smooth Recording Session
To avoid headaches, always run a short test recording before starting your main session. A one-minute test is usually enough to verify that all your video sources are capturing correctly and your audio tracks are properly separated and synced.
During the test, speak into your microphone and check the playback file in your video editor to confirm the audio is clean and assigned to the correct track. This simple check can save you from discovering hours of unusable footage.
Keep your setup organized. Label every source and scene clearly. If you have a complex setup, consider using the Studio Mode in OBS, which gives you a preview and a live window, allowing you to make changes on the fly without affecting the recording.
Troubleshooting Common Performance Issues
Recording multiple high-resolution video sources can be demanding on your computer. If you experience lag, stuttering, or dropped frames, it’s usually a sign of high CPU usage.
One of the first things to check is your encoder setting. You can find this under ‘Settings’ > ‘Output’ > ‘Recording.’ If you have a modern NVIDIA or AMD graphics card, switching the encoder from ‘x264’ (software/CPU) to ‘NVENC’ or ‘AMD VCE/VCN’ (hardware/GPU) can significantly reduce the load on your CPU. Hardware encoding offloads the work to your graphics card, freeing up your processor.
If lag persists, try lowering the output resolution or frame rate. Recording at 1080p and 30 FPS is less demanding than 4K at 60 FPS. Close any unnecessary applications running in the background to dedicate as much system memory and processing power as possible to OBS.
Exporting and Editing Your Recordings
Once you’ve finished recording, you’ll find the video file in the location specified in your output settings. If you recorded in the MKV format, you can easily convert it to MP4 within OBS by going to ‘File’ > ‘Remux Recordings.’
Import the final video file into a video editing program that supports multiple audio tracks, such as DaVinci Resolve, Adobe Premiere Pro, or Final Cut Pro.
Inside your editor, you will see your single video track and multiple separate audio tracks. Now you have the freedom to cut between video sources (using different scene recordings), adjust audio levels independently, and craft a polished, professional video. This is where the power of your multi-track setup truly shines.
Frequently Asked Questions about Recording in OBS
How do I record multiple video sources to separate files in OBS?
OBS does not natively record different video sources to separate video files in a single recording instance. The standard method involves recording multiple separate audio tracks alongside a mixed video file. For separate video files, you would need to run multiple instances of OBS or use advanced scene switching and editing techniques in post-production.
What is the best recording format to use for multi-track recording?
MKV is the highly recommended format for recording in OBS. Its main advantage is that the file will not be corrupted if the software crashes or the recording is interrupted unexpectedly. You can easily convert the MKV file to the more universally compatible MP4 format directly within OBS after you finish.
Can I record multiple audio tracks at the same time?
Yes, and this is one of OBS’s most powerful features. In the ‘Advanced Audio Properties’ menu, you can assign different audio sources (like your mic, game audio, and background music) to different tracks. This allows you to edit each audio element independently later.
Why is my recording lagging or dropping frames?
Lag and dropped frames are typically caused by high CPU usage. To fix this, you can lower your recording resolution or frame rate, close other programs, or switch from the default x264 software encoder to a hardware encoder like NVENC (for NVIDIA GPUs) or AMD VCN (for AMD GPUs) in the output settings.


Leave a Comment