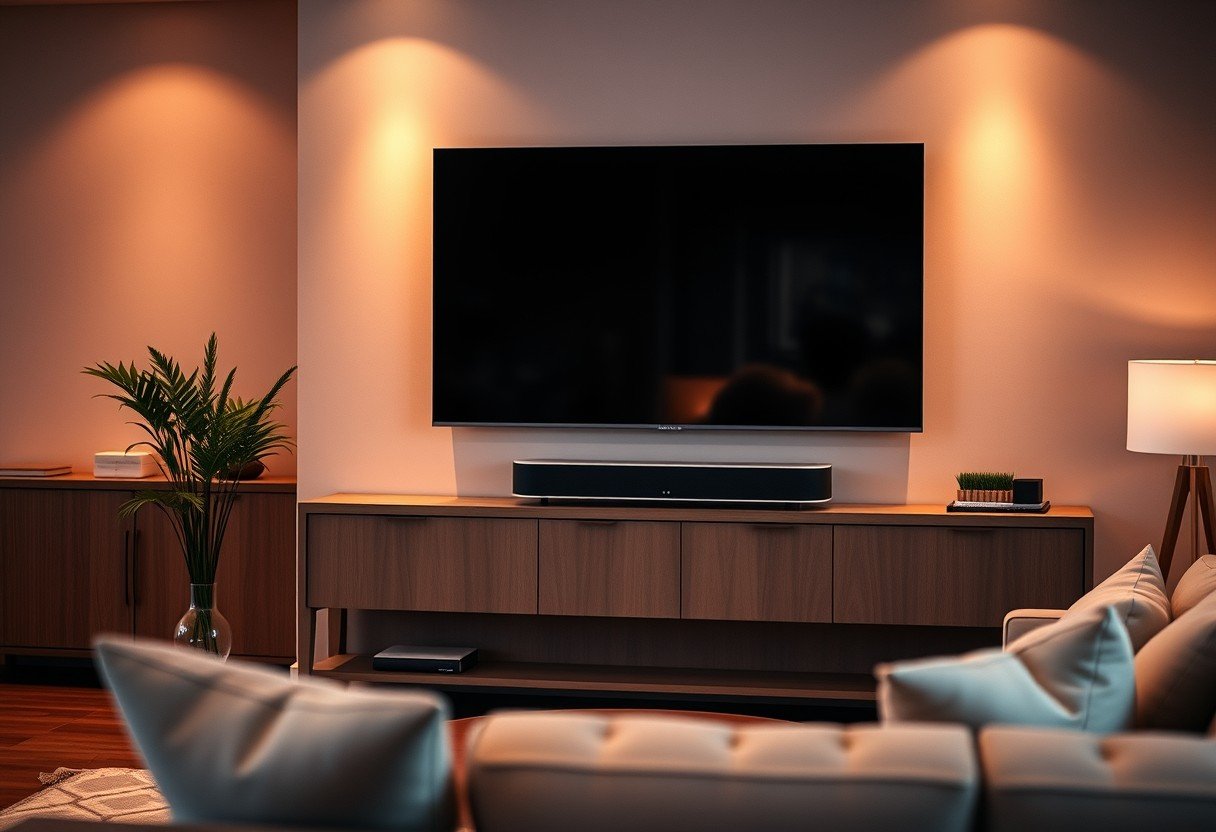
Connecting a premium soundbar like the Sonos Arc to your Smart TV is the best way to upgrade your home theater. This process transforms your viewing experience by delivering immersive, high-quality audio that your TV’s built-in speakers simply cannot match. This guide will walk you through everything you need to know, from checking compatibility to fine-tuning your settings for cinematic sound at home.
Why You Should Connect Your Smart TV to a Sonos Arc
Modern Smart TVs offer incredible picture quality, but their thin designs often leave little room for powerful speakers. This results in flat, underwhelming sound that doesn’t do justice to high-definition movies, shows, or games.
The Sonos Arc is designed to deliver a rich, detailed, and room-filling soundstage. By connecting it to your TV, you unlock its full potential, including support for advanced audio formats like Dolby Atmos, which creates a three-dimensional sound experience. This pairing elevates your entertainment from just watching a screen to being fully immersed in the action.
Ultimately, the goal is to create a seamless audio-visual setup. A proper connection ensures that the sound is perfectly synced with the picture and that you can control the volume easily with your existing TV remote, simplifying your entire system.
Check Your TV’s Compatibility First
Before you begin, the most crucial step is to check your TV’s ports. For the best performance, your Smart TV needs a specific type of HDMI port. Look at the back or side of your television for an HDMI port labeled “ARC” or, even better, “eARC”.
ARC stands for Audio Return Channel, and eARC is the enhanced version. While both can send audio from your TV to the soundbar, eARC is required for the highest quality lossless audio formats like Dolby Atmos. Most modern Smart TVs manufactured in the last few years include at least one HDMI ARC or eARC port.
If you cannot find an ARC or eARC port, don’t worry. Your TV likely has a digital optical audio output, which provides another way to connect your Sonos Arc, though with some limitations.
How to Connect a Sonos Arc with an HDMI Cable
Using an HDMI ARC or eARC port is the recommended method for connecting your Sonos Arc. This single-cable solution provides the highest quality audio and allows for convenient control features. The setup is straightforward and can be done in minutes.
Follow these simple steps to get connected:
- First, make sure both your Smart TV and Sonos Arc are turned off and unplugged.
- Locate the HDMI port on your TV labeled ARC or eARC.
- Connect one end of a high-speed HDMI cable into this port.
- Connect the other end of the HDMI cable to the single HDMI port on your Sonos Arc.
- Plug both your TV and the Sonos Arc back into power and turn them on. Your TV should automatically detect the soundbar.
After connecting the cable, you will need to open the Sonos app on your smartphone or tablet to complete the setup process. The app will guide you through connecting the Arc to your Wi-Fi and calibrating the sound for your room using a feature called Trueplay.
Alternative Connection Methods
If your TV is older and lacks an HDMI ARC port, you can still connect the Sonos Arc using the included Sonos Optical Audio Adapter. This method is a reliable alternative, but it comes with some trade-offs in audio quality and features.
The main difference lies in the bandwidth, which affects the type of audio formats that can be transmitted. An optical connection does not support Dolby Atmos, which is one of the key features of the Sonos Arc.
Here is a quick comparison of the two main connection types:
| Feature | HDMI eARC/ARC | Optical Audio |
|---|---|---|
| Best Audio Quality | Yes (Dolby Atmos, Lossless Audio) | No (Supports up to Dolby Digital 5.1) |
| TV Remote Control | Yes (via HDMI-CEC) | Requires IR setup |
| Setup Simplicity | Very Simple (One Cable) | Simple (Requires Adapter) |
| Future-Proof | Yes | No |
While wireless options like Bluetooth are mentioned in some contexts, the Sonos Arc primarily relies on a physical connection to a TV for the best performance and sync. For music streaming, you can use your Wi-Fi network through the Sonos app or Apple AirPlay 2.
Optimizing Your TV’s Audio Settings
Once your Sonos Arc is physically connected, you need to tell your TV to use it. This involves adjusting a few settings in your TV’s audio menu. If you skip this step, sound may continue to play from your TV’s internal speakers.
Navigate to your TV’s settings menu, which is usually accessible via a gear icon on your remote. Look for the “Audio” or “Sound” section. Inside, you will need to make a couple of key changes.
- Audio Output: Change this setting from “Internal TV Speakers” to “HDMI ARC” or “External Speaker (Optical).” This redirects all sound to the Sonos Arc.
- Digital Audio Format: Look for a setting like “Audio Format” or “Digital Sound Out.” Set this to “Passthrough” or “Bitstream” if available. This allows the TV to send the original audio signal directly to the Arc to be decoded.
- Enable HDMI-CEC: Make sure a setting called HDMI-CEC (which may be named Anynet+, Simplink, or Bravia Sync depending on your TV brand) is turned on. This allows you to control the Arc’s volume with your TV remote.
Every TV brand has a slightly different menu layout, so consult your user manual if you have trouble finding these specific settings. Getting these settings right is essential for achieving the best possible sound quality.
Troubleshooting Common Connection Problems
Sometimes you might run into issues like no sound or the audio being out of sync with the video. These problems are usually easy to fix with a few troubleshooting steps.
If you’re not getting any sound, double-check that your cables are securely plugged into the correct ports on both the TV and the soundbar. Ensure you’ve selected the correct audio output in your TV’s settings. A simple restart of both the TV and the Sonos Arc can also resolve many connection issues.
Audio sync issues, where dialogue doesn’t match the actors’ lips, can often be fixed within your TV or Sonos app settings. Many TVs have a “Lip Sync” or “Audio Delay” setting that allows you to make manual adjustments. The Sonos app also has a TV Dialog Sync feature under the Arc’s settings that can help you align the audio and video perfectly.
Frequently Asked Questions
What is the best way to connect my Smart TV to the Sonos Arc?
The best way is to use an HDMI cable connected to the HDMI eARC port on your TV. This connection provides the highest quality audio, including Dolby Atmos, and allows you to control the soundbar’s volume with your TV remote.
Can I connect Sonos Arc to a TV without HDMI ARC?
Yes, you can. If your TV doesn’t have an HDMI ARC port, you can use the included Sonos Optical Audio Adapter to connect via your TV’s optical audio out port. However, this method does not support Dolby Atmos.
Why is there no sound coming from my Sonos Arc?
First, check that the cables are secure and you are using the correct HDMI ARC port. Then, go into your TV’s audio settings and make sure the audio output is set to “External Speaker” or “HDMI ARC,” not “Internal TV Speakers.”
How do I fix the audio delay between my TV and Sonos Arc?
You can fix audio sync issues by adjusting the audio delay settings. Check your TV’s sound menu for a “Lip Sync” or “Audio Delay” option. You can also use the “TV Dialog Sync” tool in the Sonos app to make adjustments.
Do I need to buy a special HDMI cable for the Sonos Arc?
The Sonos Arc comes with an HDMI cable that is sufficient for most setups. If you need a longer cable, make sure to buy a “High-Speed” or “Ultra High-Speed” HDMI cable to ensure it can handle high-resolution audio formats like Dolby Atmos.


Leave a Comment