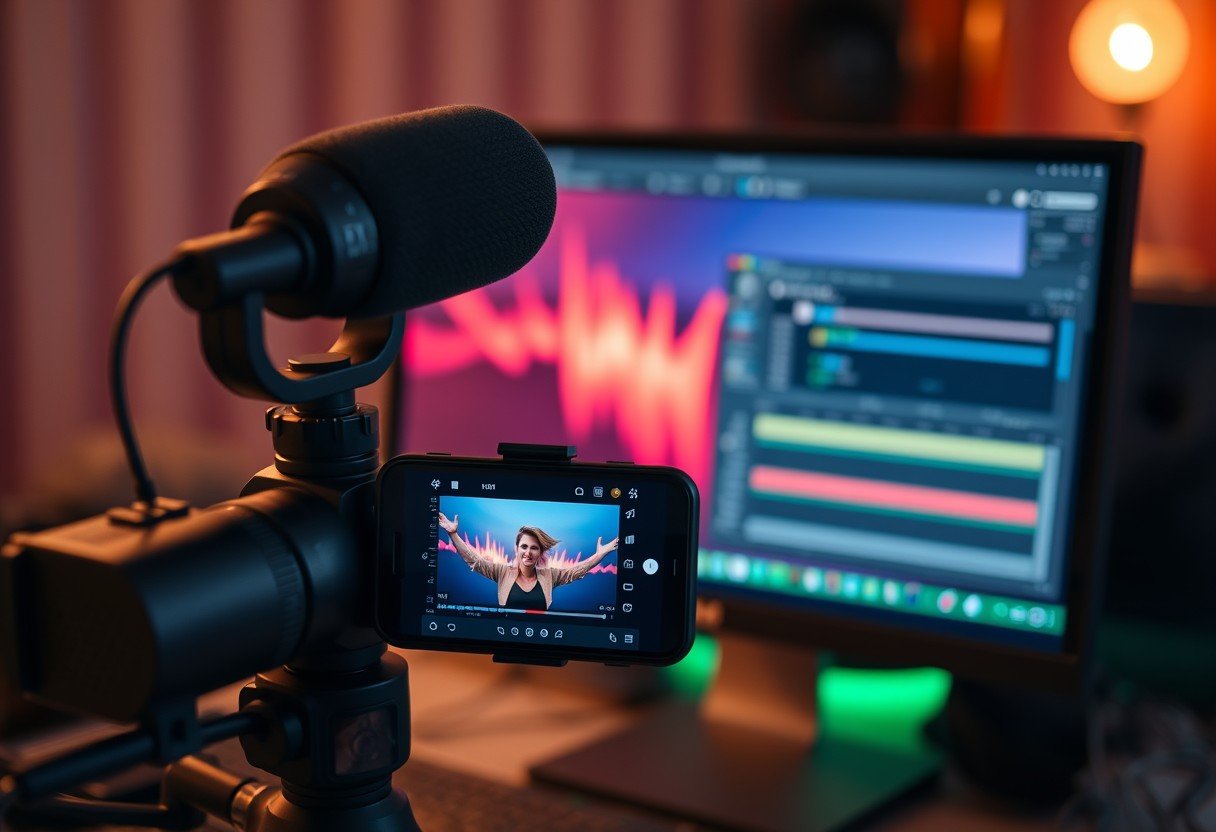
Many content creators want to use the professional features of OBS Studio for their Instagram Live streams. While Instagram doesn’t offer native support for OBS, it is possible with the right workaround. This guide explains how to connect OBS to Instagram using third-party tools, allowing you to create high-quality, engaging broadcasts with custom scenes, overlays, and more.
Why Can’t You Stream Directly to Instagram from OBS?
The primary reason you can’t stream from OBS directly to Instagram is due to the platform’s design. Instagram was built as a mobile-first application, and its live functionality is tailored for use on smartphones. Unlike platforms like Twitch or YouTube, Instagram does not provide a public RTMP (Real-Time Messaging Protocol) ingest for users.
This means there’s no official stream key or server URL that you can simply copy from Instagram and paste into OBS. The platform’s API is not open for third-party streaming software, creating a technical barrier for desktop-based broadcasting tools.
Therefore, to bridge this gap, you must rely on intermediary services that can generate a temporary stream key for your Instagram account. These services act as a middleman, taking your OBS feed and directing it to Instagram Live in a format the platform understands.
Essential Tools for Streaming to Instagram with OBS
Before you begin, you need to gather a few essential components. Having the right software and accounts ready will make the setup process much smoother. These tools work together to create a stable connection between your computer and your Instagram Live feed.
Here is a breakdown of what you will absolutely need to get started:
| Tool/Software | Purpose |
|---|---|
| OBS Studio | The core broadcasting software used to create your scenes, manage audio, and send the video feed. |
| Third-Party RTMP Service | A service like Yellow Duck or Streamon that generates an RTMP URL and stream key for Instagram. |
| Instagram Account | Your account must have live streaming permissions enabled to broadcast. |
It is crucial to choose a reliable third-party RTMP service, as the stability of your entire stream depends on it. Research current options and read user reviews, as the availability and reliability of these services can change over time.
A Step-by-Step Guide to Connecting OBS with Instagram
Once you have all the necessary tools, you can begin the setup process. This involves getting your unique stream key from a third-party service and configuring OBS to send your broadcast to the correct destination. Follow these steps carefully for a successful connection.
- Download and Install OBS Studio: If you don’t already have it, download the latest version of OBS Studio from the official website and install it on your computer.
- Choose and Log into a Third-Party Service: Select a service that generates Instagram stream keys. You will typically need to log in to your Instagram account through their application to get started.
- Generate Your RTMP URL and Stream Key: Follow the service’s instructions to generate your unique RTMP server URL and stream key. This information is temporary and often only works for a single stream, so you must start your broadcast soon after generating it.
- Configure OBS Settings: Open OBS and navigate to Settings > Stream. Select “Custom” from the service dropdown menu. Copy and paste the RTMP URL and stream key from your third-party service into the corresponding fields in OBS.
- Start Your Stream: Once your settings are configured and your OBS scene is ready, click “Start Streaming” in OBS. Your third-party service will then push the feed to your Instagram account, and you will be live.
Remember to end the stream from both OBS and the third-party application when you are finished to ensure the connection is properly closed.
Configuring OBS Settings for Optimal Instagram Streaming
Instagram is a vertical video platform, so your OBS settings must be adjusted to match this format. Streaming in a standard horizontal 16:9 ratio will result in a poorly cropped or small video on your followers’ phones. Proper configuration ensures a professional and full-screen viewing experience.
To achieve this, navigate to Settings > Video in OBS. Here are the recommended settings for Instagram Live:
- Base (Canvas) Resolution: Set this to 1080×1920 to have a vertical workspace for arranging your sources.
- Output (Scaled) Resolution: Set this to 720×1280. This is the ideal resolution for Instagram Live, balancing quality with stability.
- Frame Rate (FPS): A value of 30 FPS is sufficient and helps ensure a smooth stream without requiring excessive bandwidth.
In addition to video settings, you should also adjust your output bitrate. Go to Settings > Output. A video bitrate of around 2,500 kbps is a good starting point for 720p vertical video. A stable bitrate is key to avoiding buffering and dropped frames for your viewers.
Best Practices for a Professional Instagram Live Stream
Simply connecting OBS to Instagram isn’t enough; you also need to deliver content that keeps your audience engaged. Using OBS gives you a production advantage, so make the most of it. Plan your stream ahead of time to ensure it runs smoothly.
Promote your live stream in the days and hours leading up to it. Use Instagram Stories, feed posts, and other social channels to build anticipation and let your followers know when to tune in. A countdown sticker in your Stories can be particularly effective.
During the broadcast, focus on interaction. The most successful streams feel like a two-way conversation, not a one-way presentation. Ask your audience questions, run polls, and give shout-outs to viewers who comment. Use the features in OBS to display comments on screen or create other interactive overlays to enhance this experience.
Finally, don’t neglect the fundamentals. Good lighting and clear audio are non-negotiable for a professional look. Use an external microphone and set up some simple lighting to make yourself look and sound your best.
Navigating Instagram’s Rules and Potential Risks
When using workarounds to stream on Instagram, it is vital to be aware of the potential risks and limitations. Since these methods are not officially supported by Instagram, they exist in a gray area regarding the platform’s Terms of Service.
Using third-party applications that require your Instagram login credentials carries an inherent security risk. Always choose reputable services and enable two-factor authentication on your account for an extra layer of protection. There is always a small chance that using such services could lead to temporary restrictions or other penalties on your account, though this is rare for most users.
Furthermore, be mindful of Instagram’s practical limitations. Live streams are typically capped at one hour in length. If you plan a longer event, you will need to restart your stream. Always adhere to Instagram’s Community Guidelines to avoid having your stream taken down for content violations.
Frequently Asked Questions
Can I use OBS to stream directly to Instagram?
No, OBS cannot stream directly to Instagram because Instagram does not provide an official RTMP stream key. You must use a third-party tool to act as a bridge between OBS and your Instagram account.
What are the best settings for an Instagram OBS stream?
For the best results, use a vertical resolution like 720×1280, a frame rate of 30 FPS, and a video bitrate around 2,500 kbps. This ensures your stream looks good on mobile devices without requiring too much internet bandwidth.
Can I use my OBS scenes and overlays on Instagram Live?
Yes. The main benefit of this method is that everything you set up in your OBS scene—including overlays, alerts, multiple cameras, and screen sharing—will be broadcast to your Instagram Live stream.
Is it safe to give my Instagram password to a third-party streaming tool?
There is always a risk when providing your login details to any third-party service. To minimize risk, use well-known and reputable services, and make sure two-factor authentication is enabled on your Instagram account.
Are there any alternatives to OBS for streaming on Instagram?
While OBS is the most popular choice due to its power and flexibility, other streaming software can also be used as long as it supports custom RTMP outputs. The process of connecting it via a third-party tool would be the same.


Leave a Comment