TECH
How to Lock Notes on Your Mac to Keep Your Information Private
Worried about someone seeing your private thoughts or sensitive information in the Notes app on your Mac? macOS has a built-in lock feature that lets you secure individual notes with a password or Touch ID. This guide will show you exactly how to use this simple tool to protect your privacy, ensuring your important data stays for your eyes only. Let’s get started.
Why Should You Lock Your Notes on a Mac?
The main reason to lock notes is to enhance your privacy and security. By locking a note, you create a barrier that prevents anyone without the password from viewing its contents, even if they have access to your unlocked Mac. This is perfect for keeping sensitive information safe from prying eyes.
You can confidently store personal data like financial details, account numbers, private journal entries, or gift ideas without worry. The Lock Notes feature gives you peace of mind that your most confidential information is protected.
Beyond just security, locking notes can also help with organization. It allows you to create a clear separation between your everyday, shareable notes and your private, protected ones. This makes it easier to manage your information and maintain clear boundaries.
How to Lock a Note on Your Mac: A Step-by-Step Guide
Securing a note is a quick and straightforward process built right into the Notes app. You only need to set a password once, and then you can use it to lock any note you want. If your Mac has Touch ID, you can also enable it for even faster access.
Follow these simple steps to add a lock to any note:
- Open the Notes application on your Mac.
- Select the specific note that you want to secure.
- Click the lock icon (a small padlock) located in the toolbar at the top of the Notes window.
- If it’s your first time, you will be prompted to create a password. Enter and verify your chosen password and add a hint if you wish. Click “Set Password.”
- The note is now locked and its content will be hidden.
To view the note again, simply click on it and enter your password or use Touch ID. The content will become visible until you close the note or quit the app.
Managing Your Locked Notes Effectively
Once you start locking notes, keeping them organized is important for easy access and good security hygiene. A little bit of management can save you a lot of time later.
Instead of having locked notes scattered everywhere, try to develop a system that works for you.
- Use Meaningful Titles: Give your locked notes clear titles. Since the content is hidden, a good title helps you remember what’s inside without having to unlock it every time.
- Organize with Folders: Create specific folders for your sensitive information. For example, you could have a “Financial” or “Personal” folder where you keep all your locked notes on those topics.
- Regularly Review Your Notes: Periodically go through your locked notes. You might find some information is no longer sensitive and can be unlocked, or you may need to update other notes.
This proactive approach ensures your secure notes don’t become a cluttered and confusing mess.
Best Practices for Note Security and Passwords
The security of your locked notes depends entirely on the strength of your password. It’s crucial to choose a password that is difficult for others to guess. Avoid using common words, personal information like birthdays, or simple patterns.
A strong password should be unique and complex. This means it should include a combination of upper and lower-case letters, numbers, and symbols. The longer the password, the more secure it will be.
| Weak Password Examples | Strong Password Examples |
| password123 | Tr@v3l!ng2Par!s |
| johndoe | MyP!zz@#1Choice! |
Also, remember to keep your macOS software up to date. Apple frequently releases security updates that protect your system and applications like Notes from potential vulnerabilities.
What Happens if You Forget Your Notes Password?
This is one of the most important things to understand about the Lock Notes feature. For your privacy, Apple does not know your Notes password and cannot access your locked notes.
If you forget your password, there is no way to recover or view your previously locked notes. They will be permanently inaccessible. This is a security measure to ensure no one, not even Apple, can bypass your lock.
You do have the option to reset your password. However, resetting it will only allow you to set a new password for notes you decide to lock in the future. It will not unlock the notes that were protected with the password you forgot. Always create a password hint or store your password safely in a password manager to avoid losing access to your important data.
Sharing Locked Notes: What You Need to Know
While locking notes is great for personal security, it makes sharing them more complicated. If you share a locked note with someone, they will not be able to view its contents unless you also give them your Notes password.
This creates a dilemma. Sharing your single Notes password gives that person access to *all* of your locked notes, not just the one you intended to share. This can pose a significant security risk.
Therefore, if you need to collaborate on sensitive information, the Notes app might not be the best choice. Consider whether the note truly needs to be locked if its purpose is to be shared. For collaborative work, it is often better to use a platform designed for secure document sharing.
Frequently Asked Questions
Can I lock an entire folder of notes?
No, macOS does not currently allow you to lock an entire folder in the Notes app. You must lock each note individually to secure them.
Will a locked note on my Mac also be locked on my iPhone?
Yes, as long as you are using iCloud to sync your notes. The lock status syncs across all your Apple devices signed into the same Apple ID.
How do I remove a lock from a note?
To remove a lock, first unlock the note by entering your password or using Touch ID. Once it’s visible, click the lock icon in the toolbar again to permanently remove the lock protection from that specific note.
Can I use a different password for each note?
No, you set one single password that is used for all locked notes within that iCloud account. You cannot create unique passwords for individual notes.
Is locking notes the same as encrypting my Mac?
No, they are different. Locking notes protects individual notes within the app. FileVault is a macOS feature that encrypts the entire hard drive of your Mac, protecting all your data if your computer is lost or stolen.
-
 NEWS10 years ago
Samsung Releases Galaxy Note7 TV Ad as Reddit AMA Leaks Specs
-
 NEWS10 years ago
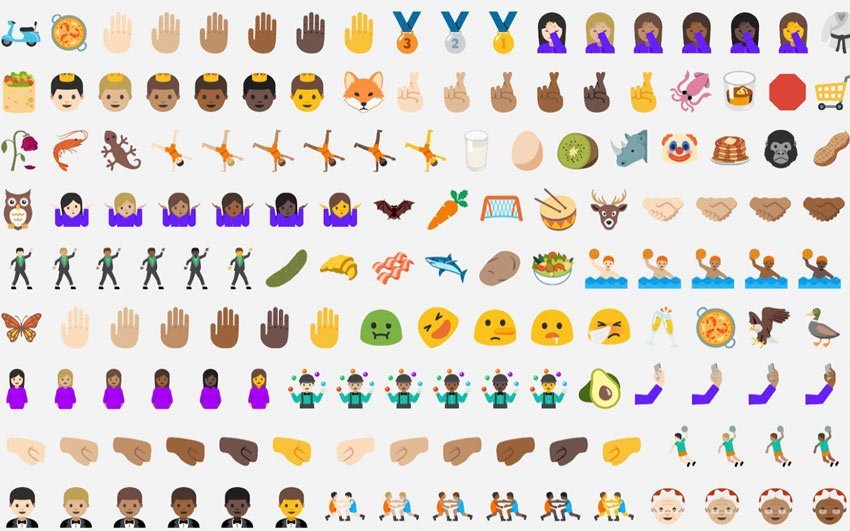
Android 7.0 Nougat Rolls Out To Nexus Devices With New Emoji, Features
-
 FINANCE9 years ago
Cardano Price Surges as ADA Enters the Crypto Top Ten List
-

 AUTO1 month ago
Tesla’s Roadster Is ‘a Few Weeks Away,’ Says Its Chief Designer
-
 NEWS10 years ago
Pre-Order the First Camera Made for Facebook Live Streaming Video
-
 FINANCE12 months ago
Binance Suspends Trading and Withdrawals for a System Upgrade
-
 FINANCE9 years ago
RChain Price Jumps Nearly 150% to a New All-Time High of $2.03
-
 NEWS10 years ago
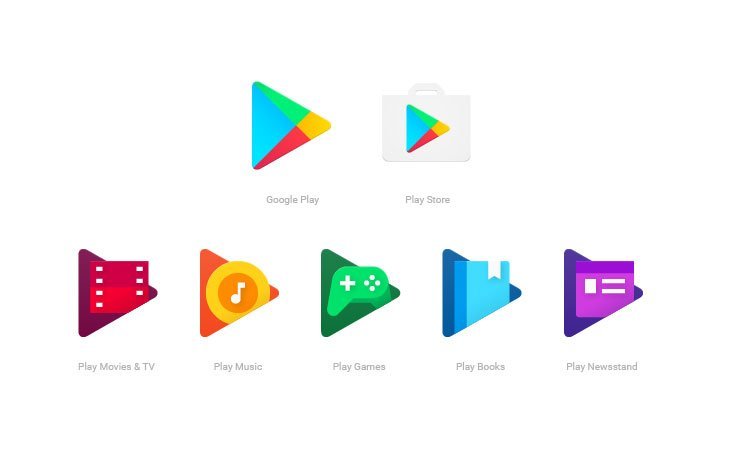
Google Play App Icons Get Fresh New Look: See the Latest Design Update