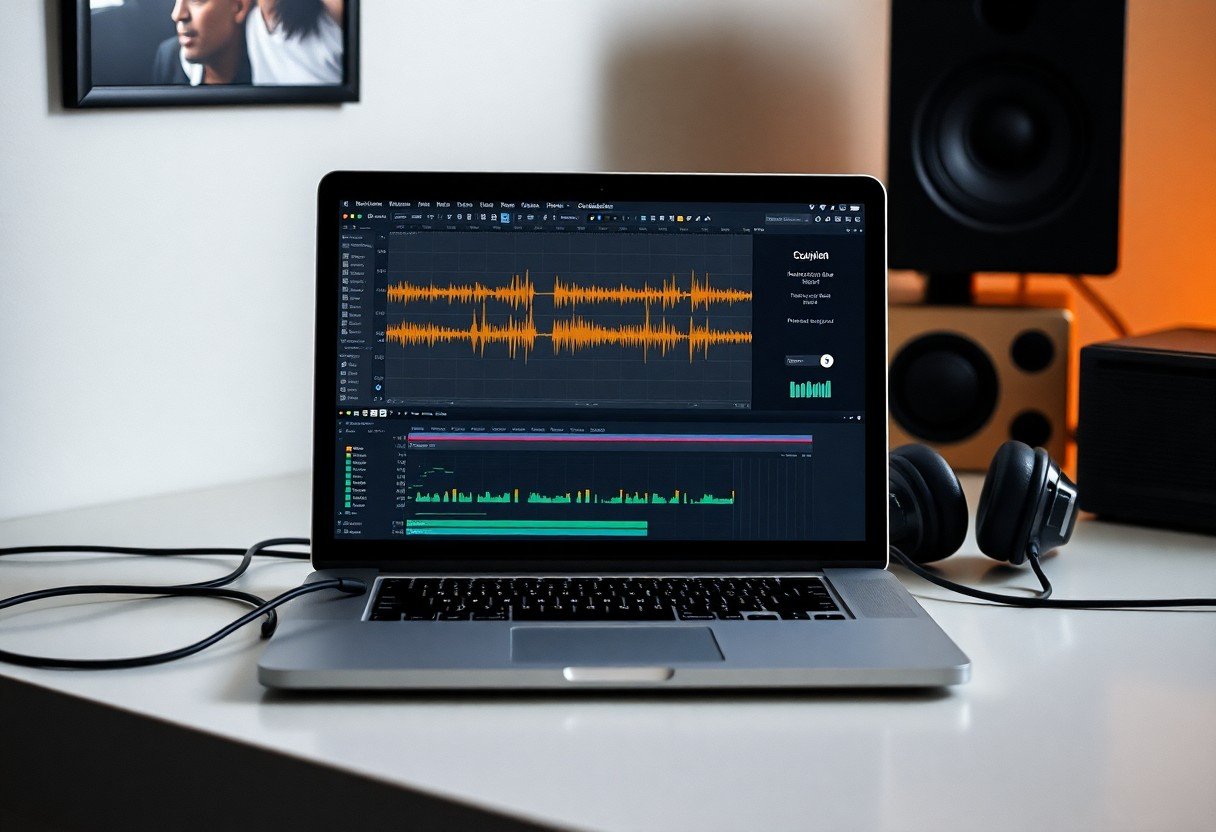
Unwanted background noise can ruin a great video, making your message unclear and unprofessional. Whether it is humming from an air conditioner, nearby chatter, or street traffic, these sounds distract your audience. This guide explains how to remove background noise from videos on your Mac using simple, built-in tools and more advanced software, ensuring your audio is crisp, clear, and engaging for every viewer.
Understanding Background Noise and its Impact
Background noise is any sound recorded in your video that isn’t the main audio you want your audience to hear. These unwanted sounds can come from many sources and significantly lower the quality of your content.
Common sources include environmental sounds like wind or traffic, mechanical noises from fans or appliances, and even echoes from sound reflecting off walls in an empty room. Identifying these sources is the first step toward creating cleaner audio.
Poor audio quality is often more distracting to viewers than poor video quality. By understanding what causes background noise, you can take steps during both recording and editing to minimize its impact and produce a more professional video.
Choosing the Right Software for Noise Removal on Mac
Your choice of software will depend on the complexity of your project and your editing experience. Mac users have excellent options ranging from free, built-in applications to professional-grade editing suites.
For simple projects and quick fixes, Apple’s iMovie is a fantastic starting point. It is free and comes pre-installed on most Macs. For those needing more control, Final Cut Pro offers advanced audio enhancement tools. Third-party applications like Audacity (free) or Adobe Audition (subscription) provide specialized, powerful features for dedicated audio work.
| Software | Best For | Key Feature |
|---|---|---|
| iMovie | Beginners & Quick Edits | Simple one-click noise reduction slider |
| Final Cut Pro | Intermediate to Pro Users | Advanced tools like EQ and audio analysis |
| Audacity | Dedicated Audio Editing (Free) | Noise profile and precise removal |
How to Remove Background Noise Using iMovie
iMovie makes audio cleanup accessible to everyone. Its built-in noise reduction feature is surprisingly effective for common issues like fan hums or ambient chatter. This tool is perfect for content creators who need a fast and easy solution.
Follow these simple steps to improve your audio in minutes.
- Open your project in iMovie and add the video clip to the timeline.
- Select the clip in the timeline to highlight it.
- Click the speaker icon (Audio Adjustments) above the viewer window.
- Check the box next to “Reduce background noise.”
- Adjust the percentage using the slider. Start around 50% and listen to the result. Increase or decrease it until the noise is minimized without distorting the main audio.
Always preview your changes by playing the clip. Pushing the slider too high can make the desired audio sound muffled or unnatural. The goal is to find a balance where the background noise is less distracting, but the primary voice or sound remains clear.
Advanced Noise Removal Techniques in Final Cut Pro
When you need more precision, Final Cut Pro provides a suite of professional tools to clean up your audio. Beyond a simple noise reduction filter, it allows you to surgically remove specific unwanted sounds for a polished, high-quality result.
The primary tool is the “Noise Reduction” feature found in the Audio Enhancements section of the inspector. After selecting your clip, you can enable this feature and adjust the “Amount” to control its intensity.
For even greater control, you can use Final Cut Pro’s other audio tools.
- Use the Equalizer (EQ): The EQ lets you reduce the volume of specific frequency ranges. For example, a low hum from an air conditioner can often be reduced by lowering the bass frequencies.
- Implement the Compressor: A compressor helps balance the audio levels, making quiet dialogue louder and loud sounds softer. This can make your primary audio stand out more from any remaining background noise.
- Explore Audio Plugins: Final Cut Pro supports third-party audio plugins. Tools like iZotope RX or Waves NS1 can be integrated for industry-leading noise removal capabilities.
Experimenting with these advanced techniques can make a massive difference in your final product. Taking the time to learn them will elevate your videos from amateur to professional.
Best Practices for Recording Cleaner Audio
The easiest way to deal with background noise is to prevent it from being recorded in the first place. While post-production tools are powerful, they cannot fix everything. Capturing clean audio at the source will always yield the best results.
Think about your recording environment. Choose a quiet space away from windows, appliances, and other people. Soft furnishings like carpets, curtains, and couches can help absorb sound and reduce echo.
Also, consider your microphone technique. Keeping the microphone close to your sound source is crucial. This increases the volume of the desired audio relative to the background noise, making it easier to isolate in post-production. Using a windscreen or pop filter can also dramatically reduce noise from wind and breath.
Frequently Asked Questions
What is the best free software to remove background noise on a Mac?
For most users, Audacity is the best free option for dedicated audio editing. It allows you to capture a “noise profile” of the background sound and remove it precisely. For simple video projects, the built-in noise reduction in iMovie is also a great free tool.
Can I completely remove all background noise from my video?
Completely removing all background noise is often impossible without affecting the main audio. The goal of noise reduction is to lower the unwanted sound to a level where it is no longer distracting to the viewer, not to eliminate it entirely.
Does reducing background noise lower the overall audio quality?
If overused, noise reduction filters can degrade audio quality, making it sound thin, muffled, or robotic. It is important to apply the effect subtly and always listen carefully to the result to ensure the primary audio remains clear and natural.
How can I remove wind noise from my video?
The best way to combat wind noise is to use a windscreen (often called a “dead cat”) on your microphone during recording. In post-production, you can use an equalizer to apply a “low-cut” or “high-pass” filter, which removes the low-frequency rumbling sounds characteristic of wind.
Is iMovie’s noise reduction tool good enough for professional videos?
For videos with minor background noise, iMovie’s tool can be sufficient. However, for projects that require a high level of polish or have very problematic audio, dedicated software like Final Cut Pro or Adobe Audition will provide better, more professional results.


Leave a Comment