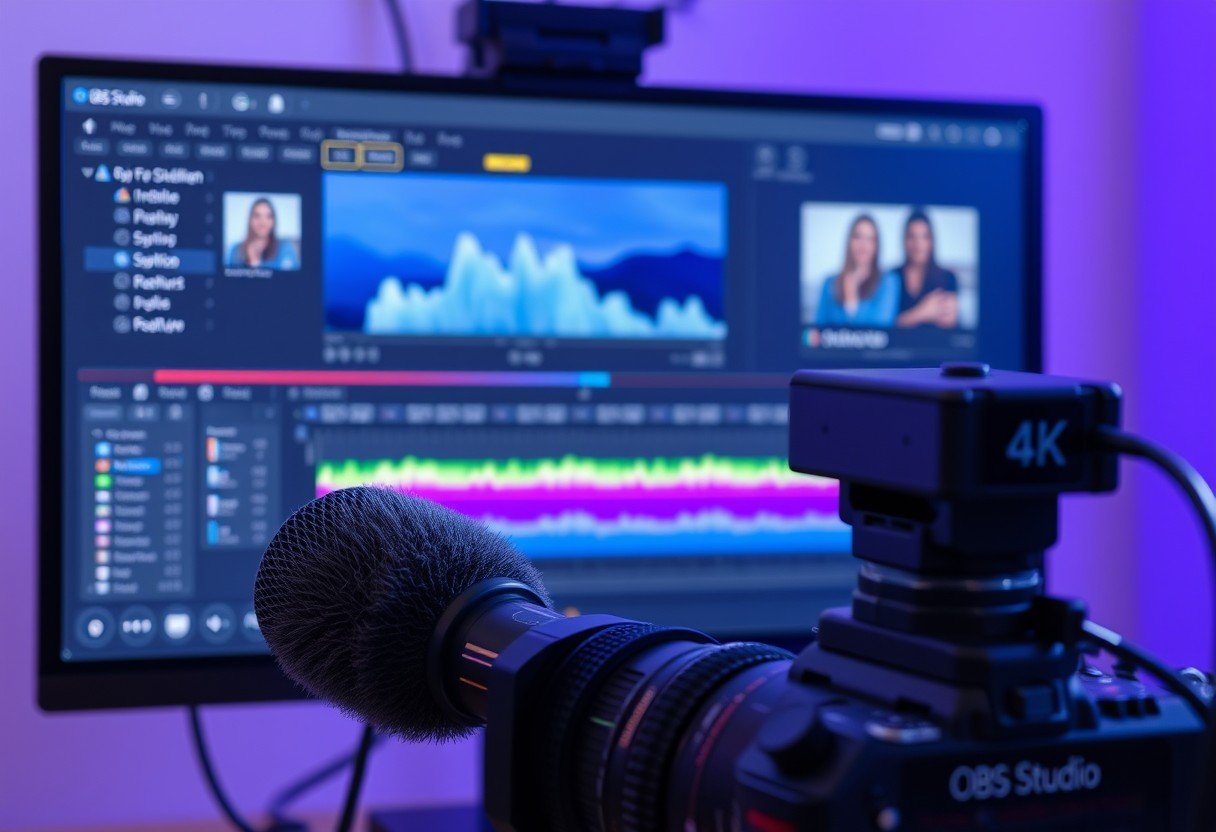
Editing your video after recording in OBS is just as important as capturing the footage itself. This comprehensive guide explains how to edit OBS videos after recording, including what tools to use, where to find your files, and step-by-step workflows to help you produce polished content for any platform.
Understanding OBS Studio and Its Limitations
OBS Studio is a popular, free, open-source software for recording and streaming video. It’s widely used by gamers, educators, and content creators because of its flexible interface, scene management, and multi-source capabilities. However, OBS does not have built-in video editing features. Instead, it focuses on live capture and basic scene switching, so you must use other software for editing after your recording is complete.
OBS lets you record high-quality video and audio, switch between scenes, and add layers like images or text during recording. But once you stop recording, the editing process moves to a different platform. This is important to know before you start, so you can plan your workflow and avoid wasted time searching for editing tools within OBS itself.
To get the best results, you’ll need to export your video from OBS and then use a dedicated editor like Shotcut, DaVinci Resolve, or Adobe Premiere. These programs offer robust editing features to refine your footage, add effects, and prepare your video for sharing.
Locating and Preparing Your OBS Recordings
After you finish recording, your video file is saved in a directory set in OBS’s settings. By default, this is usually in your Videos folder, but you may have chosen a custom path. Locate your file by checking:
- OBS Settings > Output > Recording Path
- Your file manager’s recent files or search function
Once you’ve found your recordings, it’s a good practice to create a dedicated project folder for your current video edit. Move all your video clips, audio files, graphics, and any other assets into clearly labeled subfolders. This organization saves time and helps you avoid losing track of important files later in the editing process.
Before importing your footage into an editor, review your material. Watch the full recording so you know where you need to trim, cut, or enhance. Jot down timestamps or notes for sections to keep or remove.
Choosing the Right Video Editing Software
Since OBS does not provide built-in editing, you must use other software to polish your videos. The best editing software for OBS videos includes:
- Shotcut: Free, open-source, user-friendly for beginners
- DaVinci Resolve: Powerful, professional-grade, free and paid versions
- Adobe Premiere Pro: Industry standard, subscription-based, advanced features
When selecting a video editor, consider your experience level and project needs. Shotcut and DaVinci Resolve both support common video formats like MP4, MOV, and MKV—these are typically exported by OBS. Always check your computer’s system requirements before installing new editing software.
Import your OBS video files into the editing program by dragging them in or using the import menu option. This step is crucial for starting your edit and building a timeline of clips, audio, and graphics.
Basic Editing Techniques for OBS Recordings
Once your footage is in your editing software, you can begin making basic improvements. The most common edits include:
- Trimming unwanted sections at the start or end
- Cutting out mistakes, pauses, or off-topic moments
- Adding simple transitions between scenes
Use the timeline to mark sections for removal. Most editors let you split clips and delete or rearrange them. This helps keep your video engaging and focused. You can also add basic transitions, like fades or dissolves, for a smoother flow between different parts of your video.
Don’t forget to adjust your audio levels. Many videos recorded in OBS have uneven volume or background noise. Use tools like gain control, noise reduction, and equalization to create clear, balanced sound that keeps viewers watching.
Enhancing Your Video with Text, Graphics, and Effects
Adding overlays and effects can make your OBS video look much more professional. Common enhancements include:
- Text overlays for titles, captions, or callouts
- Static or animated graphics (logos, lower thirds, watermarks)
- Simple video effects like color correction or cropping
In most editing programs, you can add text by selecting a text tool, then typing and formatting your message. For branding, import your logo as an image file and position it in a corner. Choose fonts and colors that match your channel or style for consistency.
For color correction, use the color panel to adjust brightness, contrast, or saturation. This helps fix any lighting problems from your initial recording. Effects like blur, crop, or slow motion can draw attention to key moments or transitions in your story.
Advanced Editing Features and Workflow Tips
For creators who want to take their editing further, advanced features can make a big difference:
| Feature | Benefit |
|---|---|
| Chroma Key (Green Screen) | Replace backgrounds for a professional look |
| Multi-track Editing | Edit video and audio separately for more control |
| Preset Templates | Apply consistent styles or effects across projects |
Use keyboard shortcuts to speed up repetitive tasks like splitting clips or moving items on the timeline. Save your project regularly to avoid losing progress. If your editor supports it, save custom effects or transitions as presets for future videos.
Efficient workflow tips: Organize your files before you start, group similar clips together, and use color labels for quick identification. Preview your edits often to catch mistakes early. Consider using a second monitor for timeline space or reference material.
Exporting and Saving Your Final Video
When your editing is complete, it’s time to export your video. Choose the right export settings for your target platform:
- Resolution: 1080p for YouTube, 720p for mobile or social media
- Format: MP4 (H.264) is widely supported and efficient
- Bitrate: 8,000–12,000 kbps for HD, higher for 4K
Double-check your video plays smoothly and the audio is in sync. Most editors let you preview a short export before saving the final version. Save your project file as well, so you can make changes or create new versions in the future.
Backup your exported video and project files to cloud storage or an external drive to protect your work. This is especially important if your video will be posted online or used for professional purposes.
Frequently Asked Questions
What editing software works best with OBS recordings?
Shotcut and DaVinci Resolve are both free, powerful options that support all major video formats exported from OBS. Adobe Premiere Pro is a paid, industry-leading editor with advanced features, but beginners may find Shotcut easier to start with.
Can I edit my videos directly in OBS?
No, OBS does not have built-in editing capabilities beyond scene switching during recording. After recording, you must use separate video editing software to trim, cut, and add effects to your footage.
How do I find my OBS recordings?
OBS saves your recordings to the folder set in Settings > Output > Recording Path. If you’re unsure, check your Videos folder or use your system’s search function to locate recent files.
What export settings should I use for YouTube?
Export your video in 1080p resolution (1920×1080), MP4 format (H.264 codec), and a bitrate of 8,000 kbps or higher. These settings provide a good balance of quality and file size for online streaming platforms.
How can I improve my workflow when editing OBS videos?
Organize your media files before you start, use keyboard shortcuts, save your project often, and build a template for common effects or transitions. This will save you time and make future edits easier.


Leave a Comment