Connecting your wireless headphones should be easy, but getting them into pairing mode is the essential first step. This special mode makes your headphones discoverable, allowing you to link them with your phone, tablet, or computer. Whether you’re setting them up for the first time or switching devices, understanding how to activate pairing mode is key to enjoying a seamless, wire-free audio experience. This guide breaks down the simple steps to get you connected quickly.
What is Bluetooth Pairing Mode and Why Does it Matter?
Think of pairing mode as a digital handshake. It’s a temporary state where your wireless headphones actively broadcast a signal, announcing they are ready to connect to another device. When you enable this mode, your headphones become visible in the Bluetooth settings of your smartphone, laptop, or tablet.
This process is crucial because it establishes a secure, one-to-one link between your headphones and your chosen device. Without it, your headphones would be isolated and unable to receive any audio signals. A successful pairing not only enables the initial connection but also helps your devices remember each other for faster, automatic reconnections in the future.
Mastering this simple step enhances your entire wireless experience. It means less time fumbling with settings and more time enjoying your music, podcasts, or calls. A smooth connection process allows you to effortlessly switch between devices, making your headphones a more versatile and convenient accessory.
Getting Your Headphones Ready for Connection
Before you even try to pair, a little preparation goes a long way. The most common reason for pairing failure is a low battery. Ensure your headphones are fully charged to provide enough power for a stable connection process. Most headphones use an LED light or a voice prompt to indicate their battery status.
Location also matters. For the initial pairing, keep your headphones and the device you’re connecting to close together, ideally within a few feet. This ensures a strong signal and prevents interference from disrupting the connection.
Lastly, if you’ve previously connected your headphones to another device, it’s a good idea to turn off the Bluetooth on that device. Sometimes, headphones will try to automatically reconnect to the last known device, which can prevent them from entering pairing mode to connect to a new one.
How to Activate Pairing Mode on Your Headphones
Activating pairing mode is generally a straightforward process, though the exact method can vary slightly between brands. The first step is to find the correct button. Most headphones use the power button for multiple functions, while others have a dedicated Bluetooth button, often marked with the Bluetooth symbol.
Once you’ve located the button, follow these general steps:
- Start with your headphones powered off.
- Press and hold the power or Bluetooth button. Don’t let go when they turn on; keep holding it.
- Continue holding the button for about 3-10 seconds until you see an indicator light start to flash, often in alternating colors like blue and red.
- You may also hear a voice prompt that says “Pairing” or “Ready to connect.” This confirms your headphones are now discoverable.
Always check your user manual if you’re unsure, as some models, like Apple AirPods, have a pairing button on their charging case instead of the earbuds themselves. Following the specific instructions for your model guarantees a successful outcome.
Connecting to Your Smartphone, Laptop, or Tablet
Once your headphones are in pairing mode, the rest of the process happens on the device you want to connect to. The steps are similar whether you’re using a smartphone, laptop, or tablet.
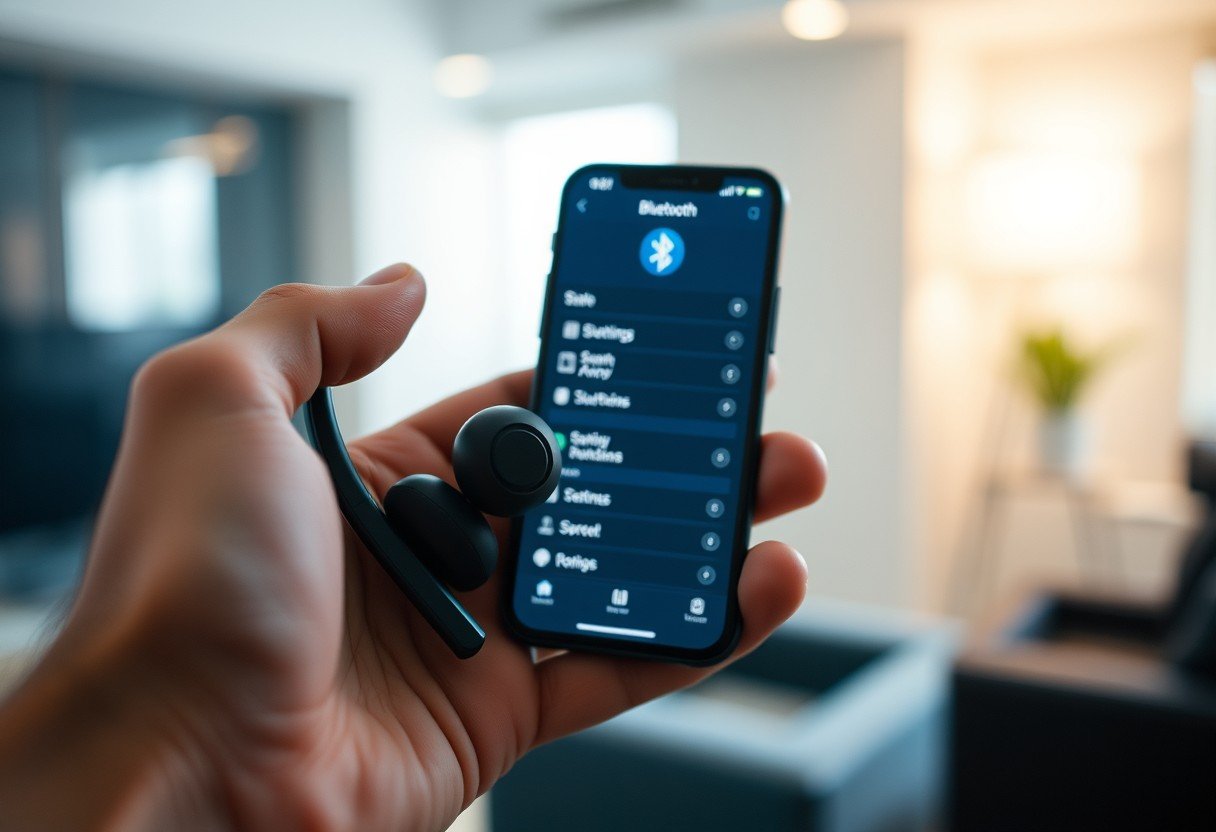
First, open the settings on your device and navigate to the Bluetooth menu. Make sure Bluetooth is turned on. Your device will automatically start scanning for nearby discoverable devices. After a few moments, you should see the name of your wireless headphones appear in the list of available devices.
Simply tap or click on your headphones’ name in the list to initiate the connection. In some cases, you might be asked to confirm a PIN, which is usually “0000” or “1234,” but most modern devices connect without this step. You’ll hear a confirmation sound from your headphones, and the status on your device will change to “Connected.” You are now ready to enjoy wireless audio.
Simple Tips for a Successful and Stable Connection
Even after a successful pairing, you might experience connection drops. To maintain a stable link, it helps to be aware of your environment and follow a few best practices.
Bluetooth technology has a limited range. For most devices, the optimal connection distance is within 33 feet (10 meters). Physical objects can also weaken the signal. Things like walls, furniture, and even your own body can cause interference. For the best performance, try to keep a clear line of sight between your headphones and your device.
- Minimize Interference: Turn off other nearby Bluetooth devices that you aren’t using. Wi-Fi routers and microwave ovens can also interfere with the signal, so try to avoid using your headphones right next to them.
- Update Firmware: Manufacturers regularly release firmware updates for headphones to improve performance and fix bugs. Check the brand’s companion app or website to ensure your headphones are running the latest software.
- Manage Connections: If you switch between devices often, “forget” the headphones from a device you’re not using to prevent them from trying to connect automatically and causing conflicts.
Following these tips can significantly improve your connection stability and prevent frustrating interruptions.
Common Problems That Affect Pairing
If you’re struggling to get your headphones into pairing mode or to connect them, you’re not alone. Several common factors can cause issues, but most have simple solutions.
Compatibility can sometimes be the culprit. While most modern devices work well together, very old devices might not support the same Bluetooth version as your new headphones, leading to connection failures. Always ensure your phone or laptop’s operating system is up to date.
If you’ve tried everything and still can’t connect, a reset might be necessary. This usually involves pressing a combination of buttons on your headphones to clear their memory of previously paired devices. Consult your user manual for the specific reset procedure for your model. This often solves even the most stubborn pairing problems.
| Problem | Quick Solution |
| Headphones won’t enter pairing mode | Ensure they are fully charged and not already connected to another device. |
| Headphones don’t appear in the Bluetooth list | Make sure pairing mode is active (flashing light) and refresh the Bluetooth list on your device. |
| Connection fails or asks for a PIN | Try entering a common PIN like “0000”. If it fails, “forget” the device and try pairing again. |
| Audio is choppy or keeps disconnecting | Move closer to your device, remove obstructions, and turn off other nearby Bluetooth devices. |
Frequently Asked Questions
How do I know if my wireless headphones are in pairing mode?
You’ll know your headphones are in pairing mode when you see a flashing LED indicator light, which is often blue and red. Many models also provide an audible confirmation, such as a voice prompt that says “Pairing” or a series of beeps.
Why won’t my headphones enter pairing mode?
The most common reasons are a low battery or an existing connection to another device. First, make sure your headphones are charged. Then, disable Bluetooth on any other nearby devices they may have previously connected to before trying again.
Can I activate pairing mode from my phone instead of my headphones?
No, pairing mode must be initiated on the headphones themselves. Your phone or computer can only search for and connect to a device that is already in pairing mode and actively broadcasting its signal.
My headphones are in pairing mode but won’t connect to my device. What should I do?
Try turning the Bluetooth on your device off and on again to refresh it. If that doesn’t work, “forget” the headphones from your device’s list of saved Bluetooth connections and restart both your headphones and your device before attempting to pair again.
How do I connect my wireless headphones after pairing them once?
After the initial pairing, your headphones should automatically reconnect to your device whenever they are turned on and within range. Just power on your headphones, ensure Bluetooth is enabled on your device, and they should connect within a few seconds.


Leave a Comment