TECH
A Troubleshooting Guide for Common Yamaha Headphone Problems
Experiencing issues with your Yamaha headphones can be frustrating, whether it’s poor sound quality, a faulty connection, or physical damage. Fortunately, most common problems have simple solutions you can apply at home. This guide will walk you through effective troubleshooting steps to fix your headphones, improve your listening experience, and help you enjoy your music without any interruptions.
Fixing Common Sound Quality Issues
When your music doesn’t sound right, it can ruin the entire experience. Issues like distortion, unbalanced audio, or weak bass are common but often fixable. The first step is to identify the source of the problem, which could be anything from your audio source to the headphone settings.
Always check the quality of your audio source first. Listening to low-resolution audio files or streaming on a poor connection will result in subpar sound, no matter how good your headphones are. Ensure you are using high-quality music files or a premium streaming service for the best results. Also, look at your device’s audio settings, as some built-in equalizers or sound enhancements might be negatively affecting the output.
Fine-tuning the equalizer (EQ) settings can make a massive difference. Most smartphones and music apps have a built-in equalizer. If you feel the bass is lacking, try boosting the lower frequencies. For clearer vocals in podcasts or acoustic music, increasing the mid-range frequencies can help. Experiment with different presets or manual adjustments until you find a sound profile that perfectly suits your taste.
Solving Bluetooth and Connectivity Problems
Connectivity glitches are one of the most frequent complaints with wireless headphones. You might face issues like your headphones not pairing, dropping the connection, or audio lagging behind a video. These problems usually stem from software bugs, interference, or simple setup errors.
Before diving into complex solutions, start with the basics. Ensure your Yamaha headphones are fully charged, as a low battery is a common cause of poor connectivity. Also, try to stay within the recommended Bluetooth range, which is typically around 30 feet (10 meters), and avoid physical obstructions like walls that can weaken the signal.
If problems persist, follow these steps to reset the connection:
- Turn off the Bluetooth on your audio device (phone, laptop, etc.).
- Go into your device’s Bluetooth settings and find your Yamaha headphones in the list of paired devices. Select the option to “Forget” or “Unpair” them.
- Turn your headphones off and then back on to put them into pairing mode.
- Turn the Bluetooth on your audio device back on and re-pair it with your headphones.
This process creates a fresh connection and resolves many common pairing conflicts. Also, remember to regularly check for firmware updates through the Yamaha Headphones app, as these updates often contain patches for known connectivity bugs.
Maintenance and Care for Long-Term Performance
Proper care is essential to extending the life of your Yamaha headphones and keeping them performing at their best. Exposing them to dust, moisture, and extreme temperatures can cause irreversible damage to the sensitive internal components and drivers.
Regular cleaning is a simple yet effective maintenance task. Use a soft, dry microfiber cloth to wipe down the headband and ear cups. For the ear pads, you can use a cloth slightly dampened with a mild soap and water solution. Make sure the ear pads are completely dry before you use the headphones again to prevent moisture damage and mold growth.
How you store your headphones is just as important as how you clean them. Avoid wrapping the cable tightly around the headphones, as this puts stress on the internal wires and can lead to breakage over time. Instead, gently coil the cable. When not in use, always store your headphones in the protective case they came with. This protects them from dust, drops, and being crushed in a bag.
When to Seek Professional Repair or Replacement
If you have tried all the troubleshooting steps and your headphones are still not working correctly, it might be time to consider professional help. Persistent issues like a complete loss of sound in one ear or a non-functional power button often indicate a hardware problem that requires expert attention.
Before spending money on repairs, check your warranty status. Yamaha typically provides a limited warranty that covers manufacturing defects. If your headphones are still under warranty, you may be eligible for a free repair or replacement. You can find the warranty details in the documentation that came with your product or on Yamaha’s official website.
For out-of-warranty repairs, your best option is an authorized service center. Technicians at these centers are trained specifically to work on Yamaha products and use genuine parts, ensuring a quality repair that maintains the integrity of your headphones. You can use the service center locator on the Yamaha website to find a reputable repair shop near you.
Understanding Real User Experiences
While technical specifications are important, real-world user reviews provide valuable insight into a product’s performance over time. Yamaha headphones generally receive high praise for their excellent sound clarity and comfortable design, making them a favorite among audiophiles and casual listeners alike.
Many users highlight the immersive soundstage and balanced audio profile as major strengths. The effective noise isolation is another frequently mentioned benefit, allowing for an uninterrupted listening experience in noisy environments. Positive feedback often centers on how comfortable the headphones are for long listening sessions.
However, no product is perfect. Some common complaints mentioned in user reviews include concerns about the durability of certain plastic components and a desire for stronger bass response in some models. By considering both the pros and cons shared by other users, you can set realistic expectations and better understand your own experience.
Frequently Asked Questions about Yamaha Headphones
What should I do if my Yamaha headphones will not turn on?
First, check the battery. Connect your headphones to a power source and ensure they are fully charged. If they are charged but still won’t turn on, try resetting them by holding the power button for 15-20 seconds. If the issue persists, contact customer support.
Why is there a crackling sound in my headphones?
Crackling noises are often caused by a poor wireless connection or physical interference. Try moving closer to your audio device and away from other electronics like Wi-Fi routers. For wired headphones, ensure the audio jack is clean and securely plugged in.
How do I update the firmware on my wireless headphones?
You can update the firmware using the official Yamaha Headphones Controller app on your smartphone. Connect your headphones to your phone via Bluetooth, open the app, and it will automatically notify you if an update is available. Follow the on-screen prompts to install it.
Can I use my Yamaha Bluetooth headphones with a device that has no Bluetooth?
Yes, many Yamaha wireless models come with an audio cable. You can plug this cable into the headphone and the 3.5mm audio jack of any non-Bluetooth device to use them as standard wired headphones.
Why does the sound keep cutting out on my wireless headphones?
Audio cutouts are typically a sign of Bluetooth interference or being too far from your device. Ensure you are within the recommended 30-foot range and that there are no major obstacles, like thick walls, between your headphones and the audio source.
-
 NEWS10 years ago
Samsung Releases Galaxy Note7 TV Ad as Reddit AMA Leaks Specs
-
 NEWS10 years ago
Android 7.0 Nougat Rolls Out To Nexus Devices With New Emoji, Features
-
 FINANCE8 years ago
Cardano Price Surges as ADA Enters the Crypto Top Ten List
-
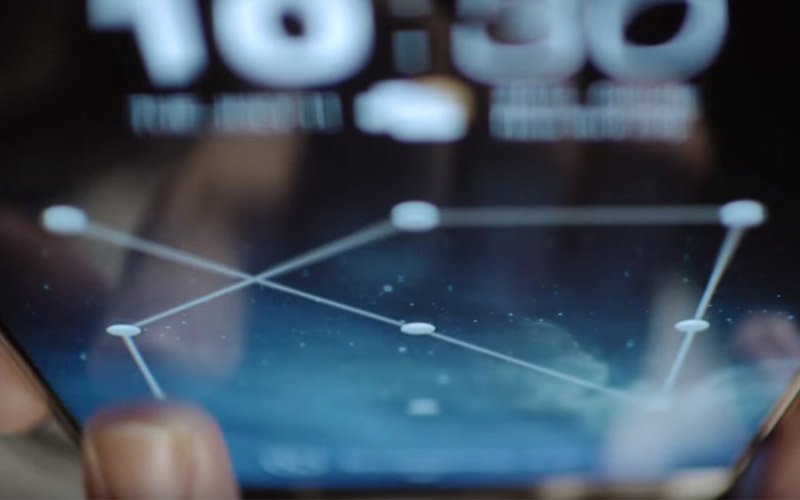
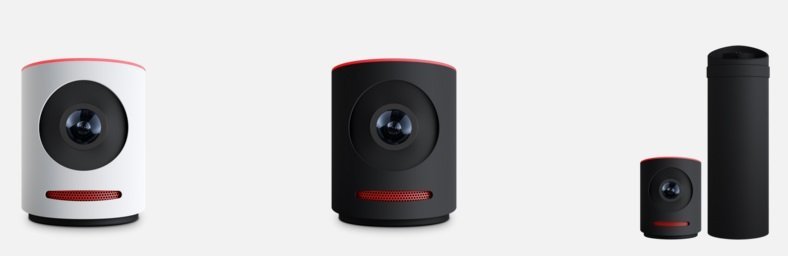 NEWS10 years ago
Pre-Order the First Camera Made for Facebook Live Streaming Video
-
 FINANCE11 months ago
Binance Suspends Trading and Withdrawals for a System Upgrade
-
 FINANCE8 years ago
RChain Price Jumps Nearly 150% to a New All-Time High of $2.03
-
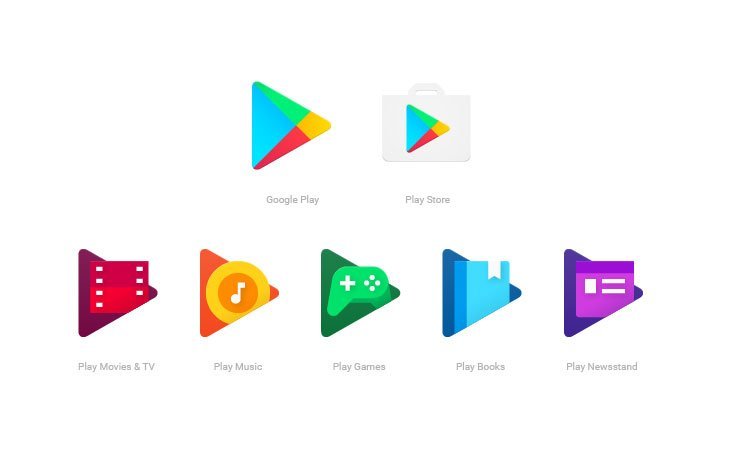 NEWS10 years ago
Google Play App Icons Get Fresh New Look: See the Latest Design Update
-
 NEWS10 years ago
Google Doodle Go Bananas Fruit Games Live On Mobile For Two Weeks