LIFESTYLE
PFD Outer Fabric Tear Repair and Safety Guide for Boaters and Kayakers
A torn PFD outer fabric is a safety risk, but you can act fast to stay safe, decide if a repair is possible, and know when to replace it. Learn what to check, how to patch small rips, where to get pro help, and what rules apply. This guide works for boaters, paddlers, anglers, and sailors in lakes, rivers, and coastal waters.
Spot and Size Up the Tear
Start with a calm look over the entire life jacket, front and back, including seams, straps, buckles, and high wear zones like shoulders. Check the inside liner and any pockets. Note whether the PFD is foam or inflatable because the fix and the risk are different.
Gently pull the fabric around the rip to see if it spreads. Look for loose threads, seam failure, or fabric that is brittle from UV. For inflatables, open the cover and inspect the bladder for holes or abrasion. If the tear touches load bearing webbing, zippers, the inflatable bladder, or the foam panels, stop using it.
Document the size and location. A small surface cut on the outer shell away from seams is usually repairable. Long tears, multiple punctures, or damage near the neck, armholes, or closure points often mean replacement is safer.
Stay Safe and Make a Temporary Fix
If you are on the water and must keep moving, use a short term patch only to finish the day, then do a proper repair or replace. Clean and dry the area first so tape or adhesive can grip.
Temporary fixes are only to get you home safely, not to keep using the PFD for future trips. Keep a small repair kit in your dry bag so you can act quickly.
- Move to a safe place and take the PFD off if conditions allow.
- Wipe dirt and water from the tear and the surrounding 2 inches.
- Apply a strong tape patch larger than the rip with rounded corners, pressing firmly.
- Put the PFD back on, check fit, and avoid heavy strain on the damaged spot.
When a Repair Is Safe and How to Do It Right
Small tears on the fabric shell of a foam PFD can often be repaired at home. Use products that hold in wet settings and stay flexible. For inflatables, only repair the fabric cover; do not glue or sew the bladder unless the maker tells you to and you can leak test it.
Choose quality materials that match PFD fabric like nylon or polyester. A urethane adhesive bonds well and resists water. Follow cure times and do a strong pull test before the next trip.
- Adhesive: Urethane based glue such as Aquaseal FD or Seam Grip WP.
- Patch: Nylon pack cloth or Tenacious Tape nylon, cut with rounded corners.
- Thread and needle: Heavy polyester thread if sewing is allowed on the shell.
Method for a shell tear on a foam PFD: clean, lightly roughen glossy coatings, apply a thin glue layer, place the patch that overlaps at least 1 inch all around, roll out bubbles, and cure 12 to 24 hours. For extra strength, add a mirror patch inside the shell if you can access it without cutting the liner.
Damage That Means Replace the PFD
Some damage makes a PFD unsafe even if you can stick a patch on it. If buoyancy foam is crushed, waterlogged, or exposed, or if an inflatable bladder leaks, the unit should be retired. Safety labels that are unreadable or missing also break legal rules in many places.
Use this quick guide to decide your next step based on what you see. Do not try to fix broken load paths like shoulder straps or side belts because they must hold your body in rough water.
| Damage | What It Means | Action |
|---|---|---|
| Small shell cut away from seams | Cosmetic, limited to outer fabric | Clean and patch with fabric and urethane adhesive |
| Torn seam or ripped strap attachment | Load path weakened | Stop use and replace or send to maker for factory repair |
| Foam exposed or crumbling | Buoyancy compromised | Replace PFD |
| Inflatable bladder nick or leak | Loss of air retention | Manufacturer service and leak test or replace |
| Label unreadable or approval mark missing | Not compliant | Replace PFD to meet legal rules |
Care, Storage and Checks to Prevent Future Tears
Good care saves money and keeps you safer. UV light and mildew break down fabric and threads over time. Hose off salt, mud, and fuel, then air dry fully before storage.
Store PFDs cool, dry, and out of sun, and never crush them under heavy gear. Hang by the shoulders or lay flat to protect foam shape and seam lines.
- Rinse after each trip and dry in shade to reduce UV and salt damage.
- Keep away from batteries, solvents, and fuel that can weaken coatings.
- Once a month, check stitching, webbing, and buckles for wear or cracks.
Inflatable owners should inspect the CO2 cylinder for tightness and corrosion and confirm the green armed indicator before every outing. Most brands advise an annual leak test of the bladder and inflator service based on the maker schedule.
Legal Rules and Safety Standards You Must Meet
In the United States, each person on a recreational boat must have a wearable, US Coast Guard approved life jacket of the right size, and it must be in good condition. Children rules vary by state, so check your local law before launch. The approval label inside the PFD lists the type and care directions.
According to the US Coast Guard Recreational Boating Statistics 2022, 75 percent of boating deaths were drowning and 85 percent of those who drowned were not wearing a life jacket. Wearing a sound, approved PFD is your biggest safety win on the water. Source: US Coast Guard Boating Safety Report.
Canada requires Transport Canada or Canadian Coast Guard approved PFDs, and the EU uses CE marking under ISO 12402 for performance classes. If a tear removes the label or changes the structure, the PFD may no longer meet the standard, which can lead to fines and more risk in an emergency.
Quick Inspection Checklist Before You Launch
Make a short check a habit. It takes less than two minutes and can prevent a bad day. This list works for both foam and inflatable models with a few model specific notes.
Do not go if any item fails until you fix or replace the PFD. Keep a spare onboard to avoid trip delays.
- Read the approval label and confirm correct size and type for your activity.
- Scan fabric for tears, seam gaps, and abrasion hot spots.
- Pull on straps and buckles to confirm stitching is solid and closures click.
- For foam: squeeze panels to check for shape and no waterlogged feel.
- For inflatable: verify green status, tight CO2 cylinder, and bladder leak check date.
- Do a fit test by tightening straps and tugging at the shoulders. It should not ride up.
FAQ
Is a PFD with a small tear still Coast Guard approved?
If the approval label is intact and the tear is only on the shell away from seams, the approval stands but the jacket must be serviceable. If structure, straps, foam, or the bladder are affected, it is no longer serviceable and should be replaced.
What glue and patch work best to repair a torn PFD shell?
Use a urethane adhesive like Aquaseal FD with a nylon fabric patch or Tenacious Tape nylon. Clean, apply thin glue, overlap at least 1 inch, and cure 12 to 24 hours before use.
Can I use duct tape to fix my life jacket?
Duct tape is only a temporary fix to get home the same day. It does not bond well long term and can peel in water and sun. Do a proper adhesive patch or replace the PFD.
How do I test a repaired PFD before the next trip?
After full cure, tug hard on the patch edges, then do a supervised shallow water float test while wearing it. For inflatables, inflate orally and hold 12 to 24 hours to check for leaks.
When should I replace a life jacket even if there is no big tear?
Replace if the label is unreadable, foam is crushed or waterlogged, hardware is cracked, or the jacket fails a fit test. Many makers suggest retiring foam PFDs around 10 years if used often, even if they look fine.
Who can repair a badly damaged PFD?
Contact the manufacturer or an authorized marine safety service center. They have the right parts and test methods, especially for inflatable bladders and inflators. If factory repair is not offered, replace the PFD.
-

 AUTO1 month ago
Tesla’s Roadster Is ‘a Few Weeks Away,’ Says Its Chief Designer
-
 NEWS10 years ago
Samsung Releases Galaxy Note7 TV Ad as Reddit AMA Leaks Specs
-
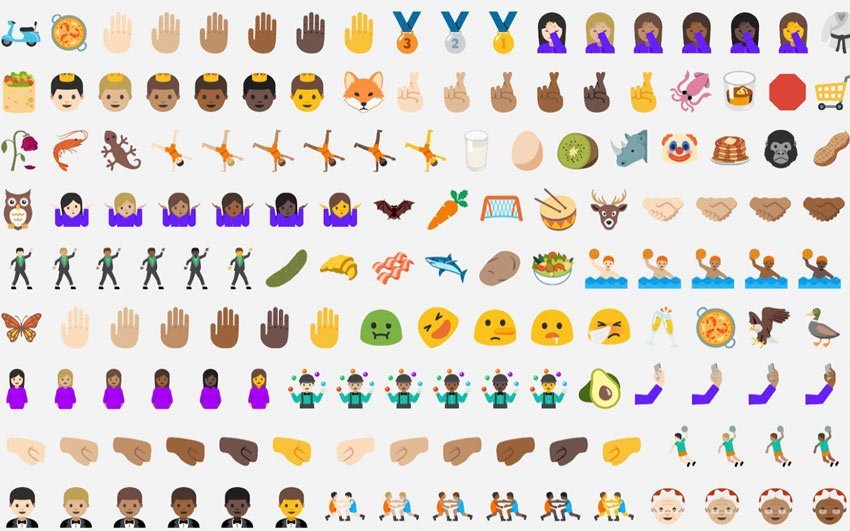 NEWS10 years ago
Android 7.0 Nougat Rolls Out To Nexus Devices With New Emoji, Features
-
 FINANCE9 years ago
Cardano Price Surges as ADA Enters the Crypto Top Ten List
-
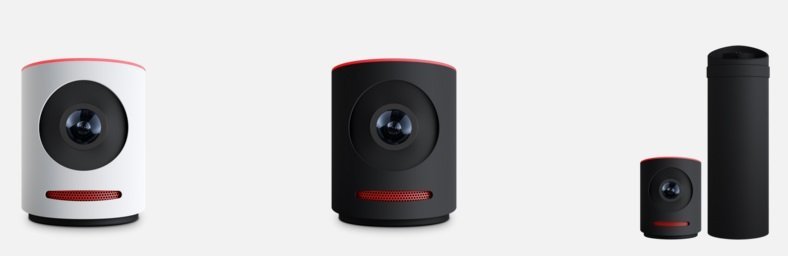 NEWS10 years ago
Pre-Order the First Camera Made for Facebook Live Streaming Video
-
 FINANCE12 months ago
Binance Suspends Trading and Withdrawals for a System Upgrade
-
 FINANCE9 years ago
RChain Price Jumps Nearly 150% to a New All-Time High of $2.03
-
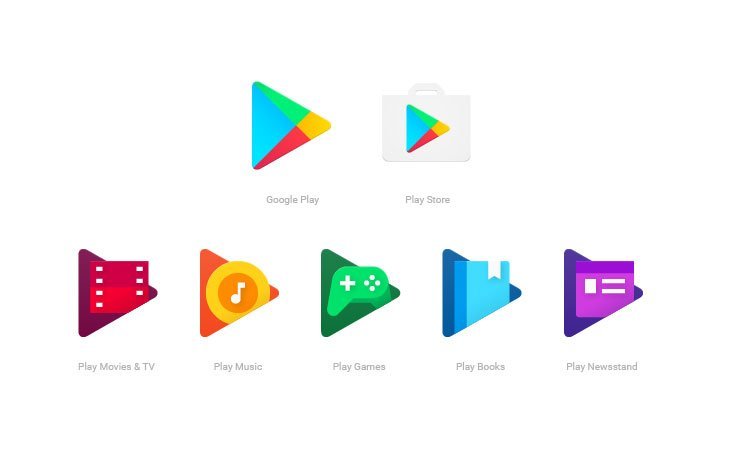 NEWS10 years ago
Google Play App Icons Get Fresh New Look: See the Latest Design Update