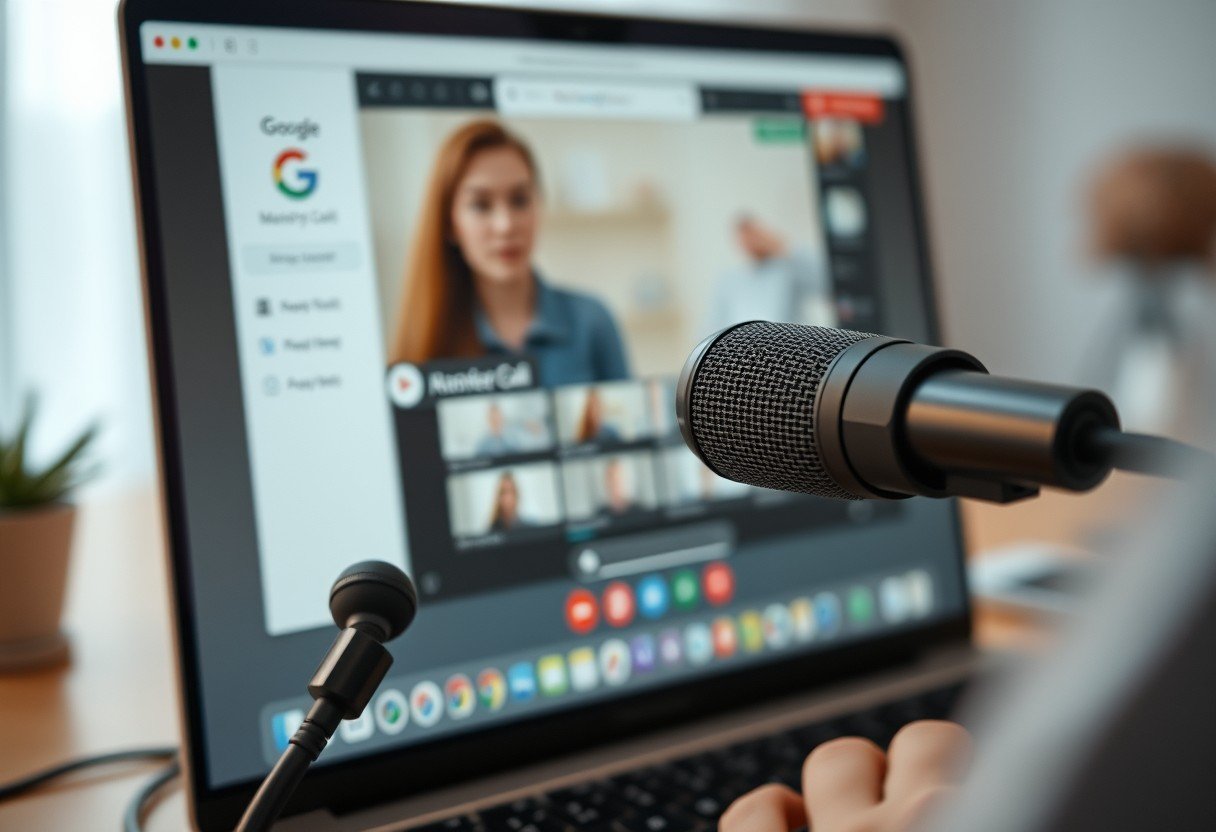
Nothing disrupts an online meeting more than audio problems. To avoid the frustrating “Can you hear me now?” dance, it is crucial to test your microphone on Google Meet before your call begins. This simple check ensures you are heard clearly, making your meetings more productive and professional. In this guide, you will learn exactly how to check your microphone settings and functionality within the platform to prevent any audio mishaps.
A Step-by-Step Guide to Testing Your Mic in Google Meet
Google Meet has a built-in tool that makes testing your microphone incredibly easy. You can do this right before you join a call or from the main settings menu. Following these steps will give you peace of mind that your audio setup is working correctly.
The process only takes a few seconds and can save you from significant headaches later. It is the best way to confirm that Google Meet is using the correct audio input device, especially if you have multiple microphones connected to your computer, such as a webcam mic and a headset.
Here is how to perform the check:
- Access the Settings Menu: Once you are on the Google Meet screen, look for the three vertical dots in the bottom right corner. Click on them to open the menu and then select ‘Settings’.
- Navigate to the Audio Section: Inside the Settings window, you will see several tabs on the left. Click on ‘Audio’ to access all your sound-related options.
- Select and Test Your Microphone: In the Audio section, find the dropdown menu for ‘Microphone’. Make sure your preferred microphone is selected. To test it, simply speak into your microphone. You should see a visual indicator with blue dots that moves as you talk. If the dots are moving, your microphone is working!
If you do not see any movement in the indicator, it means Google Meet is not picking up any sound from your selected device. This is a sign that you need to troubleshoot the issue.
Choosing the Right Microphone in Google Meet Settings
If you have more than one audio device connected, Google Meet might not automatically select the one you want to use. This is a common reason why others might not be able to hear you, even if your microphone is working perfectly.
In the ‘Audio’ settings, the dropdown menu will list all microphones your computer recognizes. This could include your laptop’s built-in microphone, a USB headset, a webcam with a microphone, or an external professional mic. It is vital to select the correct device from this list for the best audio quality.
After selecting a microphone, speak a few words to see which device provides the clearest input via the audio level indicator. Choosing a dedicated headset or external microphone usually offers significantly better sound quality compared to a built-in laptop mic, as they are better at isolating your voice from background noise.
Troubleshooting Common Google Meet Audio Problems
Even after testing, you might run into some common audio issues during a call. Problems like low volume, echo, or feedback are frequent but usually have simple solutions. Addressing them quickly can prevent disruptions and ensure smooth communication.
Start by checking the most obvious culprits. Is your microphone muted in Google Meet? The microphone icon at the bottom of the screen should not have a red slash through it. Also, check for a physical mute button on your headset or microphone cable.
If the basics are covered, here are some other common problems and their solutions:
- Low Volume: If people say you sound too quiet, check your computer’s system settings. Go to your sound preferences and increase the input volume for your microphone. Also, make sure you are speaking directly into the mic and are not too far away.
- Echo or Feedback: This annoying looping sound usually happens when your microphone picks up audio from your own speakers. The easiest fix is to use headphones. If you cannot use headphones, try lowering your speaker volume and moving your microphone further away from them.
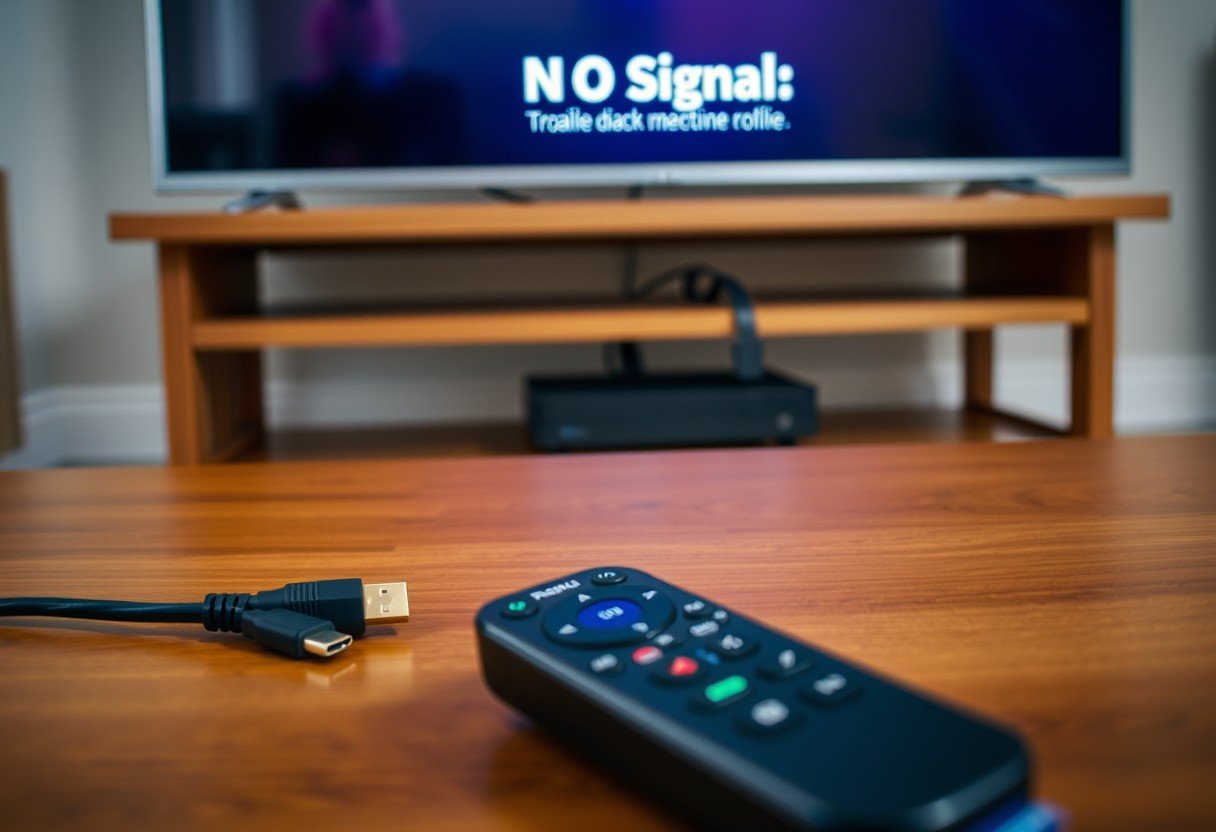
- Microphone Not Detected: If your microphone does not appear in the dropdown list, ensure it is properly plugged into your computer. You may also need to check your browser’s permissions to make sure it has access to your microphone.
Understanding Different Microphone Types
The type of microphone you use can have a big impact on your audio quality. While any standard mic can work, understanding their differences helps you choose the best one for your situation, whether it is a casual team meeting or a professional presentation.
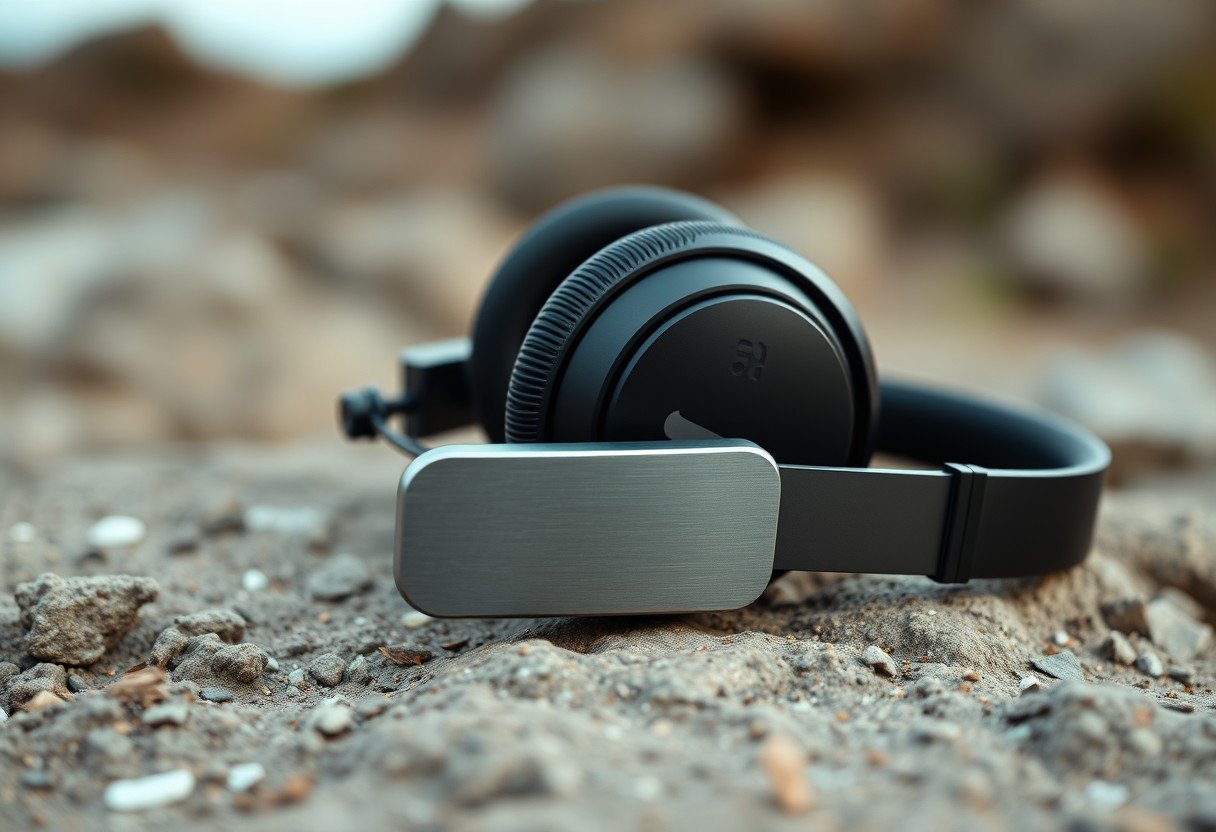
For example, condenser microphones are excellent for capturing clear, detailed sound in a quiet studio-like environment, making them great for podcasting or recording. On the other hand, dynamic microphones are more durable and better at rejecting background noise, which is why they are often used for live performances.
Here is a quick breakdown of common microphone types and their typical use cases.
| Microphone Type | Best Use Case |
|---|---|
| USB Microphones | Podcasting, streaming, and general online meetings |
| Lavalier Microphones | Presentations and interviews (clips onto clothing) |
| Condenser Microphones | High-quality studio recording in quiet rooms |
| Boundary Microphones | Conference rooms with multiple speakers |
Tips for Crystal Clear Audio on Every Call
Beyond technical settings, your environment and how you use your microphone play a huge role in how you sound. A high-end microphone will still perform poorly in a noisy, echo-filled room. Optimizing your setup can dramatically improve your audio presence.
One of the most important factors is microphone placement. Position your microphone about 6 to 12 inches away from your mouth. Placing it too close can cause popping sounds (plosives), while placing it too far will make you sound distant and pick up more room noise.
Your physical environment is just as critical. Try to have your meetings in a quiet room with soft furnishings like carpets, curtains, or bookshelves. These materials help absorb sound and reduce echo, making your voice sound much cleaner and more professional. Avoid rooms with hard, flat surfaces that cause sound to bounce around.
Finally, get into the habit of muting yourself when you are not speaking. This simple action is a courtesy to other participants, as it eliminates any distracting background noise from your end, such as typing, a barking dog, or a nearby fan.
Frequently Asked Questions
How can I test my microphone before joining a Google Meet call?
You can use the ‘Check your audio and video’ feature on the pre-join screen. Before entering the meeting, you will see a preview of your video and options to test your mic and speakers. Speak into your microphone and watch the indicator to confirm it is working.
What should I do if my microphone is not working in Google Meet?
First, ensure you are not muted in the meeting and that the correct microphone is selected in the audio settings. If it still does not work, check your browser’s permissions to ensure it can access your microphone. Sometimes, simply unplugging and replugging the microphone or restarting your browser can fix the issue.
Can I adjust microphone settings during a Google Meet session?
Yes, you can. Click the three dots in the bottom right, select ‘Settings’, and then go to the ‘Audio’ tab. Here, you can switch to a different microphone or adjust other settings without leaving the call.
How can I reduce echo in Google Meet?
The most effective way to eliminate echo is to wear headphones or earbuds. This prevents your microphone from picking up the sound coming from your speakers. If you do not have headphones, try lowering your speaker volume.
What is the best environment for a Google Meet call?
The best environment is a quiet space with minimal background noise and echo. Rooms with soft furnishings like carpets, curtains, and furniture are ideal because they absorb sound. Avoid large, empty rooms with hard surfaces.


Leave a Comment